Last Updated: November 9, 2026
Quick Summary
Fixing peeling leather on a car steering wheel usually means rebuilding the topcoat, not replacing the hide. Clean and degrease the area, remove loose flakes, apply flexible filler in thin layers, then recolour and seal the finish. If the leather itself is crumbling or split through, a kit will not hold.
- Peeling usually starts with the topcoat wearing through, not the hide underneath.
- A DIY repair kit typically costs £25-£60, plus £10-£20 for extra dye or sealant.
- Apply flexible filler in thin coats, never one thick blob, so it stays flexible.
- Keep repairs on the rim and never pry at the centre pad or remove the airbag.
- A professional spot repair typically costs £80-£180 and takes 1-2 hours.
Table of Contents
- Why Leather Steering Wheels Peel and What It Means for Repair
- Assessing the Damage and Staying Safe Around Airbags and Controls
- What You Need in a Leather Steering Wheel Repair Kit
- Step-by-Step: Cleaning, Degreasing and Preparing the Surface
- Applying Flexible Filler in Thin Layers to Cracks, Holes and Gouges
- Recolouring, Colour Matching and Sealing the Finish
- Steering Wheel Leather Restoration Cost and When to Choose a Wrap, Reupholstery or Replacement
- How to Clean Stained Car Leather Seats and Prevent Future Peeling
- Frequently Asked Questions
Why Leather Steering Wheels Peel and What It Means for Repair
Peeling leather on a car steering wheel almost always starts with the topcoat, not the hide underneath.
The wheel is the most touched surface in the car, so it ages fastest. Sun through the windscreen dries the finish too.
That matters for repair because you are usually rebuilding a coating, not replacing leather. A good repair restores the surface layer and bonds it back to sound material underneath.
Genuine Leather Versus Synthetic Leather and a Failing Topcoat
Not every “leather” wheel is leather. Many modern cars use synthetic leather, and some use a leather split with a heavy sprayed finish on top. The repair method changes with the material.
Here is how to tell them apart:
- Genuine leather: look for a natural grain that varies across the surface. Edges feel soft and slightly porous.
- Synthetic leather: the grain repeats in a pattern. The back of a peeled edge may show a fabric or foam core.
- Failing topcoat only: the hide underneath looks intact and matte. Only the shiny outer layer is flaking.
If the base material is sound, a repair kit can work well. If the leather itself is crumbling or split through, patching will not hold. That is when you look at a wrap or replacement instead.
Assessing the Damage and Staying Safe Around Airbags and Controls
Before you touch anything, check how deep the damage goes. Run a fingertip over the peeling area. If you feel a soft, spongy dip, the leather has worn through.
Then look at the whole wheel:
- Small flakes at the 10 and 2 positions: light wear, good candidate for a spot repair.
- Cracks that open when you squeeze the rim: deeper damage, needs filler.
- Loose material lifting at the seams: clean it back before you fill.
Safety comes first. The steering wheel holds the airbag and, on most modern cars, wiring for the horn and buttons. Never pry at the centre pad, never remove the airbag, and never push tools into the seams around the horn.
What You Need in a Leather Steering Wheel Repair Kit
A leather steering wheel repair kit gives you the basics in one box. Most contain a cleaner, a filler or repair compound, colourant, a sealant and small applicators. Quality varies a lot, so check what is actually inside, and check it suits the material on your wheel before you buy.
Look for these items:
- Leather cleaner and degreaser: cuts hand oils so products bond. A dedicated leather cleaner is better than a general-purpose interior cleaner, which can leave a residue.
- Flexible filler: for cracks, holes and gouges. It must stay flexible once cured; a rigid filler will crack the moment you grip the wheel.
- Leather dye or colourant: matched to your wheel’s colour. Many kits include a small colour chart, but a custom match is better on a faded wheel.
What most kits miss is a proper colour match. Off-the-shelf colours rarely match a faded wheel exactly. If the match matters to you, a professional colour matching service gets closer.
Matching the Kit to Genuine Leather, Synthetic Leather or a Failing Topcoat
Before you buy, identify what you are repairing. The product type changes with the material:
- Genuine leather with a failing topcoat: a kit with a flexible filler, a leather dye and a sealant is the right choice. The hide underneath is sound, so you are rebuilding the coating.
- Synthetic leather: use products labelled for synthetic leather or vinyl. Solvent-based leather dyes can attack the synthetic surface or leave it tacky. A vinyl-specific colourant and sealant is safer.
- Leather split with a heavy sprayed finish: treat it like a coated surface. A topcoat repair kit works, but avoid anything that needs to soak into the hide, because the sprayed finish will block it.
If the base material is crumbling or split through, no kit will hold. That is when you look at a wrap or replacement instead.
Safety Around Airbags, Controls and Steering-Wheel Electronics
The steering wheel holds the airbag and, on most modern cars, wiring for the horn and buttons. Keep the repair on the rim and away from the centre pad. Never pry at the centre pad, never remove the airbag, and never push tools into the seams around the horn. Disconnect the battery if you are working near any electrical connector, and let a professional handle anything involving the airbag itself.
Step-by-Step: Cleaning, Degreasing and Preparing the Surface
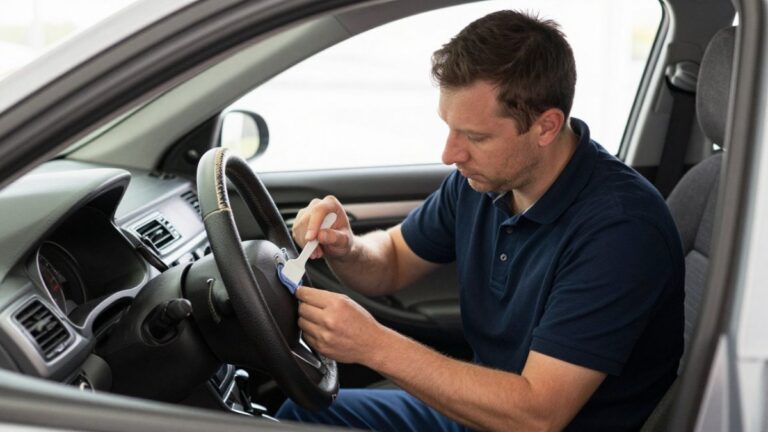
Good preparation decides whether the repair lasts. Skip it and the filler and dye will lift within weeks. Work in a shaded spot, out of direct sun.
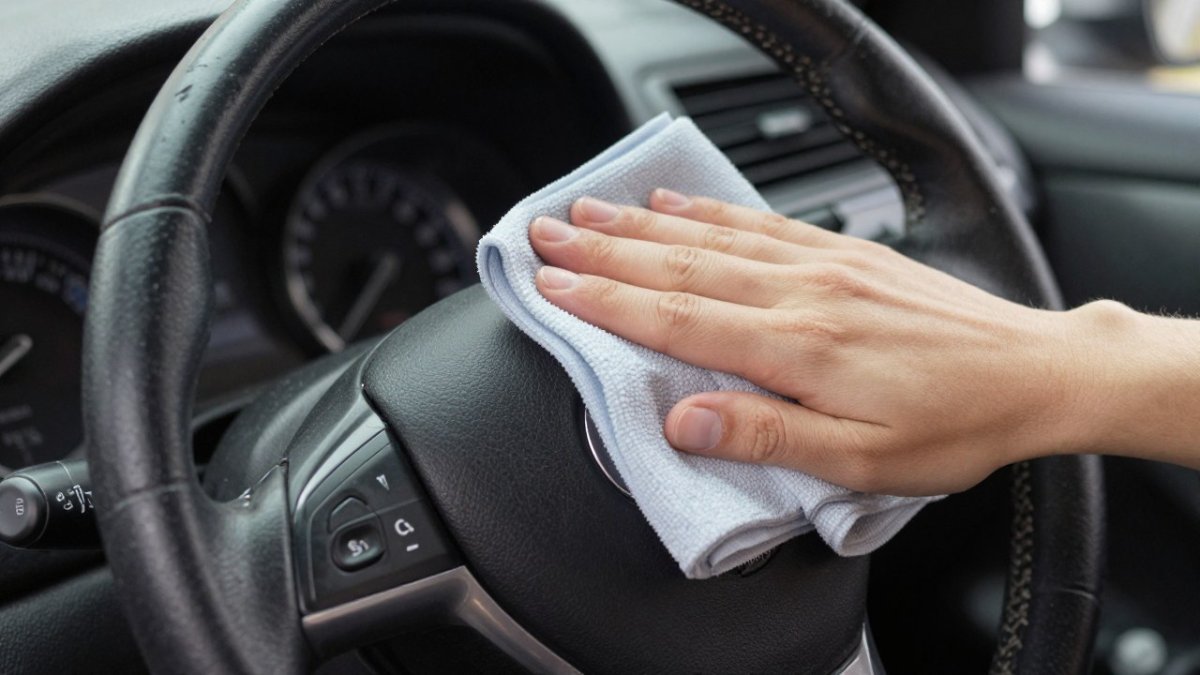
Follow these steps:
- Clean the wheel. Wipe the whole rim with a leather cleaner and a microfiber cloth. Work around the full circle, not just the damaged spot.
- Degrease the peeling area. Hand oils sit in the flakes. Use a degreaser and let it dry fully.
- Remove loose material. Pick away flakes that are already lifting. Anything loose will fail later.
- Wipe down and let it dry. The surface must be completely dry before the next step.
Lightly Sanding Loose Material and Grime
Light sanding smooths the edges where the old finish meets bare leather. Use a fine abrasive pad or sandpaper and go gently. You are feathering the edge, not digging into the hide.
Keep the pressure light and work in small circles. Stop as soon as the edge feels flat to the touch. Over-sanding thins the leather and creates a dip you cannot hide.
Applying Flexible Filler in Thin Layers to Cracks, Holes and Gouges
Flexible filler rebuilds the surface so the new finish has something to sit on. The key word is flexible: a rigid filler will crack the moment you grip the wheel.
Here is the method:
- Apply a thin layer over the crack or gouge with a small applicator.
- Press it in so it bonds to the edges.
- Let it dry for the time the product states.
- Add another thin coat if the damage is deep.
- Sand lightly between coats once dry.
Thin layers dry evenly and stay flexible. For a full walkthrough of filling and dyeing cracks, see our guide on how to repair leather car seat cracks step by step, which uses the same techniques.
Watch out: filling over loose or greasy material is the most common reason a repair lifts. Clean and degrease first, every time.
Recolouring, Colour Matching and Sealing the Finish
Recolouring brings the wheel back to a single, even tone. Colour matching is the hard part.
Work in thin coats of leather dye or colourant. Build the colour slowly and let each coat dry. Blend outward past the repair so there is no visible edge.
If you want the colour to match properly, our guide on professional car interior colour matching covers how to sample and blend the dye to the existing leather before you recolour.
Steering Wheel Leather Restoration Cost and When to Choose a Wrap, Reupholstery or Replacement
Cost depends on the damage and the route you take. A DIY kit is the cheapest option, but results vary with your prep and colour match. A professional spot repair sits in the middle. A full reupholstery or replacement wheel is the most expensive.
| Option | Typical cost (GBP) | Time | Best for | Watch out for |
|---|---|---|---|---|
| DIY repair kit | £25-£60 for a kit; £10-£20 for extra dye or sealant | 2-4 hours plus 24-48 hours curing | Small flakes, topcoat wear, light cracks | Poor colour match, lifting if prep is skipped |
| Professional spot repair | £80-£180 | 1-2 hours, often mobile | Cracks, gouges, visible damage on one area | Needs the right colour match; ask for a sample |
| Steering wheel cover | £15-£40 | 15-30 minutes | A quick cosmetic fix | Hides damage, does not repair it; can slip if poorly fitted |
| Reupholstery | £180-£350 | 1-3 days, car off the road | Badly worn or split leather across the whole rim | Higher cost; colour and grain must match the rest of the interior |
| Replacement wheel | £250-£600+ depending on model and controls | 1-2 hours fitting plus programming | Structural damage, failed heating or controls | Most expensive route; airbag and control compatibility must be checked |
Quotes vary with wheel design and whether the wheel has heating or multifunction controls.
Use this to decide:
- Spot repair makes sense when the damage is topcoat flaking or a few cracks and the rest of the rim is sound. It is the lowest-cost route that actually fixes the surface.
- A cover or wrap is a cosmetic stopgap. It hides the problem but does not fix it, and a loose cover can move under your hands. If you choose a wrap, have it fitted properly rather than relying on a slip-on cover.
- Reupholstery is the right call when the leather itself is failing across the rim, when seams have split, or when a repair would need to cover more area than it can blend. It restores the original feel and keeps the wheel and controls.
A common pattern is to try a DIY kit first on light damage, then move to professional repair if the colour match or adhesion disappoints. For a fuller breakdown of repair versus replacement, see our guide to cost-effective car interior restoration services. For leather seat pricing specifically, our leather car seat restoration cost guide explains what drives the quote.
Typical cost of steering wheel repair and replacement options
How to Clean Stained Car Leather Seats and Prevent Future Peeling
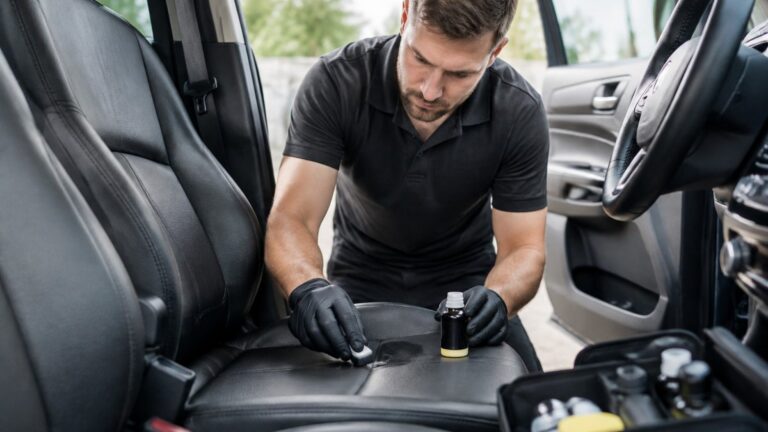
Prevention is cheaper than repair. The same habits that keep your seats clean keep your wheel from peeling again. Clean little and often, and protect the finish.
Try these habits:
- Wipe the wheel with a damp microfiber cloth weekly to lift hand oils.
- Use a leather cleaner monthly, then a protective coating.
- Park in shade where you can to reduce sun damage.
- Avoid harsh household cleaners, which strip the topcoat.
For seats, blot stains with a leather cleaner rather than scrubbing. Our guide on how to maintain luxury car leather upholstery covers cleaning and protection in more detail.
Peeling leather on a steering wheel will not fix itself, and small flakes can turn into cracks over time.
Frequently Asked Questions
Is it worth repairing a peeling leather steering wheel?
In many cases, a repair or recolour is a practical option, as it can keep the original wheel and controls intact. The exception is deep structural damage or a wheel where the leather has worn through to the foam, which needs reupholstery. For light to moderate peeling and surface wear, a repair kit with flexible filler and colourant restores the finish well.
What causes leather steering wheels to peel?
Peeling usually starts with the protective topcoat breaking down. Constant hand contact, hand creams, sun exposure and harsh cleaning products wear that coating until it lifts and flakes. Once the coating fails, the leather underneath dries and cracks. Synthetic leather and coated leathers are more prone to this than full-grain hide, which is why identifying the material before you repair it matters.
Can I use leather filler on a steering wheel?
Yes, provided you use a flexible filler. Steering wheels flex and heat up, so a rigid compound will crack again quickly. Apply flexible filler in thin coats, letting each layer cure before the next, and build up to the surrounding surface rather than overfilling. Sand lightly between layers for adhesion, then recolour and seal the repaired area.
How long does a DIY steering wheel repair last?
Durability depends on surface preparation, curing time and aftercare. Durability depends on surface preparation, curing time and aftercare, so avoid harsh cleaners and keep the wheel protected from prolonged sun. Professional restoration with colour matching usually lasts longer because the coating is applied more evenly.