Last Updated: November 21, 2026
Quick Summary
To learn how to patch small tears in car seats, first check the tear’s size, location and material, then clean the area, trim loose threads, fit a backing patch, apply adhesive or flexible filler, match the texture and let it cure before dyeing and sealing. A small tear takes about 30 to 45 minutes to patch at home.
- Measure the tear and confirm whether the seat is fabric, leather or vinyl before buying any kit.
- A backing patch is the single biggest factor in repair durability, spreading load away from the tear edge.
- Most fabric and vinyl adhesives need several hours before use and up to 24 hours for full strength.
- Adhesive will not bond properly below about 10°C, so warm the cabin first in cold weather.
- Never patch over an airbag seam, seat heater or occupant sensor; get those checked professionally.
Table of Contents
- Assessing Car Seat Tears Before You Repair Them
- Choosing a Car Seat Repair Kit for Fabric
- Picking the Right Leather Car Seat Repair Kit
- Step-by-Step: Cleaning, Backing and Patching the Damage
- Car Seat Tear Repair Without Sewing: Adhesives and Fillers
- How to Stop a Car Seat Tear From Spreading
- Safety Limits: Airbags, Seat Heaters and When to Call a Professional
- Send TrimKings a Photo for a No-Obligation Quote
- Frequently Asked Questions
Assessing Car Seat Tears Before You Repair Them
A small tear in your car seat is easy to ignore until it spreads. Our Car Leather Repair Assessment Guide helps you properly assess the tear’s size, location and material before choosing a repair approach.
Car seat tear assessment is the process of checking a tear’s size, location and material before you choose a repair method. Skip this step and you may buy the wrong kit or make the damage worse.
Size, Location and Material: The Three Checks
Run through these before you spend a penny:
- Size: Measure the tear. Small, shallow tears are often suitable for a DIY job. Longer splits along a seam need more care.
- Location: A tear on the flat seat base is simple. One near an airbag seam, seat heater or side bolster is not.
- Material: Fabric, leather and vinyl each need different products. Using the wrong one causes peeling or staining.
A common mistake is buying a generic patch before checking the material. Fabric adhesive will not bond to leather, and leather filler will crack on cloth.
Choosing a Car Seat Repair Kit for Fabric
A car seat repair kit for fabric should contain fabric glue, a backing patch, matching thread and a colour-matched repair compound. Buy a kit that lists your seat’s material on the box, not a one-size-fits-all pack.
What the Adhesive Actually Is
Fabric seat repairs often depend on the adhesive bond as much as the patch. Fabric adhesives fall into three families, and each behaves differently on a car seat:
- Water-based fabric glue is flexible and low-odour, but it needs a full cure and can soften in a hot cabin. It suits small, low-stress tears on the seat base.
- Solvent-based contact adhesive bonds fast and holds under friction, but it can bleed through thin weave and leave a stiff, shiny patch. Use it sparingly and only where the fabric is dense.
- Heat-activated adhesive film sits between the patch and the fabric and bonds when pressed with an iron or heated roller. It gives the flattest finish on woven cloth but needs a temperature the seat cover can tolerate.
A common pattern is that cheap kits supply a generic craft glue that stays tacky in summer and brittle in winter. Look for a kit that names the adhesive type and states a cure time in hours, not “fast-drying”.
Matching the Kit to the Tear Type
- Small holes: self-adhesive fabric patch plus a touch of glue around the edge
- Frayed tears: backing patch, needle and matching thread, or heat-activated film if you are not sewing
- Cigarette burns: fibre filler and colour blend, applied in thin layers
Watch out: a self-adhesive patch applied straight over a frayed tear will lift within weeks because the loose fibres give it nothing to grip. Trim and back the tear first.
Colour and Texture Matching on Cloth
Cloth is more forgiving than leather on colour but less forgiving on texture. A patch that is two shades off looks worse than the tear did, and a smooth patch on a textured weave catches the light.
For a deeper walkthrough of the filling and dyeing process, see our guide on how to repair leather car seat cracks step by step.
Picking the Right Leather Car Seat Repair Kit
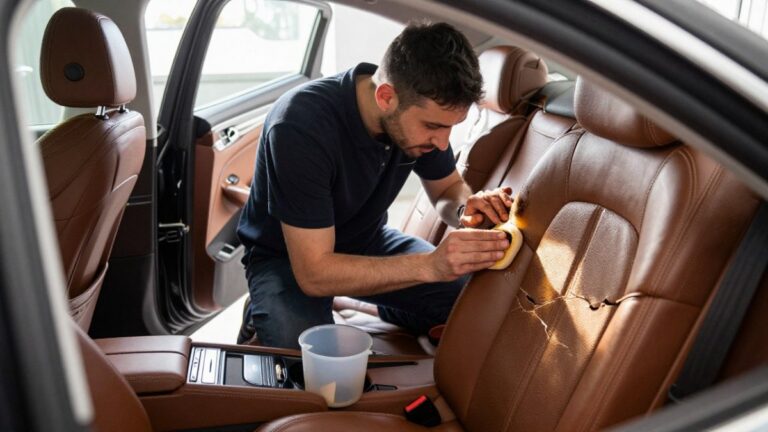
For leather, a leather car seat repair kit needs three things: a flexible filler, a colour dye matched to your trim code, and a sealing top coat. Leather stretches, so a rigid filler will crack within weeks.
Here is what to look for:
- Flexible leather filler that moves with the seat
- Colour dye matched to your vehicle’s trim code, not a generic tan or black
- Sealing coat to protect the repair from wear
The trim code is usually on a sticker inside the door frame or in the service book. Take a photo of it before you order.
What most guides miss is texture. Smooth filler on a grained leather seat stands out. Some kits include a grain stamp; if yours does not, press the filler lightly with a damp sponge before it cures.
Step-by-Step: Cleaning, Backing and Patching the Damage
Patching a small tear takes about 30 to 45 minutes. Work in shade, keep the seat dry, and follow these steps in order.
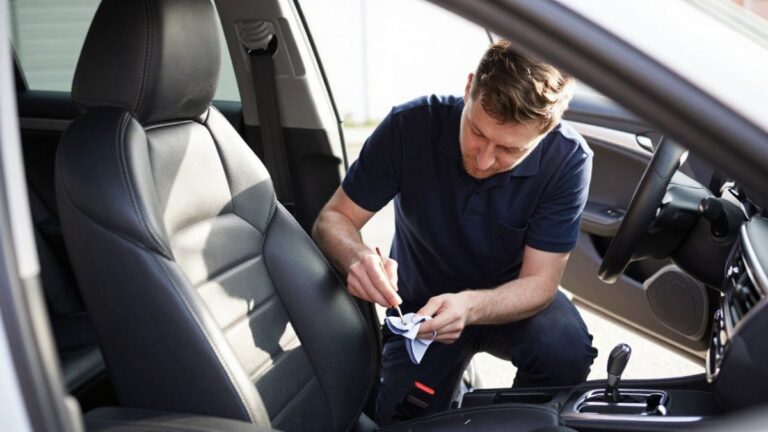
- Clean the area. Wipe the tear and surrounding 5cm with a mild upholstery cleaner. Let it dry fully.
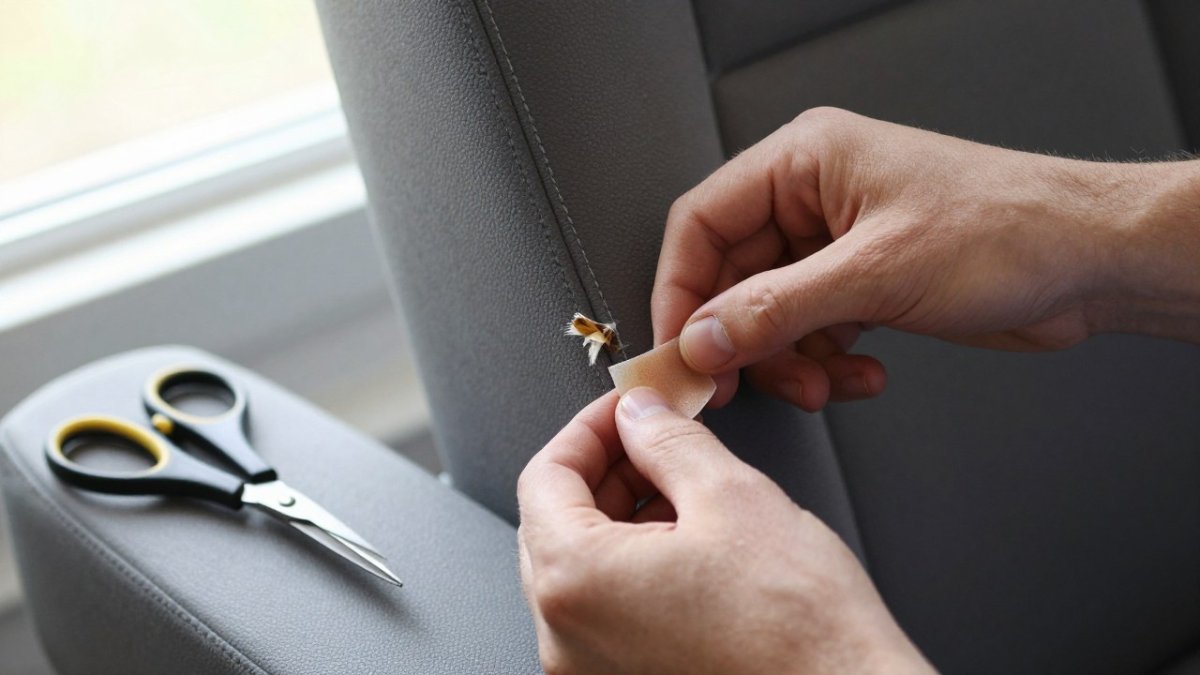
- Trim loose threads. Snip frayed edges with small scissors so the patch sits flat.
- Fit a backing patch. Slide a self-adhesive patch under the tear to support the repair.
- Apply adhesive or filler. Spread a thin, even layer over the tear with a spatula.
- Match the texture. Press gently with a sponge or grain stamp before it sets.
- Let it cure. Leave it undisturbed for the time stated on the product, often several hours.
- Colour and seal. Apply dye, then a sealing coat, and allow it to dry.
(/repairing-car-upholstery-at-home/) guide covers the tools and methods in more detail.
Car Seat Tear Repair Without Sewing: Adhesives and Fillers
Car seat tear repair without sewing relies on strong adhesive and a support patch instead of stitches. It works well on small, clean tears in fabric, vinyl and leather. It is not a good fit for long splits under heavy load, and it is never suitable on or beside an airbag seam.
How Each No-Sew Method Works
Choose your method by material and by how the repair will be loaded:
| Material | Best No-Sew Method | How It Bonds | Watch Out For |
|---|---|---|---|
| Fabric | Fabric glue + backing patch | Adhesive grips the weave; patch carries the load | Glue bleeding through the weave |
| Vinyl | Vinyl adhesive + controlled heat | Heat softens the vinyl so it fuses to the patch | Overheating and melting the grain |
| Leather | Flexible filler + dye | Filler fills the gap; dye restores colour | Filler cracking if it sets too rigid |
| Cigarette burn | Fibre filler + colour blend | Fibres build up the missing material | Colour mismatch on light trim |
Cure Times and Heat
A no-sew repair is only as good as its cure. Most fabric and vinyl adhesives need several hours before the seat is used and up to 24 hours before full strength. Leather filler usually skins over in 20 to 30 minutes but needs longer before dye. A hot cabin accelerates curing but also softens adhesive, so avoid leaving the car in direct sun during the first day.
Why No-Sew Repairs Fail
The common failure modes are predictable:
- Peeling at the edge because the patch was trimmed flush and caught on clothing
- Cracking filler because a rigid product was used on a seat that flexes
- Glue bleed because too much adhesive was applied and it wicked through the weave
A backing patch is the single biggest factor in durability. It spreads the load away from the tear edge so the adhesive is not doing all the work.
For burns specifically, our guide on how to fix cigarette burns in car seats covers fibre matching and colour blending in depth.
How to Stop a Car Seat Tear From Spreading
To stop a car seat tear from spreading, repair it early and support the edges. Small tears grow because every time you sit down, the fabric pulls at the weak point.
Three habits make the biggest difference:
- Repair small damage fast, before it reaches a seam or edge
- Use a backing patch so the tear has support from behind
- Keep the seat clean and conditioned to stop the material drying and cracking
On leather, dryness is the main cause of splits. A conditioner every few months keeps the hide supple and slows cracking. On fabric, act fast on spills so the weave does not weaken.
Safety Limits: Airbags, Seat Heaters and When to Call a Professional
Some tears should never be a DIY job. If the damage sits near a side airbag seam, a seat heater element or an occupant sensor, stop and get it checked.
Call a professional when:
- The tear is on or beside an airbag seam
- The seat has built-in heating or sensors
- The damage is larger than a small hole
- The foam underneath is torn or crushed
Watch out: never push filler or a patch into an airbag seam. It can interfere with deployment. This is a genuine safety issue, not a cosmetic one.
For a realistic look at what professional work costs before you decide, see our guide on the cost of repairing car seat tears.
Send TrimKings a Photo for a No-Obligation Quote
Some repairs are worth doing yourself. Others look far better in expert hands, especially on leather, near airbags, or on a lease car you need to hand back clean.
We offer seamless colour matching on leather and upholstery, work across vehicle types from family cars to supercars and commercial fleets, and offer a cost-effective alternative to replacement parts.
Send us a photo of your seat damage today and get a clear, no-obligation quote from TrimKings.
Frequently Asked Questions
Can you patch a small tear in a car seat yourself?
Yes, most small car seat tears can be patched at home, provided the damage is cosmetic and sits away from airbag seams, seat heaters and sensors. Fabric seats usually take a self-adhesive patch or a backing patch with fabric glue, while leather and vinyl need a filler, dye and a texture stamp. If the tear is longer than a few centimetres, sits on a seam or keeps reopening, professional upholstery repair gives a longer-lasting result.
What is the best car seat repair kit for fabric seats?
Look for a kit that includes a self-adhesive backing patch, a colour-matched fabric patch, sharp scissors and a small applicator. Check the kit lists fabric as a supported material rather than leather only, since leather fillers will not bond to cloth. If the tear is frayed, add a tube of flexible fabric adhesive so the patch sits flat. Send a photo of the damage to a specialist if you are unsure about the colour match, as shade variation is the most common reason a home patch looks obvious.
How do you stop a small car seat tear from getting bigger?
Stop the spread by trimming loose threads and frayed edges first, then bonding the tear edges flat with adhesive before covering them with a patch. A backing patch underneath the tear carries the load so the surrounding fabric stops pulling apart. Avoid sliding across the seat, keep keys and buckles away from the damaged area, and repair the tear promptly rather than waiting. Heat and sunlight weaken vinyl and leather, so park in shade where possible to slow further cracking.
When should a car seat tear be professionally repaired?
Call a professional when the tear sits on an airbag seam, near a seat heater element or sensor, or is longer than a few centimetres. The same applies if the foam underneath is exposed, if the damage keeps reopening after a home repair, or if the seat is leather and you need a seamless colour match. Lease holders should act before the end-of-lease inspection, as worn interiors can attract penalty charges. A mobile specialist can assess from a photo and quote without obligation.