Quick Summary
The best way to restore car leather is to first identify whether it is genuine leather or coated material, then clean the surface thoroughly so repairs bond. Fill cracks with flexible leather filler, apply thin coats of matched colour, and seal with a topcoat. Tears and extensive damage are better handled by a professional, and restoration cannot save seats that are hard, brittle and flaking.
- Test a warm fingertip on an inconspicuous spot: genuine leather feels soft, while coated materials feel cool and smooth.
- Use a flexible filler rated for car leather, applying two thin layers rather than one thick one.
- Let each filler and dye layer dry fully, and do not drive the car until the topcoat has cured for about 24 hours.
- Choose a professional repair for tears, splits and extensive cracking, since DIY filler will not hold a split under load.
- Work below about 15°C or in high humidity and the filler, dye and finish will not cure properly.
Table of Contents
- Identifying Your Leather and Assessing the Damage
- How to Clean Stained Car Leather Seats Before Any Repair
- How to Restore Cracked Leather Car Seats Step by Step
- Choosing a Car Leather Restoration Kit: Tools, Products and Selection Criteria
- DIY Restoration Versus Professional Repair: Pros, Cons and Costs
- Safety, Ventilation and Long-Term Care After Restoration
- Booking Your Mobile Leather Repair With TrimKings
- Frequently Asked Questions
Identifying Your Leather and Assessing the Damage
Before you buy a single product, work out what you are actually repairing. Genuine leather, coated leather and synthetic upholstery all look similar at first glance, but they need different treatment, and the wrong product can make things worse.
Genuine Leather Versus Coated or Synthetic Upholstery
Genuine leather has a slightly irregular grain, and the surface gives a little under a fingernail, which is one of the first checks when you plan to restore car leather.
This matters because a heavy filler designed for genuine leather can crack or peel on coated surfaces, and some coated materials need a flexible primer before any colour goes on.
Surface Wear, Cracks and Tears: What Each Means
Each type of damage points to a different repair:
- Surface wear shows as dullness, light scuffing or colour loss on the bolsters and seat base. It usually means the protective topcoat has worn away, so the repair is mainly cleaning, conditioning and a fresh finish.
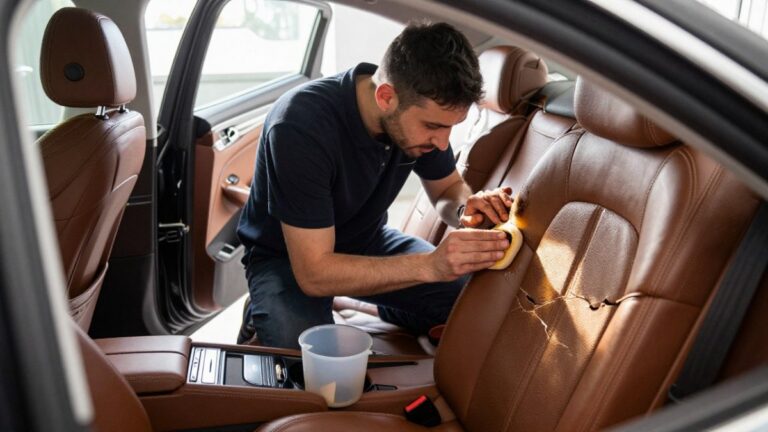
- Cracks are fine lines in the surface, often on high-flex areas such as the driver’s bolster. They are usually repairable with filler and recolouring, provided the leather underneath is still supple.
- Tears go through the hide and need a patch or a professional repair. A DIY filler will not hold a split under load.
A useful rule: if you can fold the leather and the crack opens into a gap, it is a repair job. If the leather is hard, brittle and flakes away, conditioning will help only partly, and the seat may need specialist attention.
How to Clean Stained Car Leather Seats Before Any Repair
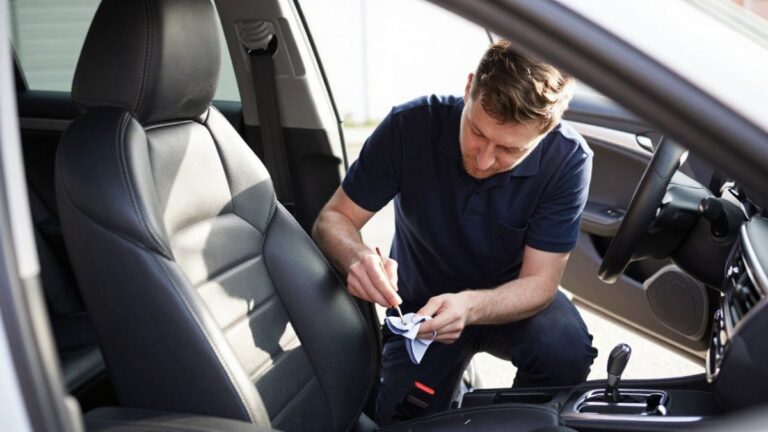
Cleaning is the step most people rush, and it is the one that decides whether filler and dye will stick when you restore car leather. Remove ink stains from car leather seats safely by testing first and blotting fresh marks.
Start with a dry vacuum using a soft brush attachment to lift grit from the seams. Then test a leather cleaner on a hidden area, such as under the seat, and wait for it to dry before you move on.
For stubborn marks such as ink, use an alcohol-based cleaner sparingly on a cloth, never poured directly onto the seat. Blot rather than rub, because rubbing spreads the stain and can lift the topcoat.
How to Restore Cracked Leather Car Seats Step by Step
Restoration works in stages, and each one depends on the last. Rushing a stage almost always shows in the finished result.
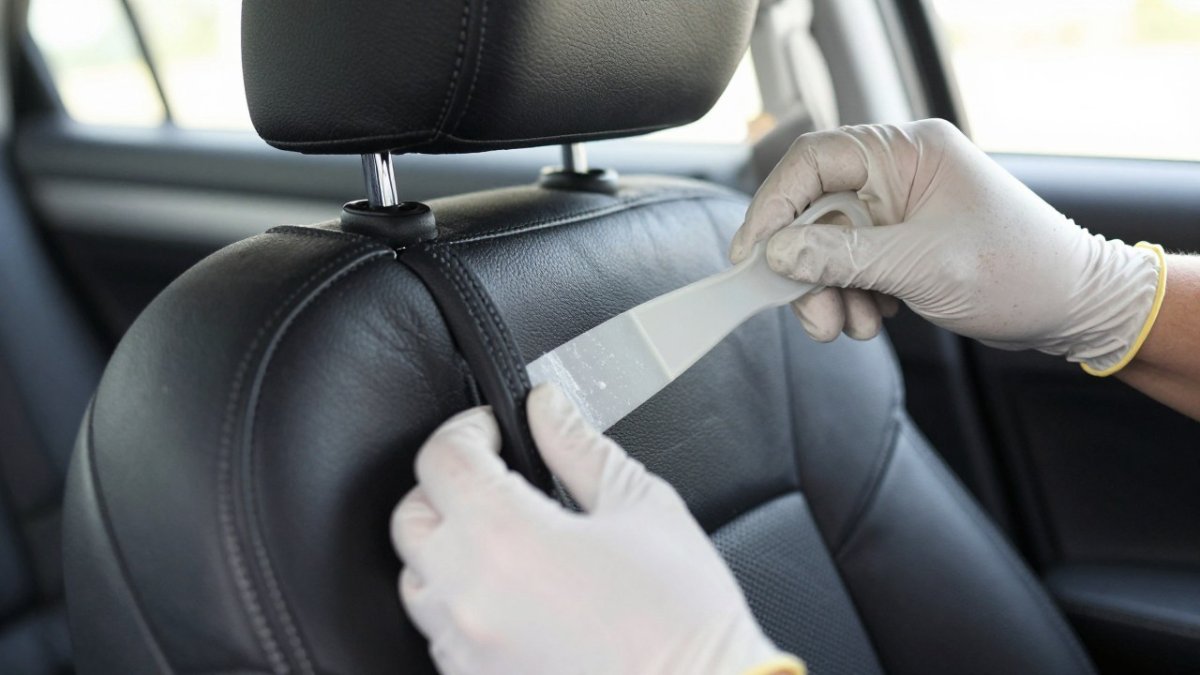
- Clean and prepare the surface. Remove all dirt and residue with a leather-specific cleaner, then wipe with an alcohol-based surface preparer so the filler has a clean key. Let it flash off for 10-15 minutes before filling.
- Fill the crack. Apply a flexible leather filler in thin layers with a small spatula, pressing it into the crack rather than laying it on top. Allow each layer to dry, typically 20-30 minutes for thin layers, before adding the next.
- Sand lightly. Once fully dry, smooth the filled area with 800-1000 grit abrasive so it sits flush with the surrounding grain. Wipe away the dust with a microfibre cloth.
- Apply a flexible base coat. This helps the colour adhere and reduces the chance of the repair cracking again. Two thin coats beat one thick one.
- Colour and seal. Apply thin, even coats of dye, usually with a sponge, feathering into the surrounding leather, then finish with a topcoat that matches the seat’s sheen, matte, satin or gloss.
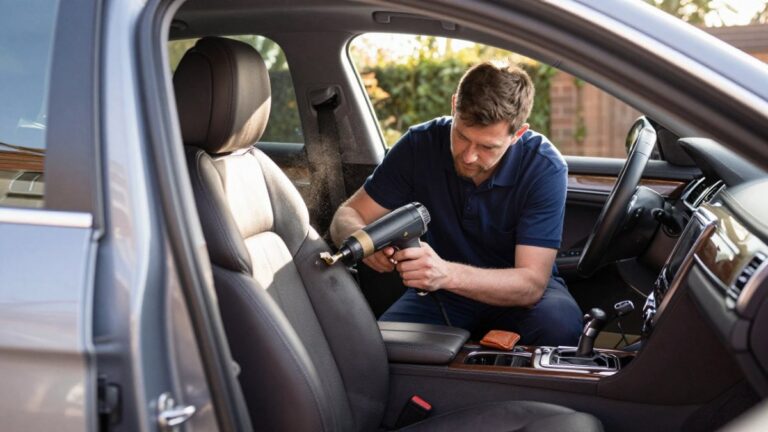
Work in a well-ventilated space with the seat in good light, and expect the full process to take a day or more, since each layer needs time to dry. Do not drive the car until the topcoat has fully cured, usually 24 hours.
Filling Cracks and Damaged Areas
Filler is where most DIY repairs succeed or fail. Use a flexible product made for leather, not a rigid plastic filler, which will crack again as the seat flexes. Apply it sparingly.
Watch out: filler applied over a crack that still has movement underneath will flex and fail within weeks. If the crack opens when you press beside it, stabilise the area first or accept that the repair is temporary.
Matching Colour and Applying Dye
Colour matching is the part people find hardest. Mix small amounts of dye and test them on an offcut or hidden area, because the colour will look different once it dries and sits on the seat.
Expect slight variation even with careful matching, especially on older seats that have faded unevenly. If the colour is badly off, you can usually adjust it before the topcoat goes on.
Troubleshooting Common Failures
Most DIY leather repairs fail in predictable ways. Knowing the cause saves you from repeating it:
- Uneven colour or blotchiness usually means the dye was applied too heavily or the surface was not uniformly prepared. Sand back lightly, re-prepare and apply thinner coats.
- Visible filler edges come from sanding before the filler is fully cured or from skipping the base coat. Re-fill the edge, sand flush and blend with a base coat before recolouring.
- Peeling dye points to contamination, oil, silicone from old conditioners, or skipped surface prep. Strip the affected area, clean with a preparer and start again.
If a repair fails twice in the same spot, the damage is probably deeper than surface level, and a specialist assessment is the cheaper route.
Choosing a Car Leather Restoration Kit: Tools, Products and Selection Criteria
A good kit covers every stage above, and the quality of the individual products matters more than the size of the box. Look for these points when you compare options:
- Leather-specific cleaner and surface preparer, so the repair bonds properly
- Flexible filler rated for car leather, with a small spatula or applicator
- Colour matched to your seat, or the ability to mix colours to suit
Check whether the kit states what leather it suits, and avoid anything that promises to fix torn or split leather. Compare the instructions for drying times, since a kit with shorter drying windows can save a full day.
We would not recommend a kit that does not list its products’ ingredients or hazard information, because you will be working with them inside an enclosed vehicle.
The article’s kit checklist lists the core items a restoration kit should cover, which you can scan at a glance:
| Kit item | What it does | Look for |
|---|---|---|
| Leather-specific cleaner and surface preparer | Ensures the repair bonds properly | Clean, residue-free surface |
| Flexible filler | Fills cracks in leather | Rated for car leather, with a small spatula |
| Matched colour | Blends the repair into the seat | Matched to your seat, or mixable |
| Flexible base coat and topcoat | Helps colour adhere and resist re-cracking | Suits matte, satin or gloss finish |
| Sponges, brushes and cloths | Enables even application | Included in the kit |
| Safety items | Protects you from solvent-based products | Gloves and a respirator |
DIY Restoration Versus Professional Repair: Pros, Cons and Costs
DIY restoration suits minor cracks and surface wear on a seat you plan to keep for a while. Compare trimmer costs, materials and repair versus retrim options before deciding. It costs less up front, and you can work at your own pace.
Professional repair suits tears, extensive cracking, badly faded seats and any situation where the result has to look right, such as a lease return or a high-value car.
When to Repair, Restore or Replace
Use damage severity as the deciding factor rather than price alone:
- Restore (DIY or professional) when the damage is surface wear, colour loss, fine cracks or scuffing on bolsters and the seat base, and the leather still feels supple.
- Repair professionally when a crack opens into a gap under light pressure, when a tear goes through the hide, or when a seam has split. DIY filler will not hold a split under load.
- Replace or re-cover when the leather is hard, brittle and flaking, when the backing or foam has collapsed, or when damage covers a large proportion of the seat panel. At that point restoration is cosmetic and short-lived.
A common pattern is that a failed DIY attempt on a tear costs more to put right than a professional repair would have cost in the first place, because the specialist has to remove filler and dye before starting.
What DIY and Professional Work Actually Cost
DIY kit costs vary by brand and by whether the colour is pre-matched or mixed to order, so compare the contents and price of each kit before buying.
Professional mobile leather repair is often priced per seat or per panel. Pricing depends on the number of seats, the extent of the damage, the vehicle and the leather finish, so check TrimKings’s website for current prices or request a quote.
How to Judge a Quote
When you compare professional quotes, ask what is included rather than looking only at the total:
- Whether the price covers cleaning, filling, colour matching, topcoat and a warranty period
- Whether the technician will colour match on site or use a pre-mixed colour
- Whether the work is done at your home or requires the car to be left
When comparing quotes, check whether each one includes the base coat and topcoat, since these steps affect how well a repair lasts. Get the scope in writing before you commit.
Safety, Ventilation and Long-Term Care After Restoration
Work in a ventilated space, ideally with the car doors open and the seat away from direct heat. Wear gloves and eye protection, and use a respirator when working with solvent-based products (Construction hazardous substances: Solvents).
Once the repair is cured, protect it. Condition the leather every few months to keep it supple, and avoid strong household cleaners, which can strip the finish.
Booking Your Mobile Leather Repair With TrimKings
If the damage is more than a DIY kit can handle, or you would rather not spend a weekend on it, TrimKings offers mobile car interior repair and restoration across the West Midlands.
The service covers leather seat refinishing, cigarette burn repairs, rips, scuffs and dashboard damage, across family cars, luxury supercars and commercial fleets. See how mobile interior repair works for luxury vehicles before you book.
Pricing depends on the number of seats, the extent of the damage and the vehicle.
Frequently Asked Questions
What is the best way to restore car leather?
For most worn or faded seats, the best approach is to clean thoroughly first, then lightly sand or prepare any cracked areas, fill damage with a flexible leather filler, apply a colour-matched dye in thin coats, and finish with a leather conditioner. Each step matters: dye will not bond to grease or residue, and fillers will not hold on dirty surfaces. For deep tears, stiff or heavily damaged seats, a professional repair may be worth considering, and TrimKings can assess your seats and provide a no-obligation quote from a photo.
Can cracked leather car seats be restored?
Yes, most surface cracks can be restored. Fine cracks and creasing usually respond well to cleaning, a flexible filler and a colour-matched dye. Deep splits, cracks that go through the hide, or areas where the leather has hardened and lost its flexibility are harder to repair and may need professional attention. The best result comes from treating cracks early, before they spread and before dirt gets into them.
How do you restore faded leather car seats?
Faded seats usually need a thorough clean to remove oils and dirt, then a light prep to open the surface, followed by a colour-matched leather dye applied in several thin coats. Sponge the dye on rather than spraying heavily, allow each coat to dry, and finish with a conditioner to restore softness. Check colour against natural light, as indoor lighting can make a match look different once the seat is outside.
What products do you need to restore leather car seats?
A typical car leather restoration kit includes a leather cleaner, an alcohol-based surface prep, a flexible filler, a colour-matched dye or re-dye, a sealant or topcoat, and a leather conditioner. You will also need a soft cleaning brush, a sponge applicator and clean microfibre cloths. Choose products made for automotive leather, check that the colour range suits your seat, and avoid household cleaners, which can strip the finish.
Is it better to restore or replace damaged leather car seats?
Restoration is usually the better option when the seat frame and padding are sound and the damage is confined to the surface, such as scuffs, light cracks, cigarette burns or small tears. Replacing a seat or a full set is more appropriate when the foam is collapsed, the frame is damaged or the leather is so degraded that repairs will not hold. TrimKings can give a no-obligation quote from a photo so you can compare the cost of restoration with replacement before deciding.