Table of Contents
- What You’ll Need Before You Start
- Step-by-Step: How to Fix Cigarette Burns in Car Seats
- Leather Car Seat Burn Repair: A Different Approach
- Choosing the Best Fabric Seat Repair Kit
- Car Seat Upholstery Repair Cost: DIY vs Professional
- Common Mistakes to Avoid When Repairing Burn Holes
- Frequently Asked Questions
Last Updated: September 10, 2026
What You’ll Need Before You Start
Fixing a cigarette burn in a car seat is a DIY job you can do in under an hour, provided you have the right materials and, crucially, the right adhesive for your seat’s material. Most failed DIY repairs come down to using the wrong glue on the wrong fabric.
The difference between a repair that lasts and one that peels within a month is almost always preparation and product choice, not technique.
Gather these before you touch the burn:
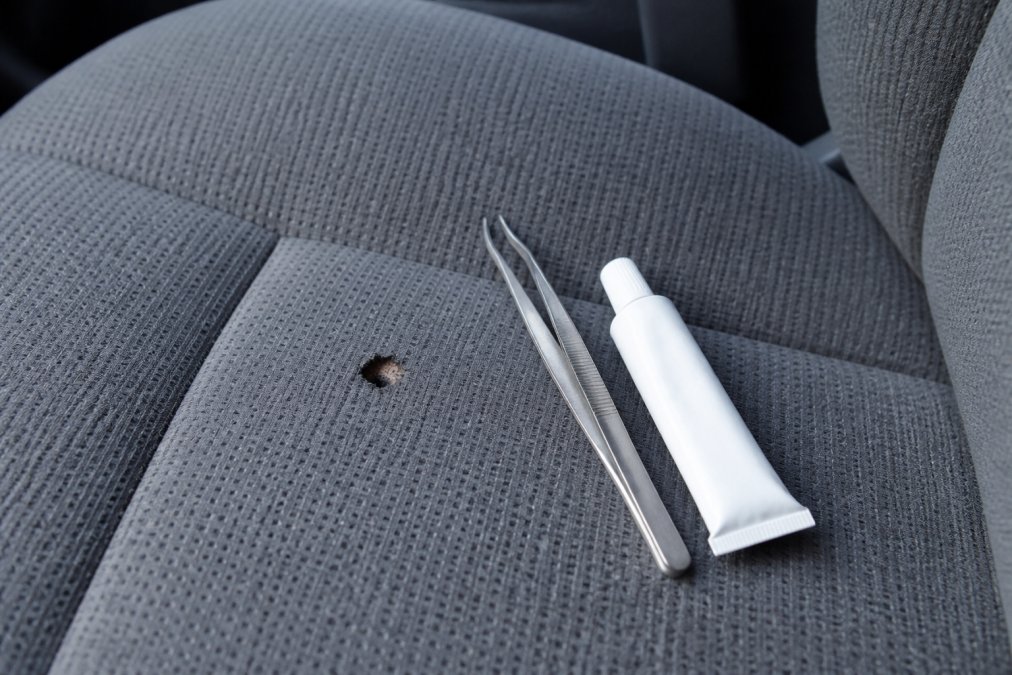
- A fresh razor blade or scalpel for trimming loose fibres
- Fine-point tweezers for removing charred material
- Sharp scissors for cutting patch fibres
- Fabric adhesive or silicone-based glue suited to automotive upholstery
- A small patch of matching fabric, ideally from under the seat or a hidden trim panel
- A clean microfibre cloth and isopropyl alcohol for surface preparation
- A soft-bristled brush for blending fibres
- A hair dryer or heat gun on a low setting
!
Step-by-Step: How to Fix Cigarette Burns in Car Seats
The core method: remove the charred material, rebuild the missing fibres with adhesive and donor fabric, then blend the repair into the surrounding upholstery. Work slowly for a seamless finish.
Step 1: Assess the Damage and Identify Your Seat Material
Before you do anything, work out what you’re dealing with. Cloth, velour, vinyl and leather each demand a different approach, treating leather like cloth will ruin it.
Check whether the burn is a surface scorch or a hole through to the foam. A shallow scorch often responds to fibre blending alone; a hole needs patching. This assessment determines your materials and your time.
Step 2: Prepare the Surface and Remove Loose Fibres
Trim away every charred, blackened fibre with the razor blade and tweezers. Left in place, burnt material stops adhesive bonding and shows through as a dark smudge.
Clean the area with isopropyl alcohol and let it dry fully. Surface preparation is where most DIY repairs are won or lost.
Step 3: Apply Fabric Adhesive and Rebuild the Damaged Area
Apply a small amount of fabric adhesive into the hole with a toothpick or blade tip. Press donor fibres in, building thin layers rather than one thick blob.
Work from the edges inward. Overfilling produces a raised, shiny patch that stands out worse than the original burn.
Step 4: Match Fibres, Blend Colour and Let It Cure
Match the fibre direction and texture of the surrounding upholstery, then blend colour with a fabric marker or dye matched to your seat. Texture matters as much as colour, a smooth patch on textured velour is always visible.
Most fabric adhesives need several hours before you apply pressure (PubMed). Keep the seat unused overnight where possible.
| Step | What You’re Doing | Typical Time |
|---|---|---|
| 1 | Assess damage and identify material | 5 minutes |
| 2 | Trim fibres and clean surface | 10 minutes |
| 3 | Apply adhesive and rebuild | 15 minutes |
| 4 | Match, blend and cure | 20 minutes plus curing |
Leather Car Seat Burn Repair: A Different Approach
Leather, vinyl and cloth burns are three different repairs, treating them the same is the most common reason a home fix looks worse than the burn. This section covers the two hard-surface materials; the cloth method is above.
How to tell leather from vinyl (and why it matters)
Before you buy anything, identify what you’re sitting on. Many modern seats are “leather-trimmed”: bolsters and facings are leather, but side panels and the rear are vinyl or synthetic bicast, and a cigarette burn often lands on the panel, not the facing.
A simple check: press a fingernail into an inconspicuous area (PubMed). Leather creases and relaxes slowly; vinyl springs back immediately. Leather grain varies across the hide, vinyl grain repeats. On perforated seats, leather shows a fibrous reverse, vinyl a fabric or foam laminate.
This matters because leather accepts flexible filler and pigment, while vinyl needs a vinyl-specific compound and an elastic top coat. Leather filler on vinyl cracks at the first cold snap.
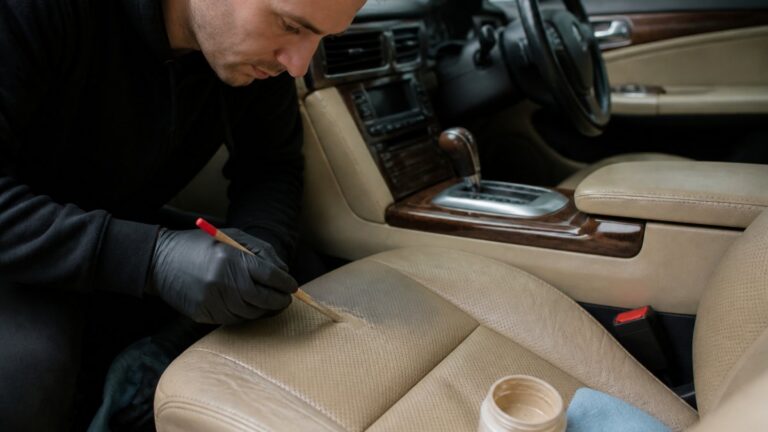
Leather burn repair, step by step
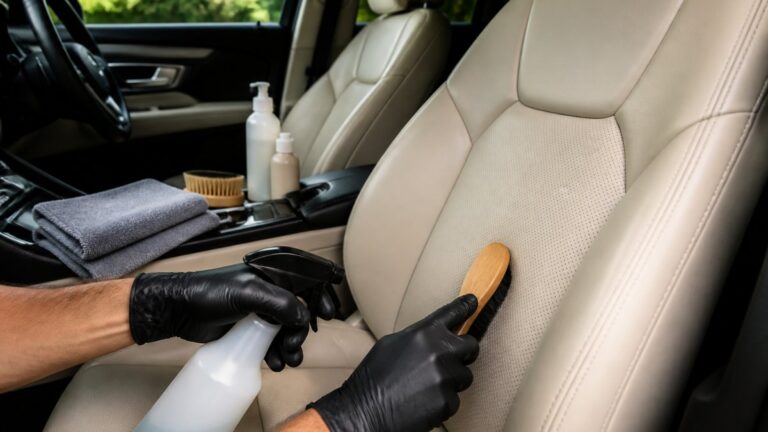
- Clean and degrease. Wipe the area with a leather-safe cleaner, not isopropyl alcohol, which strips the factory finish and can lift colour on older hides. Let it dry fully.
- Trim the scorch. A surface scorch needs no filler, it needs colour. A pit or hole needs filler. Use a fresh blade to lift any curled, hardened edges.
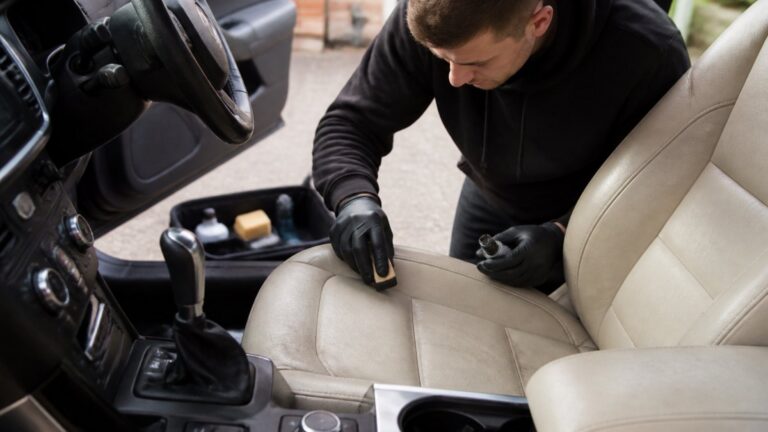
- Apply flexible leather filler in thin layers. A common pattern is three to four passes, each left to tack before the next. Thick single applications shrink as they cure and leave a dip.
- Sand between layers. Fine grit, typically 800 to 1500, used wet, with very light pressure. The aim is to level, not to remove.
- Rebuild the grain. This is the step most DIY guides skip. After filling, the repair is smooth while the surrounding hide is textured. A grain stamp or a texture pad pressed into the final filler layer restores the pattern.
- Colour in passes. Apply a flexible leather pigment matched to the seat, building opacity gradually. Two thin coats beat one heavy coat every time.
- Seal and protect. A flexible top coat locks the colour and gives the repair the same sheen as the surrounding hide. Matt, satin and gloss finishes are not interchangeable, match what’s already there.
Most flexible fillers are sandable within an hour or two and fully cured overnight; pigments and top coats need several hours before use. Keep weight off the repair for at least 24 hours where possible.
Vinyl burn repair
Vinyl is more forgiving on colour, dyes and repair compounds bond readily, but less forgiving on heat. A burn usually leaves a hard, raised rim around a pit; shave that rim flat before filling or it telegraphs through the repair.
Use a vinyl-specific compound, not leather filler. Apply thin layers, cure each, then sand flush. Vinyl takes a grain stamp well while still slightly soft. Colour with vinyl dye or flexible vinyl paint, then seal. Avoid solvent-heavy products on older vinyl, which can swell or wrinkle the surrounding material.
When hard-surface repair is not DIY
If the burn has gone through to the foam, crosses a seam or stitched panel, or the surrounding hide is cracked and dry, a filler repair will not hold. Those cases need panel replacement or a professional recolour of the whole facing, a spot repair on faded leather always reads as a patch.
Always test your colour match on a hidden area first, under the seat or on the rear of the backrest. Leather and vinyl both darken slightly as pigment cures, so a match that looks perfect wet can dry a shade too dark.
Do not use isopropyl alcohol on leather (PubMed). It is fine on cloth and vinyl, but on leather it strips the factory finish and can lift colour unevenly, turning a small burn into a large discoloured patch.
Choosing the Best Fabric Seat Repair Kit
The best fabric seat repair kit contains fibre-matching material, a flexible adhesive and colour-blending tools, not just glue. Adhesive-only kits leave you to source donor fibres, where most home repairs stall.
When comparing kits, check three things: whether the adhesive stays flexible once cured, whether the fibre pack includes multiple tones for blending, and whether the kit suits your material density. A kit for thin synthetic fibres won’t fill a dense velour burn cleanly. If you’d rather not source and match materials yourself, a professional mobile service can complete the repair on your driveway.
Car Seat Upholstery Repair Cost: DIY vs Professional
Most guides say a professional is worth it “for bigger damage” and leave it there. Here is what actually drives the cost of a car seat burn repair, and how to work out which route makes sense for your seat.
What drives the cost
Four variables set the price of any repair:
- Material. Cloth and velour are cheapest, donor fibres and adhesive are inexpensive. Vinyl sits in the middle. Leather is most expensive: filler, grain restoration, pigment and top coat, each with its own cure time.
- Size and depth. A surface scorch is a colour job. A hole through to the foam is a rebuild; burnt foam is a separate repair.
- Location. A burn mid-panel is straightforward. One on a seam, perforated panel, stitched bolster or contoured section takes far longer and risks a visible result.
- Seat removal. Some repairs can be done in situ. Others need the seat out to access the panel properly, which adds labour time.
When DIY genuinely works
DIY is a reasonable bet when all of the following are true:
- The burn is a single, small area, roughly the size of a fingernail or smaller.
- It sits on a flat or gently curved panel, away from seams and stitching.
- The material is cloth, velour or vinyl, not leather.
- The surrounding upholstery is in good condition and not faded.
- You are not handing the vehicle back on a lease or selling it imminently.
In those cases, a repair kit plus a couple of hours of careful work usually passes a casual glance. The cost is your time and the kit, and the downside if it goes wrong is limited.
When DIY fails, and why
DIY repairs fail in predictable ways. Understanding them is the fastest way to decide whether to attempt the job:
- Colour mismatch on faded upholstery. The number one failure. A kit’s “grey” is not your seat’s grey after years of UV exposure; without mixing and tinting, the repair reads as a patch even when texture is perfect.
- Texture mismatch. Filling a hole produces a smooth surface. On velour, alcantara-style fabrics or grained leather, smooth equals visible. Grain stamps and fibre blending take practice.
- Adhesive failure on the wrong substrate. Fabric adhesive on leather, or leather filler on vinyl, lifts or cracks. The product must match the material.
- Seam and perforation damage. A burn crossing a seam cannot be hidden with filler, the seam line always shows the repair.
- Lease and resale scrutiny. Inspectors and buyers look from a low angle in daylight. A repair that looks fine from the driver’s seat can be obvious from outside the car.
The professional route
A professional mobile repair typically costs a fraction of replacing the seat or trim panel. The value is the colour mixing, grain and texture matching, and a technician carrying the full product range rather than one kit.
Professional repair makes most sense when:
- The damage is on leather, or on a perforated or stitched panel.
- There are multiple burns, or the burn is larger than a fingernail.
- The upholstery is faded and needs colour matched by eye, not by part number.
- The vehicle is leased, financed, or about to be sold or part-exchanged.
- You have already attempted a DIY repair and it is visible.
A simple way to decide
Ask one question: if the repair is visible, what does it cost me? On an older car you plan to keep, a slightly visible repair is a non-issue and DIY is the sensible spend. On a lease vehicle, company car or anything heading to a dealer, a visible repair is a financial penalty, which makes professional restoration the cheaper option, not the more expensive one.
DIY wins on single, small, flat-panel burns in cloth or vinyl on vehicles you are keeping. Professional wins on leather, seams, perforations, multiple burns, faded upholstery, and any vehicle facing inspection, hand-back or resale.
If you are unsure which side of that line your damage falls on, send a photo of the burn and the surrounding panel. A quick assessment will tell you whether a kit will do the job or whether you would be wasting your time.
Common Mistakes to Avoid When Repairing Burn Holes
The biggest mistake is skipping surface preparation. Adhesive won’t bond to charred or greasy fibres, and the patch lifts within weeks.
Other frequent errors: overfilling the hole, ignoring fibre direction, and colour matching under artificial light only. Check your blend in daylight before it cures, and don’t rush curing, handling the seat too early distorts the repair.
If you’re unsure whether a repair will hold, or the damage spans a seam or trim panel, call in a professional rather than risk making it worse.
A cigarette burn doesn’t have to mean a replacement seat or a lease penalty. With the right adhesive, patient fibre matching and proper curing, most burns can be repaired to an invisible finish, and where the damage is extensive, leather-based or on a lease vehicle, professional restoration is the safer route. TrimKings brings mobile car interior repair to your home or workplace, with seamless colour matching, fast turnaround and a cost-effective alternative to replacement parts. Send us a photo of the damage for a no-obligation quote.
Frequently Asked Questions
How do I fix a cigarette burn in my car seat?
Start by trimming away charred fibres with tweezers or a razor blade, then clean the area. Apply a small amount of fabric adhesive to the burn hole and rebuild the gap with matching fibres from a hidden area of the seat, such as under the trim panel. Blend colour to match, then allow the adhesive to cure fully. For larger burns or leather seats, a professional repair gives a seamless finish.
How much does it cost to fix a cigarette burn in a car seat?
Car seat upholstery repair cost depends on the size of the burn, the material (cloth, velour, leather or vinyl) and whether you choose a DIY kit or a professional service. DIY kits are the cheaper route, while professional mobile repair is more cost-effective than replacing the seat entirely. Send a photo of the damage to a specialist for an accurate no-obligation quote.
What is the best cigarette burn repair kit for car seats?
The best fabric seat repair kit includes a silicone-based glue or fabric adhesive, colour-matched fibres, tweezers, a razor blade for trimming, and a curing agent. Look for kits that offer multiple colour options for blending, since texture and colour matching matter more than brand. For leather car seat burn repair, choose a kit with a leather filler and colourant rather than fabric fibres.
Is it better to repair or replace a burnt car seat?
Repair is almost always the better choice. Replacement seats are expensive, may not match your interior trim, and take longer to source. A professional repair is a cost-effective alternative to replacement, which also helps avoid end-of-lease penalty charges. Only consider replacement if the burn has damaged the seat structure or foam beneath the upholstery.