Table of Contents
- What You’ll Need: Tools and Materials for Leather Car Seat Repair
- Assessing the Damage: Cracks, Scuffs, Tears and Holes
- Step-by-Step: How to Repair Leather Car Seat Cracks
- Using a Leather Car Seat Repair Kit: What to Look For
- How to Prevent Leather Car Seats from Cracking
- When to Call Professional Leather Interior Repair Services
- Troubleshooting Failed Repairs: What Went Wrong and How to Fix It
- Frequently Asked Questions
Last Updated: September 14, 2026
What You’ll Need: Tools and Materials for Leather Car Seat Repair
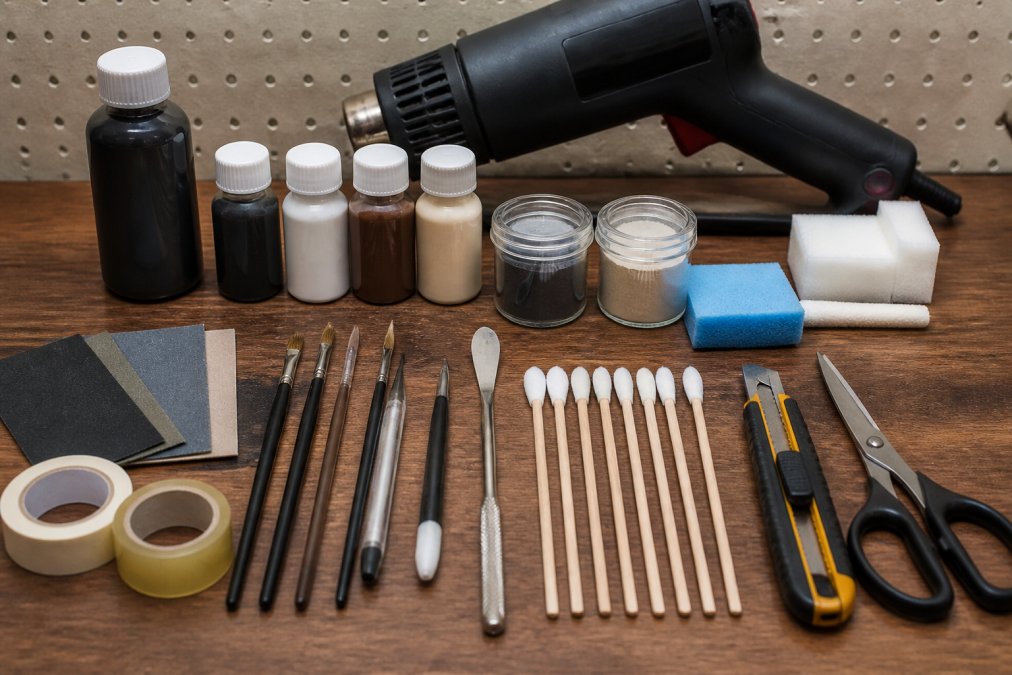
Learning how to repair leather car seat cracks starts with gathering the right kit before you touch the damaged area. A basic leather car seat repair kit typically contains flexible filler, a palette knife, fine-grit sandpaper, a degreaser and a microfiber cloth. Most DIY kits also include colour pigment and a sealing topcoat.
For deeper damage you may also need a heat gun, an abrasive pad and a bonding agent. Skip the heat gun and you risk uneven curing; skip the degreaser and the filler simply won’t adhere.
Buy a kit that includes separate colour pigment rather than a pre-mixed dye. Pre-mixed shades rarely match pigmented leather once they dry, and you cannot adjust them.
Identifying Your Leather Type Before You Start
Leather type decides which products will actually bond. Pigmented leather, the most common finish in modern cars, has a coloured topcoat over the hide. Unfinished or aniline leather absorbs dye differently and needs gentler treatment. Vinyl and synthetic leather behave differently again, and some fillers formulated for hide will not flex correctly on synthetic surfaces.
Check a hidden area first, such as under the seat, with a drop of water. If it beads, the surface is sealed and pigmented. If it soaks in immediately, treat it as unfinished and use a dedicated conditioner alongside your repair compound.
Assessing the Damage: Cracks, Scuffs, Tears and Holes
Not every defect needs the same approach. Surface cracking and scuffs usually respond to filler and dye alone. Tears and holes that expose the foam underneath need patching before any filler goes on, or the repair will fail within weeks.
Run your fingers across the damage. If the leather feels stiff and brittle, the fibres have dried out and you should condition the area before filling. If the crack has clean, sharp edges and no missing material, sanding and finishing may be enough without filler at all.
A simple way to triage the damage:
- Scuffs and light cracking: clean, dye, seal
- Deep cracks with missing material: clean, fill, sand, dye, seal
- Tears exposing foam: patch, bond, fill, sand, dye, seal
- Holes: treat as a tear, but build the filler up in thin layers rather than one thick application
Step-by-Step: How to Repair Leather Car Seat Cracks
The repair process follows five stages: clean, fill, sand, colour and seal. Rushing any single stage is the most common reason a DIY job looks patchy a month later. Set aside an afternoon, work in a well-lit space, and keep the ambient temperature above roughly 15°C, most fillers and pigments cure poorly in a cold garage (bsigroup.com).
Before you start, confirm your leather type, because it changes the technique at every stage. Pigmented leather (the sealed, coloured topcoat found on most modern seats) tolerates sanding and filler well. Aniline and semi-aniline leathers are dyed through with little or no surface coating, so sanding cuts straight into the colour layer and is difficult to reverse, work more gently, use less abrasive preparation, and expect to recondition rather than refinish. Synthetic and vinyl surfaces need a filler formulated to flex on plasticised coatings; hide-specific compounds can lift.
Step 1: Clean and Degrease the Surface
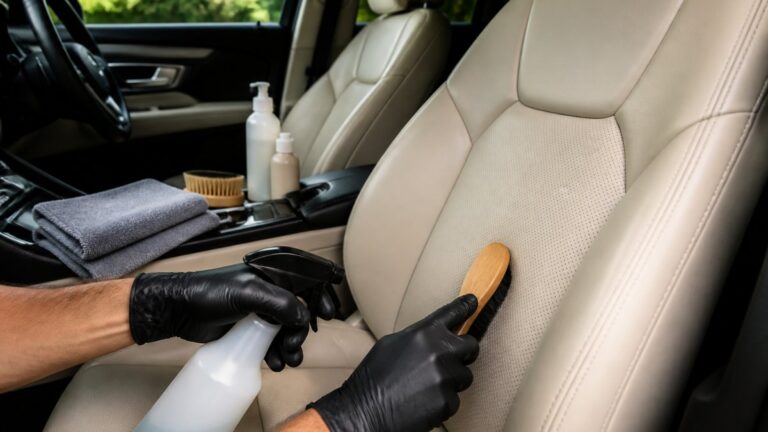
Wipe the area with a dedicated leather degreaser and a microfiber cloth, then let it dry completely. Oils, hand cream and silicone dressings sit on the surface and stop filler from bonding. If you have used a leather conditioner recently, clean twice, conditioners leave a residue that degreaser needs to lift.
For pigmented leather, a mild pH-neutral leather cleaner is enough. For aniline and semi-aniline, avoid alcohol-heavy cleaners that strip the dye; use a diluted leather cleaner and blot rather than scrub. Work into the crack itself with a soft brush so you remove the grey, broken-down finish that sits inside the split, filler will not bond to it.
Step 2: Apply Flexible Filler and Sand Smooth
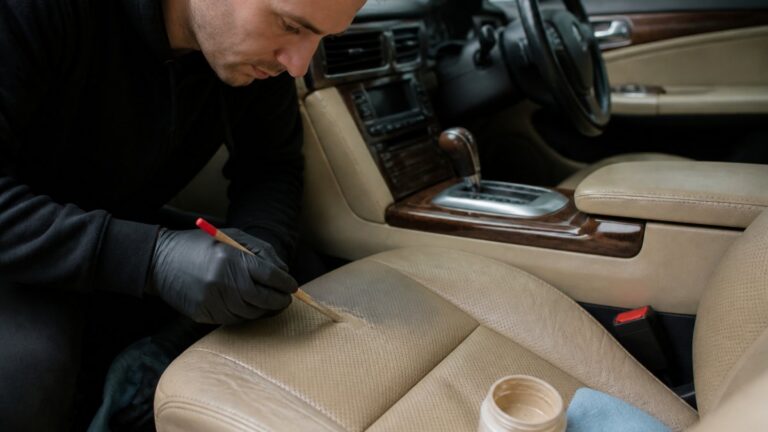
Apply the flexible filler in thin layers with a palette knife, building up the crack rather than filling it in one pass. Thin layers matter: a thick blob skins over on top while staying soft underneath, and it will sink or crack once the seat flexes. Let each layer cure for the time stated on the product, commonly around 20 minutes between coats, and up to 24 hours before sanding the final layer.
Build in three to five passes for a deep crack. On the last pass, press the filler with a textured pad or a grain stamp while it is still tacky so it picks up the leather’s grain pattern rather than drying flat and shiny.
Once fully cured, sand with fine-grit paper, start around 800 grit if the filler sits proud, then finish with 1500 to 2000 grit wet-and-dry used damp to blend the edges into the surrounding finish. Sanding dry clogs the paper and scratches pigmented leather. A heat gun on a low setting can help the filler settle into the grain texture, but keep it moving and never hold it close enough to make the leather too hot to touch, overheating shrinks the finish and causes new cracking.
Step 3: Colour Match, Dye and Apply Protective Finish
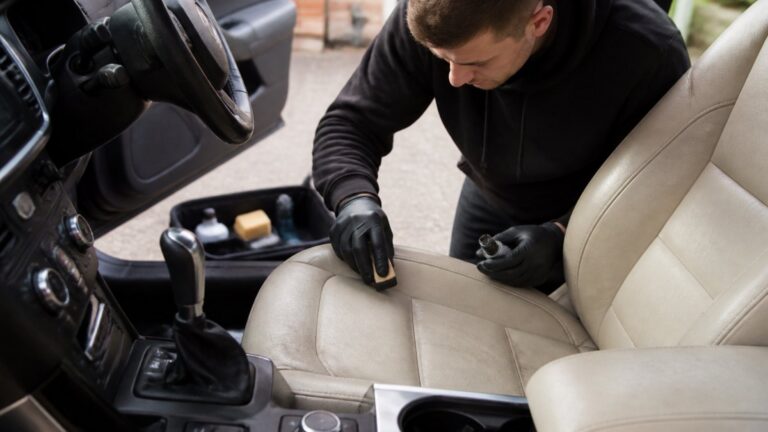
Test your colour pigment on a hidden patch first, and let it dry fully before judging the match, pigment shifts as it cures, so a shade that looks right wet often dries a tone too light. Apply the leather dye in thin coats with a sponge or airbrush, allowing each to dry, building coverage gradually rather than flooding the area.
For a factory-specific shade, mix pigment in small increments and keep a note of your ratios so you can repeat the match on another seat. Blend outward past the repair so there is no hard edge where the new colour meets the old.
Seal with a protective finish or topcoat once the colour is fully dry. The topcoat provides UV protection and restores the elasticity that keeps the leather from re-cracking (the NHS). Two thin coats are better than one thick one. Leave the seat unused for the full cure time on the topcoat, often 24 hours, before anyone sits on it.
Photograph your colour mix and the product labels before you start. If you need to touch up the same seat in two years, matching a documented mix is far easier than starting from scratch.
How the Repair Holds Up Over Time
A well-executed DIY repair on pigmented leather, sealed with a UV-resistant topcoat, typically holds for one to two years of normal use before it needs refreshing. The variables that shorten that are the ones you cannot control from a driveway: sustained UV through a windscreen, summer cabin temperatures that soften and re-harden the finish daily, and repeated flexing at the bolster where you slide in and out.
A simple durability check once the repair has fully cured: press and flex the area by hand and watch the surface under daylight. If the filler moves with the leather and the colour holds, the repair is sound. If it feels stiff, or the shade shifts in sunlight, strip it back and start again rather than sealing over a fault, a failed repair sealed under topcoat is much harder to remove later.
Using a Leather Car Seat Repair Kit: What to Look For
A good leather car seat repair kit should include flexible filler, colour pigment you can mix, fine-grit sandpaper, a degreaser and a protective topcoat. Kits that only supply a coloured paste tend to hide cracks rather than repair them, and the finish flakes off within months.
Look for a kit that names its filler as flexible, since rigid compounds crack again as soon as the seat flexes. Check that the colour system lets you blend shades, and that the topcoat is described as UV-resistant. If a kit lists no curing time for its filler, treat that as a warning sign.
How to Prevent Leather Car Seats from Cracking
Prevention comes down to three mechanisms: moisture loss, UV degradation and mechanical friction. Understanding which one is attacking your seats tells you what to actually do about it, and the answer differs depending on whether you have pigmented, aniline or synthetic leather.
Moisture loss. Leather is a network of collagen fibres held supple by natural oils. When those oils migrate out, through heat, harsh cleaners or simply time, the fibres stiffen, and a stiff hide cracks rather than flexes. The cracks usually appear first on the bolsters and the outer edge of the seat base, because those are the areas that flex most.
UV degradation. Ultraviolet light breaks down both the pigment and the clear topcoat on pigmented leather. Once the topcoat fails, the colour layer underneath is exposed and fades, and the surface dries out faster. This is why a car parked outside every day ages its seats far quicker than one kept in a garage.
Mechanical friction. The single biggest cause of cracked bolsters is the way you get in and out. Sliding across the side bolster drags across the finish thousands of times over a car’s life. No conditioner prevents that; only changing the movement does.
A short routine, matched to your leather type, keeps seats supple:
- Pigmented leather: clean with a pH-neutral leather cleaner every two to three months, then apply a water-based conditioner two to three times a year. Avoid anything labelled as a dressing or with a high silicone content.
- Aniline and semi-aniline: these absorb products differently and mark easily. Use a dedicated aniline conditioner, apply sparingly, and test on a hidden area first. Never use a coloured cream, it will stain.
- Synthetic and vinyl: these do not absorb conditioner, so conditioning does nothing. Protect them instead with a UV-blocking interior protectant, and clean with a mild soap solution.
Beyond conditioning:
- Park in shade or use a windscreen shade, the cabin temperature drop is the single most effective thing you can do
- Wipe up spills immediately rather than letting them soak in, especially anything acidic
- Avoid abrasive pads and household cleaners on pigmented leather; they strip the topcoat that protects the colour layer
- Lift yourself out of the seat rather than sliding across the bolster, or fit a seat cover on the driver’s side if you do a lot of short journeys
- Treat small cracks as soon as they appear, a hairline crack caught early is a ten-minute touch-up, while the same crack left for a year becomes a filler-and-dye job
Silicone-based dressings give a shiny finish but trap dirt and stop future filler from bonding. If you plan to repair cracks later, use a water-based conditioner instead.
Prevention is not about buying the most expensive conditioner. It is about slowing moisture loss, blocking UV and reducing friction, and the balance of those three depends on which leather you actually have.
When to Call Professional Leather Interior Repair Services
Some damage is worth handing over. Professional leather interior repair services make sense when the leather is torn through to the foam, when the colour is a factory-specific shade you cannot match, or when the seat is in a lease vehicle you are about to return.
The cost-benefit calculation is straightforward. A mobile repair that comes to your home or workplace avoids the downtime of leaving the car at a garage, and it is usually far cheaper than replacing a seat or facing end-of-lease penalty charges. For fleet operators, on-site repair also keeps vans on the road rather than in a workshop queue.
At TrimKings, we handle leather seat refinishing, cigarette burn repairs, rips, scuffs and dashboard damage as a mobile service across the West Midlands, serving everything from family cars to luxury supercars and commercial fleets.
Troubleshooting Failed Repairs: What Went Wrong and How to Fix It
Most failed repairs trace back to one of four causes: poor cleaning, filler applied too thickly, a colour that did not match once dry, or no protective topcoat. Each has a fix, but you will usually need to strip the failed layer back to bare leather first.
| Problem | Likely Cause | Fix |
|---|---|---|
| Filler peeling at edges | Surface not degreased | Clean again, reapply in thin layers |
| Visible patch after dyeing | Colour mixed too light | Strip, remix pigment, dye in thin coats |
| Cracks returning quickly | No flexible topcoat | Sand back, reseal with UV topcoat |
| Filler cracking as seat flexes | Rigid compound used | Remove, switch to flexible filler |
| Grain texture lost | Over-sanding | Rebuild grain with filler, sand lightly |
Durability testing matters here. Once a repair has cured fully, press and flex the area by hand. If the filler moves with the leather and the colour holds under daylight, the repair should last. If it feels stiff or the shade shifts in sunlight, strip it back and start again rather than sealing over a fault.
Frequently Asked Questions
Can cracked leather car seats be repaired?
Yes, most cracked leather car seats can be repaired successfully. Surface cracking and scuffs respond well to cleaning, flexible filler, and colour-matched dye. Deeper splits that go through the leather may need patching or a replacement panel. The key is assessing the damage honestly before you start. A leather car seat repair compound fills the crack, and a protective finish restores the surface. If the crack is wider than a few millimetres or the leather feels brittle, professional leather interior repair services are usually the better route.
How long does a leather car seat repair last?
A well-executed repair using flexible filler, colour-matched dye, and a protective topcoat typically lasts several years with proper care. Durability depends on how much the seat flexes, sun exposure, and whether you condition the leather regularly. Repairs in high-wear areas like the driver’s side bolster may need touching up sooner. Using a quality leather car seat repair kit and allowing full curing time between stages makes a significant difference to how long the repair holds up.
Is it better to repair or replace cracked leather car seats?
Repair is almost always cheaper and faster than replacement. Replacing a seat cover or full seat can cost hundreds of pounds and take days, while a repair kit or mobile service handles most cracks in under an hour. Replacement only makes sense when the leather is torn through, the foam underneath is damaged, or the seat structure is compromised. For lease vehicles, a professional repair often costs far less than end-of-lease penalty charges for interior damage.
What is the best leather crack filler?
The best filler is a flexible leather repair compound designed for upholstery, not a rigid adhesive. Flexible filler moves with the leather as you sit down and get up, so it resists re-cracking. Look for a product that bonds well, dries to a sandable finish, and accepts leather dye evenly. Apply it in thin layers with a palette knife, letting each layer cure before adding the next. A heat gun on a low setting speeds up curing and helps the filler settle into the grain texture.
Cracked leather rarely gets better on its own, and a small split left alone usually becomes a tear that no filler will hide. TrimKings restores leather seats, rips, scuffs and dashboard damage with mobile service that comes to your home or workplace, seamless colour matching, and a cost-effective alternative to replacement parts. Send a photo of the damage for a no-obligation quote and get a fast turnaround without leaving your car at a garage.