Table of Contents
- Assessing Burn Damage: Fabric, Leather, and Velour
- What You’ll Need: Tools and Materials for Upholstery Repair
- Step-by-Step: Repairing Cigarette Burns in Car Upholstery
- Choosing a Car Upholstery Repair Kit: What to Look For
- The Cost of Repairing Cigarette Burns in Car: DIY vs Professional
- Professional Car Seat Burn Repair: When to Call an Expert
- Common Mistakes to Avoid and Long-Term Durability
- Frequently Asked Questions
Last Updated: September 16, 2026
Assessing Burn Damage: Fabric, Leather, and Velour
Repairing cigarette burns in car upholstery starts with one question: what has the heat done to the material? A cigarette ember runs hot enough to melt synthetic fibres before it chars them, so damage often looks worse than it feels. At TrimKings, we assess mobile interior repairs across the West Midlands every week, and diagnosis always comes before the kit.
Damage falls into three broad categories:
- Fabric and synthetic blend: a scorched crater with hardened, melted edges and a ring of discoloured fibres
- Velour: crushed pile around a shallow burn, often with a visible bald patch where fibres have fused
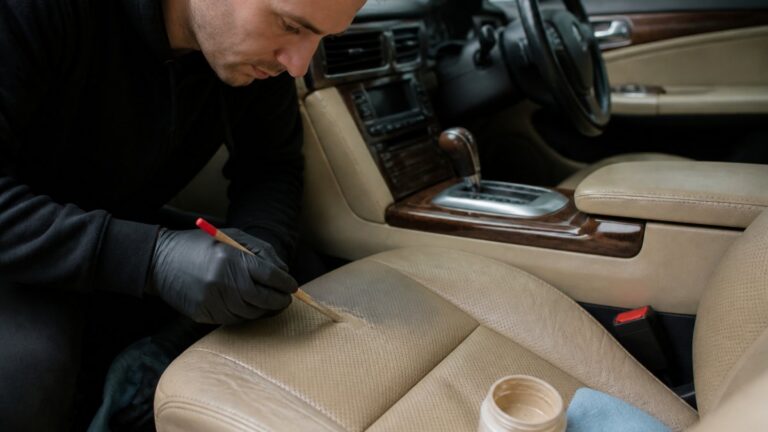
- Leather: a raised, brittle blister or a small hole, sometimes with heat damage spreading into the surrounding finish
Run your fingertips over the area. Hard, crusty edges mean melted synthetic fibres that must be trimmed before any filler will bond. Soft but discoloured surfaces are usually surface-level heat damage that responds well to cleaning and refinishing.
Never pick at a burn with your fingernails. Pulling away loose fibres tears the surrounding weave and turns a coin-sized burn into a patch that needs full panel replacement.
What You’ll Need: Tools and Materials for Upholstery Repair
A proper car upholstery repair kit is more than a tube of fabric glue. For a professional finish you need the right adhesive, matching fibres, pigment, and a few small tools. This is what we carry on mobile call-outs, split by material because the two jobs share almost nothing beyond a microfibre cloth.
For fabric, velour, and synthetic blends:
- Flexible fabric adhesive formulated for automotive textiles, look for a water-based or solvent-based textile adhesive that stays slightly elastic once cured, not a rigid cyanoacrylate or craft PVA
- Synthetic fibre packs in a shade close to your upholstery, plus a darker tone for blending, loose flocked fibre sold for automotive trim work, not craft felt
- Fabric pigment or dye in a small mixing palette, ideally a set covering warm and cool greys as well as blacks and browns
- Applicator tool, a fine-tipped spatula or a curved needle for pushing fibres into a crater
- Fine abrasive around 600 grit for levelling the rim of a crater, plus a 1200-grit pad for finishing
- Small trimming scissors or a scalpel for cutting back melted edges
- Isopropyl alcohol (IPA) at 99% concentration for surface prep, the 70% pharmacy grade leaves too much water behind
- Microfibre cloths for cleaning and buffing
For leather and faux leather:
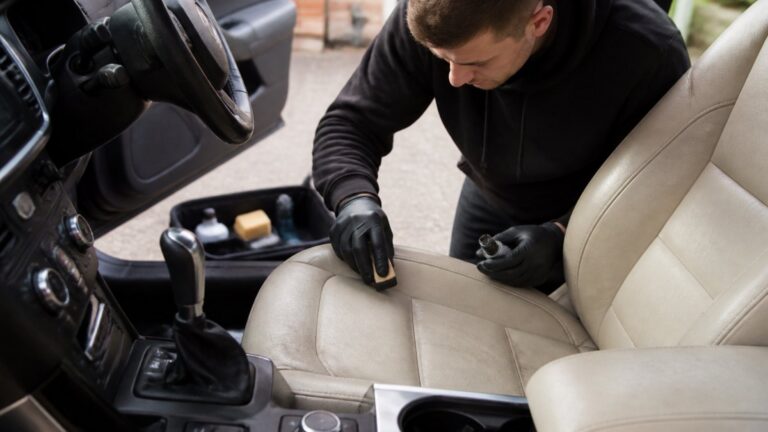
- Flexible leather filler that cures to a semi-rigid, sandable state, the same product used for scuff and crack repair
- Leather colourant or dye matched to the hide, plus a matting agent if the finish is satin rather than gloss
- Grain stamp or texture pad to press the original grain pattern back into the filler before it cures
- Leather sealant or topcoat to restore the protective layer the heat destroyed
- Leather cleaner, a pH-balanced cleaner, not a household detergent
Where to source in the UK: automotive trim suppliers, specialist leather repair retailers, and larger online craft and upholstery merchants stock these.
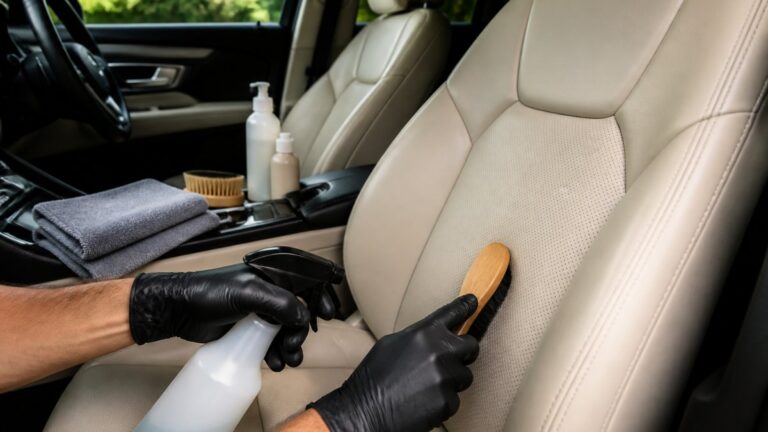
Decant a small amount of IPA into a labelled spray bottle for surface prep. It evaporates cleanly, leaves no residue, and is far easier to control than a soaked cloth on a vertical seat back.
Step-by-Step: Repairing Cigarette Burns in Car Upholstery
Step 1: Surface Preparation and Cleaning
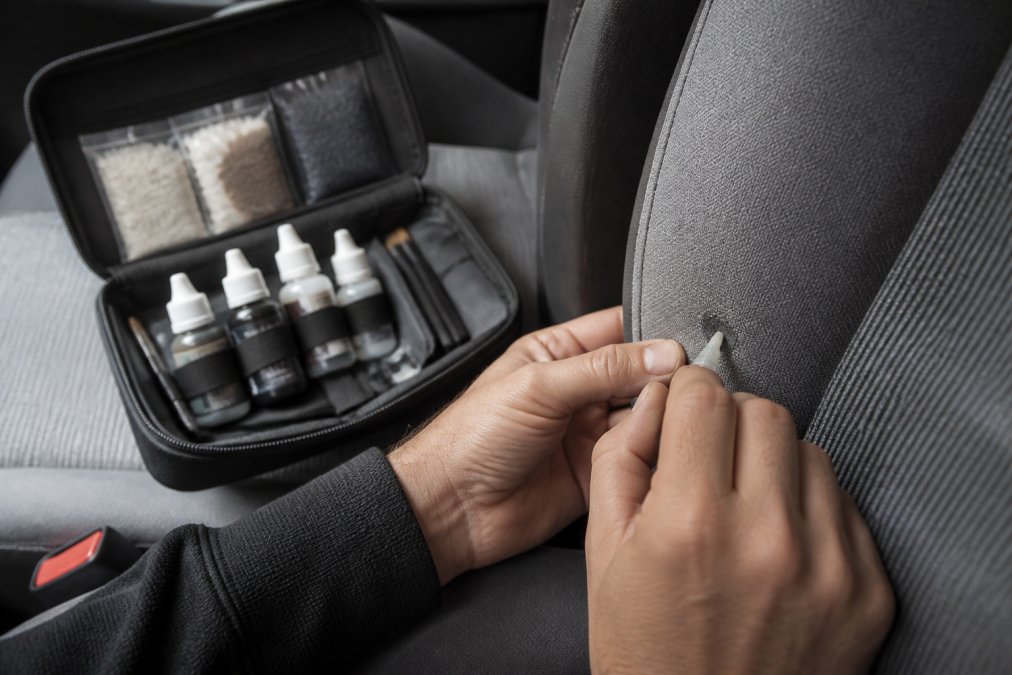
Cleaning is not optional: adhesive will not bond to silicone polish, dust, or old conditioner. Vacuum, wipe with solvent or isopropyl alcohol, and let it dry fully. Trim hardened, melted edges with small scissors so surrounding fibres sit flat, then gently sand the crater rim so the repair sits level.
Step 2: Fiber Application and Adhesive Bonding
Apply a small amount of fabric glue into the crater with your applicator tool, working in thin layers, a thick blob traps air and dries unevenly. While the adhesive is tacky, press synthetic fibres in a few strands at a time, matching the direction of the surrounding weave. Let it cure fully, checking the manufacturer’s stated curing time rather than guessing.
Step 3: Colour Matching and Texture Blending
Colour matching is where most DIY repairs give themselves away. Mix pigment in small increments, testing against the seat in natural daylight rather than under a torch. Dab on thin coats until the tone blends, then buff gently with a microfibre cloth to match the original sheen. Texture matters as much as colour: a flat, shiny patch on a textured seat still looks wrong.
Mix slightly more pigment than you think you need and keep it sealed. If the colour reads a touch too light once cured, you can darken it in a second pass, but you cannot easily lighten an over-dark patch.
Choosing a Car Upholstery Repair Kit: What to Look For
Buying a car upholstery repair kit is where the cost-benefit calculation gets interesting. Cheap kits often skimp on the two things that decide the result: colour range and adhesive quality.
Look for these features:
| Kit Feature | Why It Matters | Watch Out For |
|---|---|---|
| Wide pigment range | Matches more interior shades | Kits with only 3-4 colours |
| Automotive-grade adhesive | Flexes without cracking | Generic craft glue |
| Synthetic fibre pack | Blends into the weave | Single-tone fibre bundles |
| Applicator tools included | Precise fibre placement | Kits that assume you own tools |
| Clear curing instructions | Predictable results | Vague or missing guidance |
The Cost of Repairing Cigarette Burns in Car: DIY vs Professional
The cost of repairing cigarette burns in car interiors depends on material, location, and how many burns you have. A DIY kit is a modest outlay but risks a visible patch that hurts resale appeal. Professional repair is priced per job, usually quoted after a photo assessment, so pricing depends on the damage rather than a flat rate.
Here is how the two routes compare:
| Factor | DIY Kit | Professional Repair |
|---|---|---|
| Upfront spend | Low | Quoted per job |
| Time investment | Several hours | Minimal disruption |
| Colour match accuracy | Variable | Seamless |
| Risk of visible patch | High | Low |
| Best for | Single, small burns | Multiple burns, leather, lease returns |
Professional Car Seat Burn Repair: When to Call an Expert
Call an expert when the burn sits on a seam, when the material is leather or velour, or when several burns sit close together. Seam integrity is the factor most people overlook: a burn crossing a stitched seam cannot be filled with fibre and adhesive alone, because the repair must restore the structural join, not just the surface. DIY usually leaves a puckered line that draws the eye.
Drivers with leather seats, seam damage, or multiple burns who want a finish that holds up to inspection.
Common Mistakes to Avoid and Long-Term Durability
The most common mistakes in repairing cigarette burns in car upholstery trace back to impatience: rushing the cure, skipping surface prep, or over-applying adhesive will each undermine an otherwise sound repair.
Watch for these:
- Skipping solvent prep: adhesive fails within weeks on a contaminated surface
- Over-filling the crater: a raised patch catches light and looks obvious
- Ignoring cure time: handling the repair early disturbs the bond
- Colour matching under artificial light: the patch looks right indoors and wrong in daylight
- Using one product for every material: fabric and leather need different approaches
How Repairs Actually Hold Up Over 12+ Months
The durability of a repair is material-specific, as UV exposure and friction from use can affect it.
What Actually Drives Longevity
Three factors decide whether a repair survives a year of real use:
- Surface preparation, degreasing with IPA and trimming melted fibres. This is the single biggest predictor of whether the repair lifts at the edges.
- Adhesive flexibility, a rigid adhesive cracks under the constant flexing of a seat cushion. Automotive textile adhesives are formulated to stay slightly elastic.
- Topcoat on leather, the sealant is what protects the colourant from friction and UV. Skipping it is the most common reason a leather repair fades within a season.
If you only remember one thing: trim the melted fibres, degrease with IPA, and let each layer cure fully. Those three steps decide whether the repair is still invisible in a year’s time.
Frequently Asked Questions
Can you repair cigarette burns on car upholstery?
Yes, most cigarette burns can be repaired successfully. The method depends on the material: fabric and velour burns are often filled with synthetic fibers and fabric glue, while leather burns may require sanding and colour pigment. For small burns, a DIY car upholstery repair kit can work well. Larger or deeper burns, especially in leather, often need professional car seat burn repair to achieve a seamless finish.
How do you fix a cigarette burn hole in upholstery?
Start by cleaning the area and trimming any melted edges. For fabric, apply a bonding agent, then build up the hole with matching synthetic fibers. Once dry, sand lightly and apply colour pigment to match the surrounding upholstery. Always test colour on a hidden area first. Curing time between steps is crucial for a durable finish that resists daily wear.
How much does professional car seat burn repair cost?
The cost of repairing cigarette burns in car varies based on damage size, material, and location. Leather repairs can differ in pricing from fabric repairs. Mobile services save you time by coming to your home or workplace. For an accurate quote, send a photo of the damage to a professional. Many providers, including TrimKings, offer no-obligation quotes so you can compare options.
Does insurance cover cigarette burn damage in cars?
Standard car insurance policies rarely cover cigarette burn damage because it is considered accidental damage caused by the owner. Some comprehensive policies may cover it if the damage resulted from a fire, but this is uncommon. For lease vehicles, repairing burns before returning the car can help you avoid end-of-lease penalty charges, which are often higher than a professional repair.