Table of Contents
- What Mobile Car Interior Repair Covers
- How Mobile Leather Seat Repair Cost Works
- How to Fix a Rip in Car Seat Upholstery
- DIY Car Interior Repair Kits vs Professional
- Leather Seat Restoration and Colour Matching
- Service Areas and Vehicle Types Covered
- Looking After Repaired Upholstery
- Frequently Asked Questions
Last Updated: September 20, 2026
What Mobile Car Interior Repair Covers
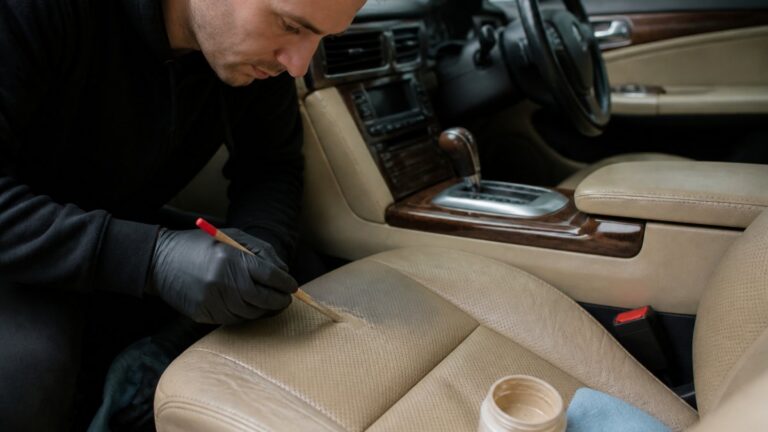
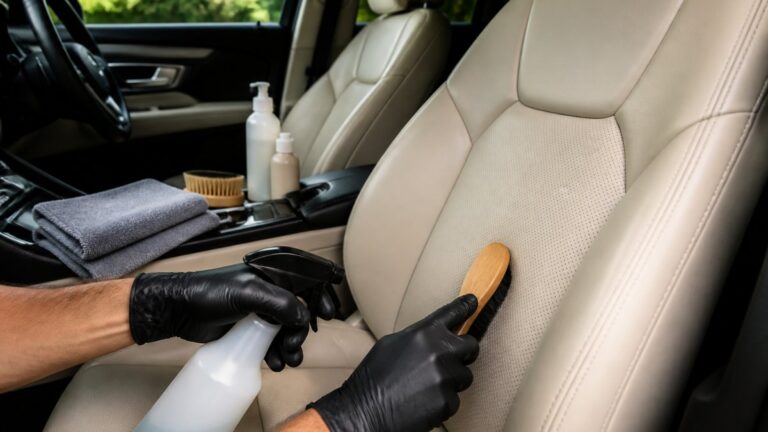
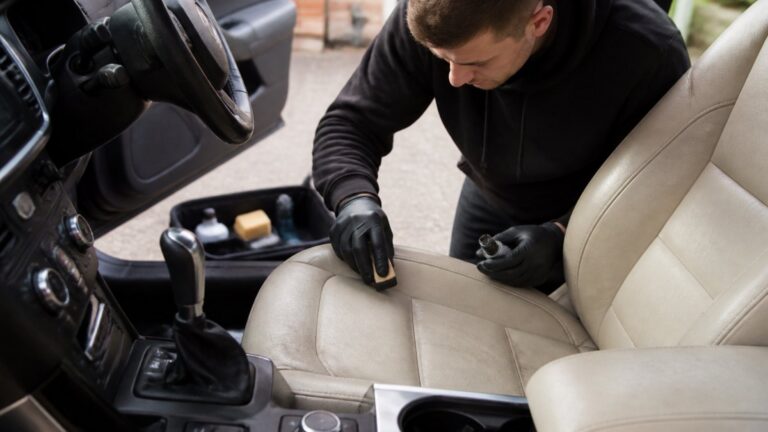
Mobile car interior repair west midlands brings the workshop to your driveway. Instead of leaving your vehicle at a garage for days, a technician arrives at your home or workplace and restores damaged trim, leather, and fabric on site. At TrimKings, we cover everything from leather seat refinishing and cigarette burn repairs to fixing rips, scuffs, and dashboard damage.
Damage Types Fixed On Site
Most interior damage falls into a handful of categories, and each one has a different repair method:
- Cracked or worn leather on seats, bolsters, and armrests
- Rips and tears in fabric upholstery and stitching
- Cigarette burns and scorch marks on seats and headlining
- Dashboard scuffs and scratches on soft-touch plastics
Damage assessment comes first. A technician who quotes without seeing the damage in person, or at least in a clear photo, is guessing. Send a photo before you book anything.
How Mobile Leather Seat Repair Cost Works
There is no single figure for mobile leather seat repair cost, because the price depends on what is being repaired. A small scuff on one bolster is a different job from re-trimming two front seats.
What drives the price:
- The size and depth of the damage. Surface scuffs take far less time than a tear that has gone through the leather.
- The number of panels involved. One seat or five changes the labour considerably.
- The material. Standard leather, perforated leather, alcantara, and vinyl all need different products and techniques.
- Colour matching difficulty. Unusual or faded colours take longer to match accurately.
- Access. A seat that comes out easily is quicker to work on than one buried behind a tight console.
Ask what the quote includes.
How to Fix a Rip in Car Seat Upholstery
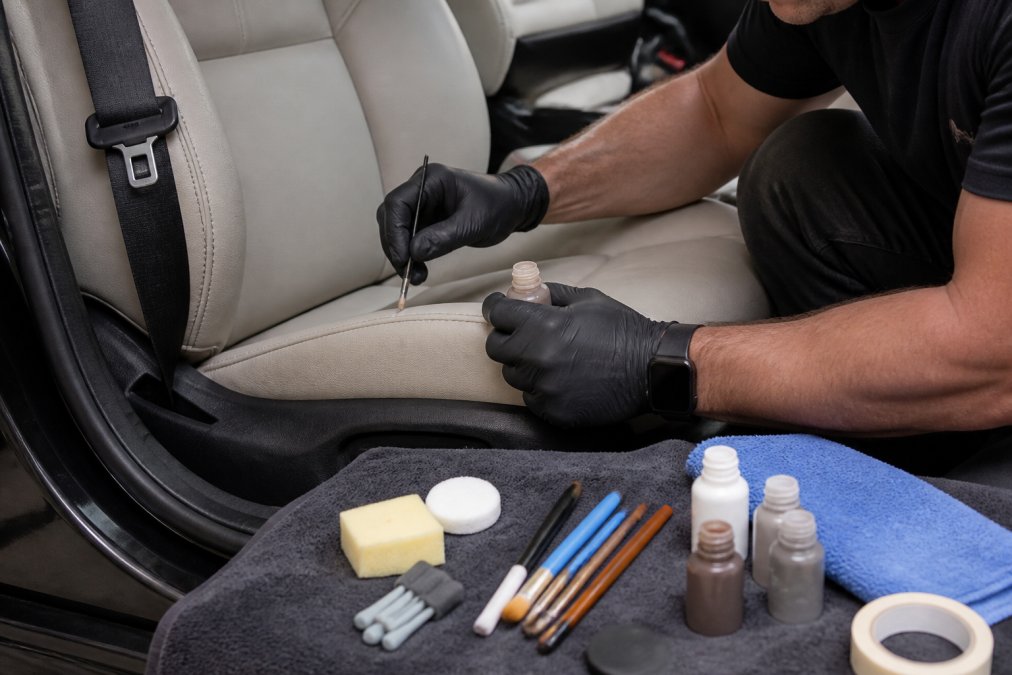
Knowing how to fix a rip in car seat upholstery helps you judge whether a professional repair is worth it. Small, clean tears in non-structural areas are the ones a technician can make vanish. Ragged tears, split seams, and damage over the seat’s foam often need a partial re-trim.
Step-by-Step: What a Technician Actually Does
- Damage assessment. The technician inspects the tear, checks the surrounding material, and confirms the repair is viable on site.
- Cleaning and preparation. The area is cleaned and any loose fibres or frayed edges are trimmed back.
- Backing and filling. A flexible backing is inserted behind the tear, then a filler builds the surface back to level.
- Grain and texture matching. The filler is textured to match the surrounding leather or fabric, so the repair does not sit flat against the rest of the seat.
- Colour matching and dyeing. A colour is mixed to match the seat, accounting for fading, and applied in thin layers.
- Sealing and finishing. A protective finish locks in the colour and gives the repair the same sheen as the original material.
The whole job is usually completed with minimal disruption to your schedule.
DIY Car Interior Repair Kits vs Professional
DIY car interior repair kits vs professional repair is a genuine trade-off. The decision comes down to four things: the type of damage, the material, the visibility of the repair, and what the car is worth to you. Get those wrong and a cheap kit becomes an expensive mistake.
What a DIY Kit Can Realistically Do
A typical kit contains a filler, a grain stamp or texture pad, a small colourant set, and a sealant. That suits surface-level damage on non-structural panels:
- Light scuffs and scratches on vinyl door cards or plastic trim
- Small colour loss on a leather bolster where the finish has worn but the hide is intact
- Minor creases that need heat and conditioning rather than filling
- Fabric pulls where the weave is intact and only the surface is disturbed
The Real Cost of Getting It Wrong
A kit is cheap to buy but a failed repair is not. A patch that is visibly different in colour or texture draws the eye more than the original damage did. On a lease return, that can turn a minor wear item into a chargeable defect; on a private sale, it gives a buyer a reason to negotiate down or walk away.
Where Each Option Makes Sense
| Situation | DIY Kit | Professional Repair |
|---|---|---|
| Tiny scuff on vinyl trim | Worth trying | Overkill |
| Cigarette burn on fabric | Unlikely to match | Best result |
| Cracked or split leather seat | No | Yes |
| Colour match on a faded seat | Rarely convincing | Colour matched on site |
| End-of-lease damage | Risky | Avoids penalties |
| Multiple panels or seats | Impractical | Handled in one visit |
| Damage over seat foam | No | Partial re-trim likely |
A Simple Decision Rule
Ask three questions before buying a kit:
- Is the damage structural? If you can see foam, felt or the backing behind the material, a kit will not fix it.
- Is the repair in your eyeline? Anything on the driver’s bolster, the seat base, or the top of the dashboard is seen every journey. Visible repairs need to disappear, not just cover.
- Does the colour need to match a faded surface? If yes, a pre-mixed colourant is unlikely to blend, because the seat has changed colour since it left the factory.
If the answer to any is yes, a professional assessment is cheaper in the long run. If all three are no, a kit is a reasonable first attempt on a low-value, low-visibility mark.
A poorly matched DIY patch can reduce a car’s value more than the original damage. If the repair is visible from the driver’s seat, get a professional opinion first.
Before buying a kit, send a clear photo of the damage to a mobile technician. Most will tell you honestly whether it is a DIY job or not, which saves you the cost of a kit you cannot use.
Leather Seat Restoration and Colour Matching
Leather seat restoration brings worn, cracked, or faded leather back to a high standard. The hardest part is not the repair itself, but the colour.
Lease holders and anyone selling a car within the next year. A matched repair protects resale value and avoids end-of-lease charges for interior damage.
Service Areas and Vehicle Types Covered
Mobile car interior repair across the region covers a wide spread of towns and postcodes, and the service is built around coming to you. TrimKings covers the West Midlands, arriving at homes, workplaces, and fleet yards.
- Family cars with worn driver’s seats and scuffed trim
- Luxury and performance cars needing careful leather restoration
- Classic vehicles where original materials must be preserved
- Cabriolets with fabric hoods and worn interior trim
- Commercial fleets, from single vans to larger fleets, maintained on site
Looking After Repaired Upholstery
Aftercare decides how long a repair lasts. A good repair, looked after properly, holds up for years; neglected, even a perfect colour match will wear again. This is the part most owners get wrong.
The First 48 Hours
A fresh repair needs time to cure before it is put under normal use:
- Leave the repaired panel alone for at least 24 hours where possible, and avoid sitting on a repaired seat base for the first day.
- Do not clean the area for the first few days. Cleaners can lift a finish that has not fully bonded.
- Keep the car ventilated if the repair involved dye or sealant, and avoid parking in direct sun while it cures.
- Do not fold, flex or stretch a repaired panel, including folding rear seats or dropping a cabriolet hood, until the finish has set.
Leather: A Simple Maintenance Routine
Leather is skin, and it dries out without conditioning. A workable routine:
- Clean every two to three months with a pH-balanced leather cleaner and a soft microfibre cloth. Household detergent, washing-up liquid and all-purpose cleaners strip the finish and dry the hide.
- Condition after every clean with a leather conditioner, working it in with a foam applicator and buffing off the excess. This keeps the hide supple and slows the cracking that starts in creases.
- Treat repaired areas gently for the first month. Use a conditioner rather than a cleaner on the repaired panel, and avoid abrasive pads.
- Blot spills immediately with a dry cloth rather than rubbing. Rubbing pushes liquid into the grain and spreads the mark.
- Keep sharp objects off the seats. Keys, tools, belt buckles and pet claws cause most of the tears technicians are called out to.
Fabric and Alcantara
Fabric and alcantara need a different approach:
- Vacuum first, clean second. Loose grit acts like sandpaper on the weave if you clean over it.
- Use a fabric-specific cleaner and work from the outside of a stain inwards to stop it spreading.
- Do not soak the panel. Excess moisture can wick into the foam and cause odour or staining.
- Brush alcantara with a soft suede brush to lift the nap after cleaning, and avoid water-based cleaners that flatten the pile.
Protecting the Repair Long Term
- Park in shade where you can. Sun fading is the main cause of uneven colour over time, and a repaired panel fades at a different rate to the original if it is constantly exposed.
- Consider a UV-protective interior treatment on dashboards and rear shelves, which take the most sun.
- Use seat covers only if they fit properly. A loose cover rubs and wears the finish faster than leaving the seat bare.
- Avoid harsh chemicals on repaired areas, including solvent-based dash cleaners and air fresheners that spray directly onto trim.
- Check the repair at each service. A small lift in the finish is easy to touch in; a worn-through patch is a new repair.
What Causes a Repair to Fail Early
The repairs that fail early are almost always the ones exposed to abrasion or the wrong cleaning products: household cleaners, abrasive cloths, direct sun, and repeated friction from a loose seat cover or child seat base. Treat a repaired panel like the original material and it will behave the same way.
Anyone who has just had a repair done, and anyone maintaining a lease car they plan to hand back. A five-minute routine every few months is what keeps a repair invisible and avoids end-of-lease charges.
Aftercare is not optional. A repair is only as good as the surface it sits on, and the wrong cleaner can undo a colour match in a single wipe.
Frequently Asked Questions
Is it cheaper to reupholster car seats or buy new ones?
Repair is almost always the cheaper route. Reupholstering or replacing a seat means paying for new materials, labour and often a replacement seat frame, while a mobile car interior repair fixes only the damaged area. For scuffs, tears and burns, a technician repairs the existing panel rather than swapping it out, so you avoid the cost of new parts and the downtime of a workshop visit.
Can cigarette burns in car seats be repaired invisibly?
Yes, in most cases. A technician cleans the damaged area, fills the burn with a matching filler, then rebuilds the leather or fabric grain and applies a colour-matched dye. Once sealed and finished, the repair blends into the surrounding material. Deep burns that have gone through to the foam may need a small patch underneath first, but the visible result is still a seamless finish.
How long does a mobile car interior repair take?
Most single repairs, such as a scuff, small tear or burn, are finished within one to two hours. Larger jobs like full seat re-trimming or multiple panels take longer and may need a half-day booking. Because the technician comes to your home or workplace, there is minimal disruption to your schedule.
Can a mobile technician handle a fleet of vans?
Yes. Mobile interior repair suits fleets because the technician travels to your depot and works through vehicles one at a time, so most of the fleet stays on the road. Volume bookings are usually scheduled in advance, and pricing depends on the number of vehicles, the type of damage and how many panels need work. Send photos of the damage for a no-obligation quote.