Table of Contents
- What You’ll Need: Tools and Materials for Repairing Car Upholstery
- Assessing the Damage to Your Car Seats
- Preparing the Surface for Repair
- How to Fix a Hole in a Fabric Car Seat
- Repairing Leather Tears and Cigarette Burns
- Choosing the Right Car Upholstery Repair Kit for Your Needs
- When to Use Mobile Car Interior Repair Services
- Long-Term Durability and Maintenance After Repair
- Frequently Asked Questions
Last Updated: September 23, 2026
What You’ll Need: Tools and Materials for Repairing Car Upholstery
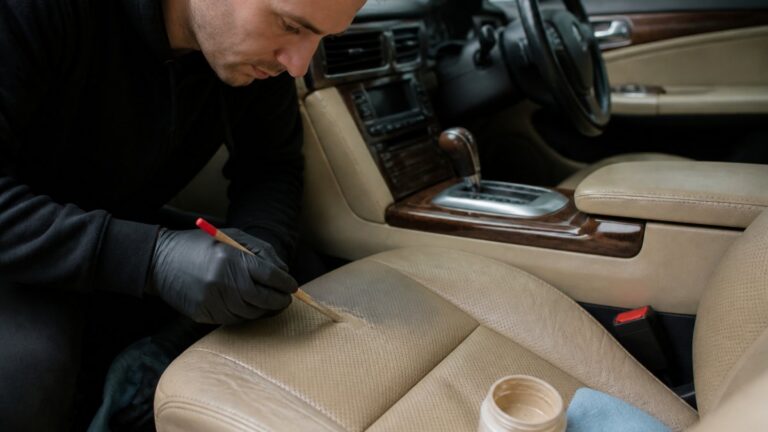
Repairing car upholstery at home requires proper materials; without them, repairs fail within weeks.
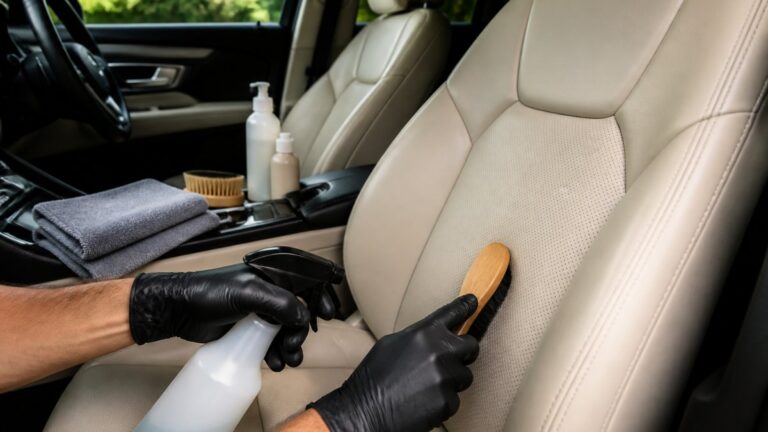
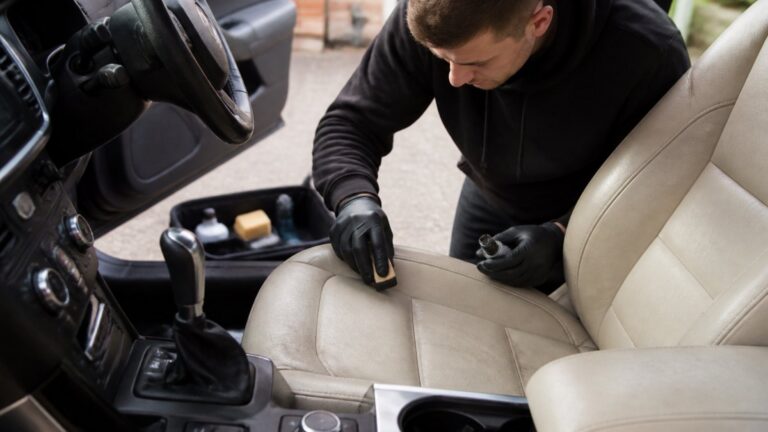
Start with basics: heat gun, spatula, fine-grit sandpaper (220-400 grit), degreaser, vinyl adhesive, leather filler, and a colour matching system for seamless blending.
Fabric kits need backing patches and bonding agents; leather repairs need a grain texture pad. A curing agent accelerates drying time.
Consider these essentials:
- Heat gun for adhesive activation
- Sandpaper (220, 320, 400 grit)
- Vinyl adhesive and fabric bonding agents
- Leather filler and grain texture pads
- Colour matching samples or digital tools
- Backing patches (various sizes)
- Degreaser and upholstery cleaner
- Spatulas and application brushes
- Protective gloves and masks
Quality matters: cheap adhesives separate within months. Professional-grade materials cost more upfront but deliver lasting repairs.
Assessing the Damage to Your Car Seats
Understand the damage type before starting; different damage needs different approaches.
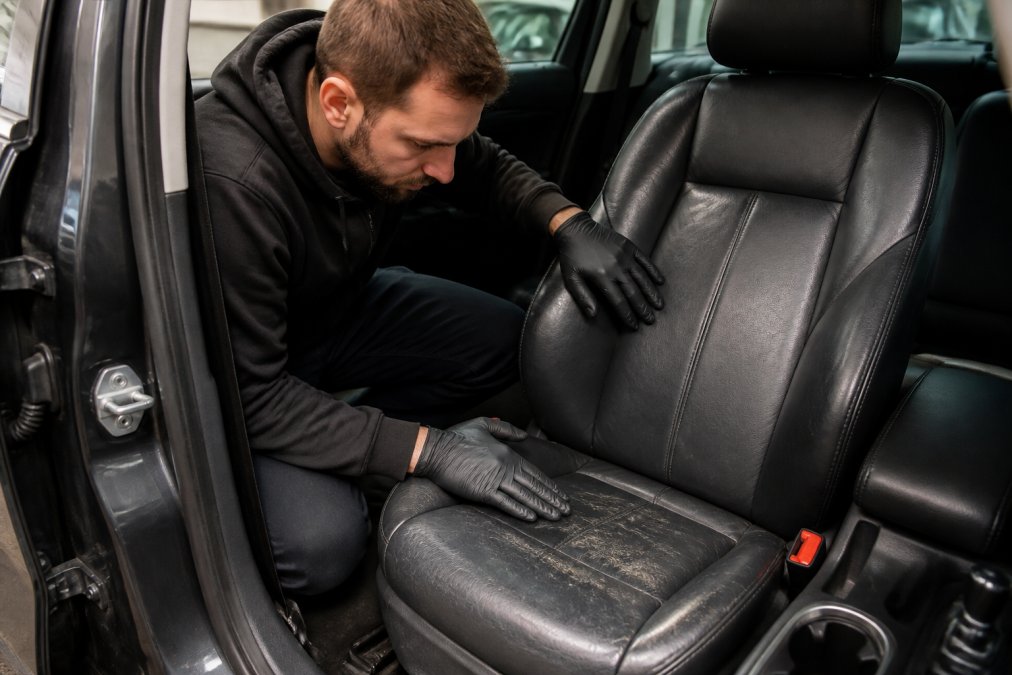
Small tears (under 2cm) need backing patches and adhesive; larger tears need reinforcement. Cigarette burns are charred and weakened, requiring patching, not just filling.
Abrasion damage shows as worn areas on armrests and edges. Leather cracking appears as surface lines that deepen if ignored.
Assess these factors:
- Size of damage (small puncture vs. large tear)
- Type of material (fabric, leather, or synthetic vinyl)
- Depth (surface damage vs. through-damage)
- Location (high-stress area or low-traffic zone)
- Colour match difficulty (solid colour vs. pattern)
Small fabric tears on low-stress areas are beginner jobs; large leather tears on driver’s seats are intermediate. Multiple damage types suggest calling a professional mobile service.
Preparing the Surface for Repair
Surface preparation separates professional results from amateur patches; skipping it causes failure within months.
Clean the damaged area thoroughly with upholstery cleaner or degreaser, removing dirt and oils. Let dry completely; moisture prevents adhesive bonding.
Sand lightly with 220-grit, then 400-grit sandpaper on the damaged area and 2-3cm border to create adhesive grip. Wipe away all dust and let dry.
Check grain texture on leather and weave pattern on fabric. Roughen vinyl surfaces slightly to accept adhesive.
Key preparation steps:
- Clean with appropriate cleaner (upholstery or degreaser)
- Allow complete drying
- Sand damaged area and 2-3cm border
- Remove all dust
- Inspect grain or weave pattern
- Check colour under good lighting
This stage takes 30-45 minutes and determines repair longevity; rushing preparation is the most common cause of failure.
How to Fix a Hole in a Fabric Car Seat
Fabric tears are the most common car upholstery damage and manageable at home for small to medium holes, but repair methods differ for interior seats versus exterior surfaces like convertible tops.
Interior Fabric Seat Repairs
Interior seat fabric stays dry and temperature-stable; repairs prioritize durability under pressure and colour matching.
For holes under 3cm, position a backing patch behind the tear, apply vinyl adhesive, and press firmly for 2-3 minutes. Cure for 24 hours at room temperature.
Larger holes (3-8cm) need a backing patch 2-3cm larger than the hole, then a surface patch on the visible side with matching grain or weave pattern.
For burn holes, remove charred material with fine sandpaper, then treat like a standard hole with backing and surface patches. Reinforce generously as burnt fabric is weakened.
Steps for interior fabric repair:
- Clean and dry the damaged area completely
- Sand lightly to remove loose fibres
- Cut backing patch (2-3cm larger than hole)
- Apply vinyl adhesive to patch edges
- Position behind tear and press for 2-3 minutes
- Allow 24-hour cure time
- Apply surface patch if hole is visible
- Sand seams smooth once fully cured
- Test durability by pressing on the repair; it should feel solid
Critical step: align patches carefully to match grain and weave pattern before pressing down to avoid visible lines.
Exterior Fabric Repairs (Convertible Tops, Tonneau Covers, Soft Tops)
Exterior fabric repairs differ fundamentally: these surfaces face UV exposure, temperature cycling, water infiltration, and constant flexing. Standard interior adhesives fail within months due to lack of waterproofing and UV stability.
Exterior fabric repairs require:
- Waterproof adhesives: Formulated to cure in the presence of moisture and remain flexible when wet. Standard vinyl adhesive will not work.
- UV-resistant patches: Fabric patches must be treated to resist fading and degradation from sunlight. Interior patches will bleach and weaken.
- Flexible bonding: Convertible tops flex constantly. Rigid fillers crack; flexible sealants remain intact.
- Seam sealing: Water infiltrates through seams. Interior repairs don’t need this; exterior repairs do.
For small convertible top tears (under 2cm), use a waterproof automotive patch kit with exterior-rated adhesive and seam sealer. Clean and dry thoroughly, then cure for 48-72 hours without moisture interference.
Larger convertible top tears (2-5cm) need a reinforcement patch underneath and surface patch on top, with seam sealer around all edges.
Key differences between interior and exterior fabric repairs:
| Factor | Interior Seat Fabric | Exterior Fabric (Convertible/Tonneau) |
|---|---|---|
| Adhesive type | Standard vinyl adhesive | Waterproof, flexible adhesive |
| Patch material | Standard fabric | UV-treated, waterproof fabric |
| Curing time | 24 hours | 48-72 hours |
| Seam sealing | Not required | Required |
| Temperature range | Room temperature | −10°C to 50°C (or wider) |
| Flexibility requirement | Moderate | High (constant flexing) |
| Water resistance | Not critical | Critical |
Repairing Leather Tears and Cigarette Burns
Leather repair differs from fabric: leather requires grain texture restoration and different bonding approaches.
Leather repair process:
- Clean the damaged area thoroughly
- Remove any loose or burnt material
- Apply leather filler (slightly overfilled)
- Allow full curing (typically 12-24 hours)
- Sand smooth with fine-grit sandpaper
- Apply grain texture pad to match original pattern
- Apply leather conditioner for flexibility
- Colour match if needed
Choosing the Right Car Upholstery Repair Kit for Your Needs
Repair kits vary by damage type, skill level, and common failure modes.
Common kit failure modes and recovery:
-
Adhesive separation after 2-4 weeks: Caused by incomplete preparation or trapped moisture. Prevention: sand thoroughly, dry 24 hours. Recovery: peel back patch, clean with degreaser, dry fully, reapply.
-
Filler cracking during curing: Caused by thick application or quick curing in heat. Prevention: apply thin layers, cure in shade. Recovery: sand out, clean, reapply thinly.
-
Colour mismatch after drying: Dyes shift tone during curing. Prevention: test on hidden area, cure fully before assessing. Recovery: apply lighter coat or conditioner to blend.
-
Grain texture pad not matching: Caused by wrong angle or tacky filler. Prevention: wait until filler is firm, press straight down. Recovery: lift pad, cure longer, reapply.
-
Visible seams or edges: Caused by misalignment or insufficient blending. Prevention: align patches, sand seams smooth with 400-grit. Recovery: apply thin colorant coat along seam edge.
Kit selection guide:
| Damage Type | Best Kit Type | Skill Level | Typical Cost Range |
|---|---|---|---|
| Small fabric tears (under 3cm) | Basic fabric kit | Beginner | £15-£30 |
| Leather burns or tears (under 5cm) | Leather-specific kit | Intermediate | £25-£50 |
| Mixed damage (fabric + leather) | Comprehensive kit | Intermediate | £40-£80 |
| Multiple areas or large damage | Professional-grade comprehensive | Advanced | £60-£120 |
When to Use Mobile Car Interior Repair Services
Some repairs are beyond DIY scope. Knowing when to call a professional saves money and frustration.
Consider professional repair if:
- Damage is large (tears over 5cm)
- Multiple damage areas exist
- You need repairs within 24-48 hours
- Lease-end inspection is approaching
- You have a fleet of vehicles
- Colour matching is critical
- The damage involves seam repair
Long-Term Durability and Maintenance After Repair
A repair is only as good as its aftercare. Proper maintenance extends the life of your fix significantly.
Maintenance schedule:
- Week 1 after repair: Avoid heavy use
- Monthly: Clean repaired area gently
- Quarterly: Apply leather conditioner (leather repairs)
- Bi-annually: Deep clean upholstery
- Annually: Inspect repair for any separation or damage
Frequently Asked Questions
Can I repair car upholstery myself, or should I hire a professional?
You can tackle minor damage yourself using a car upholstery repair kit for small tears, burns, and scuffs. However, professional mobile car interior repair services are worth considering for extensive damage, luxury vehicles, or lease cars where finish quality is critical. DIY repair saves money but requires patience and attention to detail; professionals guarantee colour matching and durability, which is especially important if you’re avoiding end-of-lease charges. Assess the damage size and your confidence level before deciding.
What is the best glue to repair car upholstery?
The best adhesive depends on your material. Vinyl adhesive works well for synthetic fabrics and vinyl seats, while leather-specific bonding agents suit genuine leather repairs. Look for flexible, waterproof adhesives that cure without shrinking, as car interiors experience temperature and humidity changes. Most quality car upholstery repair kits include appropriate adhesive for their specific material. Always test the glue on a hidden area first to ensure it doesn’t discolour or damage the upholstery.
How long does a repair take, and will my car be out of action?
DIY repairs typically take 2-4 hours depending on damage size and your experience. Curing times vary by product but usually range from 4-24 hours before the seat is fully usable. Mobile repair services often complete work on-site, so you’re not without your vehicle. For lease vehicles or commercial fleets, mobile car interior repair services are particularly convenient because they come to your home or workplace, minimising disruption to your schedule.
How do I know if my repair will last, and what maintenance helps?
Long-term durability depends on the repair method, material type, and how you maintain the seat afterward. Professional repairs typically offer enhanced durability because of superior colour matching and curing processes. After repair, clean upholstery gently with an upholstery cleaner, avoid excessive heat and direct sunlight, and condition leather regularly. Avoid placing sharp objects on repaired areas, and treat the seat carefully for the first month while the repair fully cures. Professional services often provide aftercare guidance to maximise durability.
Repairing car upholstery at home works for small, straightforward damage. But larger tears, multiple problem areas, or lease-end deadlines demand professional attention. TrimKings offers mobile car interior repair services that come to your home or workplace, delivering seamless colour matching and durable repairs across all upholstery types. Send us a photo of the damage to receive a competitive, no-obligation quote today.