Table of Contents
- Introduction
- What Counts as Fair Wear and Tear Under the BVRLA Fair Wear and Tear Guide
- How to Clean Car Interior Before Lease Return: A Step-by-Step Checklist
- Car Lease Interior Damage Repair Cost: DIY vs Professional Repair vs Lease Company Charges
- How to Dispute Lease End Damage Charges with Evidence
- Lease Extension vs Return: Which Option Saves You More?
- The Psychology of the Inspection: What Assessors Look For
- Frequently Asked Questions
Last Updated: September 11, 2026
Introduction
Avoiding end of lease car interior charges starts with understanding what assessors actually class as damage versus fair wear and tear. This guide from TrimKings breaks down the BVRLA standards, practical cleaning steps, and dispute tactics that keep money in your pocket at handover.
Lease car interior charges are the fees a leasing company applies when returned upholstery, trim, or cabin fittings fall outside the BVRLA Fair Wear and Tear Guide standard. Most drivers discover this too late, after the vehicle condition report lands and the invoice follows.
The good news: almost every interior charge is avoidable, disputable, or both. Below, we’ll show you exactly how to clean, document, and, where necessary, challenge any deductions before they stick.
What Counts as Fair Wear and Tear Under the BVRLA Fair Wear and Tear Guide
Fair wear and tear is the expected deterioration from normal use, judged against age and mileage rather than a showroom standard. The BVRLA fair wear and tear guide is the benchmark most UK funders use, and it separates acceptable ageing from chargeable damage.
Acceptable wear typically includes:
- Light seat creasing and fabric pile flattening
- Minor scuffs on plastic trim consistent with mileage
- Fading from sunlight on exposed surfaces
Chargeable damage goes further:
- Cuts, tears, or burns in upholstery
- Stains that cannot be cleaned out
- Broken interior fittings or missing trim
Interior Damage That Exceeds Fair Wear and Tear
Anything that changes the vehicle’s value or needs a specialist to fix normally exceeds the threshold. Cigarette burns, deep scratches to dashboard plastics, pet damage, and heavy odour all fall into this bracket. A common mistake is assuming small marks are ignored. They are not, they are simply priced proportionally.
Leaving a heavy smoke or pet odour untreated is one of the most expensive oversights. Assessors treat odour as a remediation cost, and it can trigger a full cabin treatment charge rather than a simple clean (bvrla.co.uk).
How to Clean Car Interior Before Lease Return: A Step-by-Step Checklist
Knowing how to clean car interior before lease return properly turns a potential charge into a non-issue. Work through the cabin in a fixed order so nothing is missed before the inspection, and treat the process as evidence-gathering as much as cleaning.
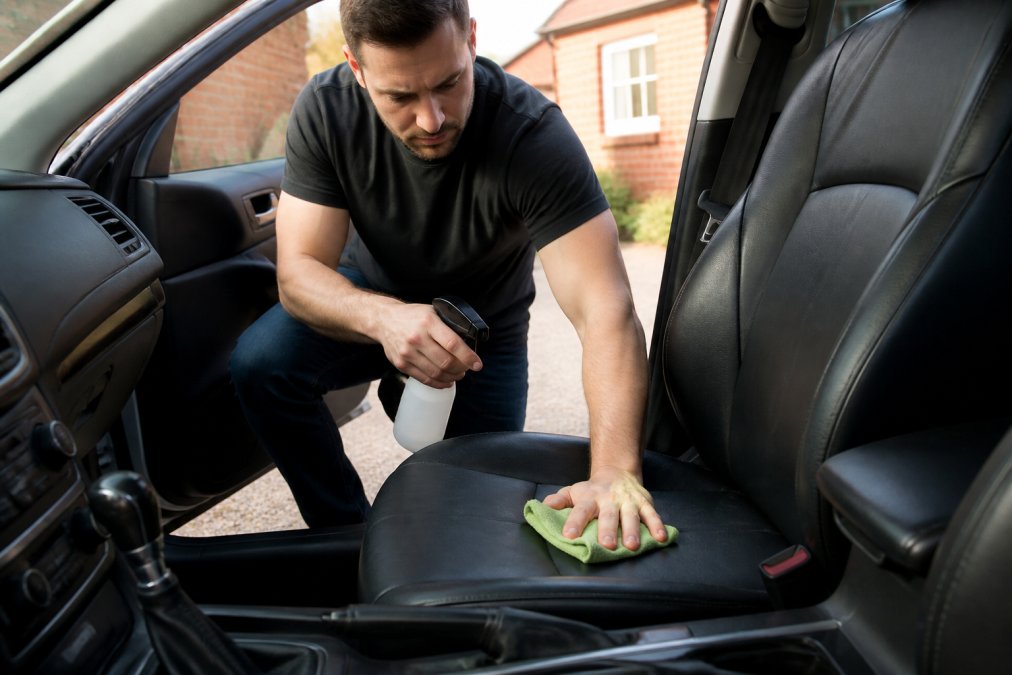
- Clear all personal items, including the boot, glovebox, and door pockets. Check under seats and in seat-back pockets for anything that could be logged as a missing item.
- Vacuum seats, carpets, and the boot floor, using a crevice tool for seat rails, the gap between the seat and centre console, and the boot well. Pet hair embeds in fabric pile and is one of the most common reasons an assessor escalates a cabin from fair wear and tear to chargeable damage (bvrla.co.uk).
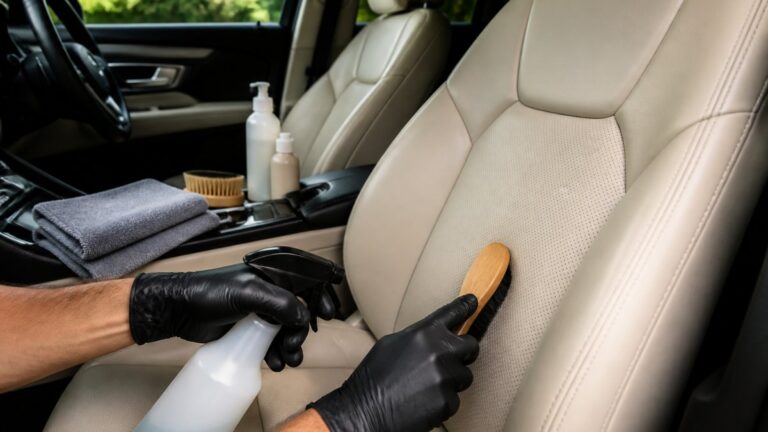
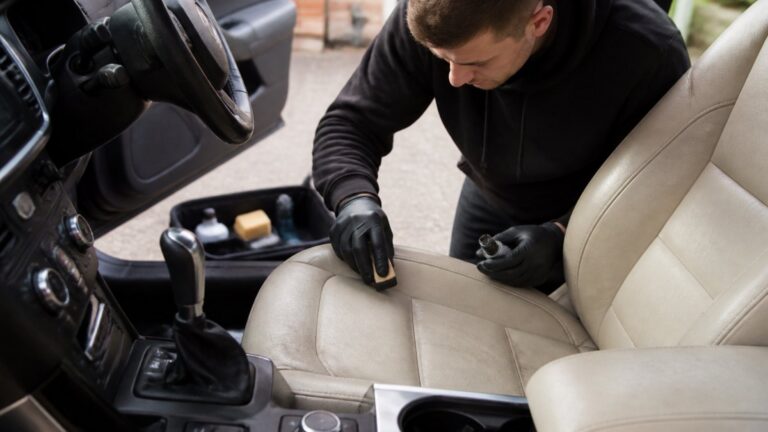
- Treat upholstery stains with a fabric or leather cleaner matched to the material. Test on a hidden area first; a cleaner that lightens the fabric creates a new chargeable mark.
- Wipe down dashboard, door cards, and centre console with a non-greasy trim cleaner. Avoid silicone-heavy dressings, which leave a slick film that attracts dust and can be flagged as an attempt to mask scratches.
- Clean interior glass and mirrors on both sides. Smokers’ film on glass is a strong odour indicator and is often cited alongside a remediation charge.
- Check the boot for scuffed load-lip trim and address it early. The load lip and boot aperture are high-contact areas and are assessed more strictly than the cabin floor.
- Photograph each stage in daylight as you go. These images become your baseline if a later condition report disputes the state of the interior.
DIY Cleaning vs Professional Valeting: A Cost-Benefit Breakdown
Most guides tell you to clean the car or pay a valeter without explaining when each route actually pays. The decision should be driven by the likely charge the funder would apply, not by the cost of the clean alone.
A useful rule of thumb: if the projected funder charge for an interior item is more than the cost of a professional clean or repair, the professional route usually wins, because it removes the charge and the administrative fee that sits on top of it. If the projected charge is small and the soiling is light, DIY is the rational choice.
| Situation | DIY route | Professional route |
|---|---|---|
| Light dust, surface marks, no odour | Cost of a vacuum and trim wipe; low risk | Rarely justified; cost exceeds likely charge |
| Set-in fabric stains | Risk of colour shift or wicking; may worsen the mark | Hot-water extraction or specialist spotting; documented finish |
| Leather creasing and light scuffs | Conditioner and gentle clean; usually within fair wear and tear | Not needed unless cracking or colour loss is present |
| Cigarette burns, tears, pet damage | High risk of visible patch; can reduce negotiating position | Seamless repair or re-trim; removes the chargeable item |
| Smoke or pet odour | Masking sprays do not remove the source | Ozone or enzyme treatment; addresses the remediation charge directly |
The cheapest route is rarely the funder’s charge. Getting a specialist quote before handover usually beats accepting the end of contract invoice, even after the repair cost is added, because funder charges bundle administration on top of the repair.
Two practical cautions. First, a poor DIY attempt on leather or a burn can make the damage harder to dispute, because the assessor can argue the finish was altered. Second, keep receipts for any professional work; they are evidence that the item was addressed before return and can support a dispute if the charge reappears on the condition report.
Car Lease Interior Damage Repair Cost: DIY vs Professional Repair vs Lease Company Charges
The car lease interior damage repair cost question is really a comparison between three routes: fix it yourself, pay a specialist, or let the funder charge you. Funder charges are almost always the most expensive per item because they include administration and use their own approved rates.
The cheapest route is rarely the funder’s charge. Getting a specialist quote before handover usually beats accepting the end of contract invoice, even after the repair cost is added.
When DIY Repair Makes Sense (and When It Doesn’t)
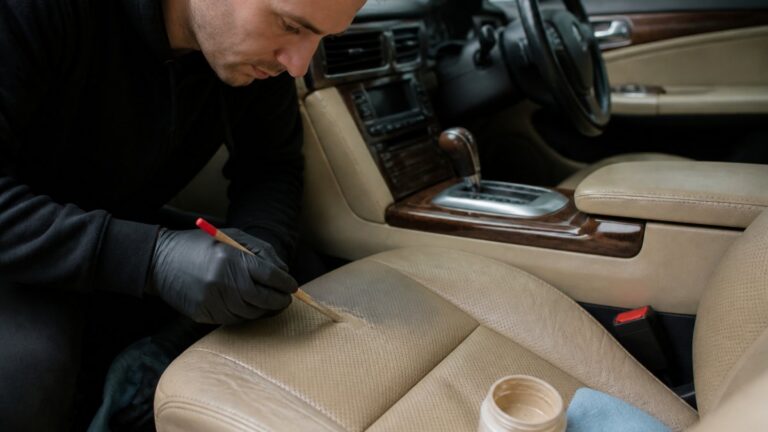
DIY repair makes sense for superficial scuffs on hard plastics and light fabric marks. It does not make sense for leather tears, cigarette burns, or anything requiring colour matching. A patch that looks noticeably different will be flagged and can reduce your negotiating position. This is where a specialist with seamless colour matching earns its keep, restoring the finish rather than masking it.
How to Dispute Lease End Damage Charges with Evidence
Disputing lease end damage charges works best when you present dated evidence that contradicts the assessor’s findings. Funders rely on the vehicle condition report, so your counter-argument needs equal rigour: a clear chronology, matched images, and a written reference to the BVRLA fair wear and tear standard for each disputed item.
Start by requesting the full report and the specific charge for each item, including the labour rate and any administration fee. Then compare each charge against the BVRLA standards. If an item is listed as damage but falls within fair wear and tear for the vehicle’s age and mileage, you have grounds to challenge it in writing. The strongest disputes are item-by-item, not blanket objections.
Evidence Collection Checklist
Build your case before the vehicle leaves your possession. This checklist is designed to be copied into a notes app or printed and worked through methodically. Each item exists to rebut a specific type of claim.
Pre-return interior evidence (photograph in daylight, with the odometer visible in at least one frame):
- Driver’s seat base and both bolsters, plus the seat-back and headrest
- Passenger and rear seats, including the centre seat and any folding mechanisms
- Dashboard top, instrument binnacle, and infotainment screen (powered on and off)
- Door cards, armrests, window switches, and door pulls on all four doors
- Centre console, cupholders, gear selector, and handbrake or electronic brake
- Carpets and mats, lifted to show the floor beneath
- Boot floor, load lip, and boot aperture trim
- Headlining and sun visors, particularly around any sunroof or panoramic roof
- Seat rails and the gap between seat and console, using a torch if needed
Documentary evidence to retain:
- Odometer reading photographed on the day of return
- All maintenance records and the service history
- Receipts for any cleaning or repair work carried out, with dates
- MOT certificate and logbook details
- The pre-return inspection report, if one was offered
- Any correspondence with the funder about the return process
What each piece of evidence rebuts:
- Dated daylight photos rebut claims that damage occurred after handover or was pre-existing but unnoticed.
- The odometer image rebuts excess mileage disputes and supports fair wear and tear arguments tied to age and mileage.
- Service and maintenance records rebut claims of neglect, particularly for odour, upholstery condition, and interior fittings.
- Cleaning and repair receipts rebut claims that an item was left unaddressed, and can shift a charge from “damage” to “fair wear and tear” if the work was done to a professional standard.
- The pre-return inspection report is the single most useful document if it exists, because any discrepancy between it and the final condition report is strong grounds for dispute resolution.
Book a pre-return inspection where your funder offers one. It gives you a written baseline before the official appraisal, and discrepancies between the two reports are strong grounds for dispute resolution. If no pre-return inspection is offered, ask the funder in writing whether one is available; the response itself can be useful evidence.
Challenging False or Inflated Interior Charges
A common pattern is a charge that is technically valid but priced above the market rate for the work. Ask the funder for the labour rate and the parts or materials cost behind each interior charge. If the figure is materially higher than a local specialist quote for the same repair, you can challenge the amount even where you accept the damage exists.
Keep the tone factual. Reference the BVRLA fair wear and tear guide by name, cite the vehicle’s age and mileage, and attach your dated images. Funders respond better to a structured, itemised challenge than to a general complaint, and a clear paper trail is what makes the difference if the dispute escalates to an independent resolution service.
Lease Extension vs Return: Which Option Saves You More?
Extending a lease can be cheaper than returning a vehicle with significant interior damage, particularly if the damage would trigger a large financial penalty. If the monthly extension cost is lower than the projected end of contract charges, extending buys you time to repair at your own pace.
The trade-off is that extension locks you into further payments and mileage terms. Run the numbers: total extension cost versus the quoted repair cost plus any excess mileage exposure. Where repair is straightforward, returning on time is usually cleaner.
The Psychology of the Inspection: What Assessors Look For
Assessors are trained to be consistent, not generous. They work from a checklist and photograph anything ambiguous, so presentation matters as much as condition. A clean, well-presented cabin signals a cared-for vehicle and reduces the likelihood of borderline items being escalated.
What most guides miss is that assessors judge against the whole vehicle, not isolated marks. One obvious burn draws attention to every other imperfection. Fixing the standout damage first, even if smaller marks remain, changes how the vehicle is perceived overall. Addressing burns, tears, and scuffs before the appraisal, with minimal disruption to your schedule, can change how the vehicle is perceived overall.
Frequently Asked Questions
What is the BVRLA Fair Wear and Tear standard for car interiors?
The BVRLA Fair Wear and Tear guide sets industry standards for what counts as acceptable condition when returning a leased vehicle. For interiors, it accepts minor scuffs, light upholstery wear, and small marks consistent with normal use. Damage exceeding this includes burns, tears, deep scratches, and stains that cannot be cleaned. Meeting these standards helps you avoid end of lease car interior charges.
Are cigarette burns and upholstery rips considered fair wear and tear?
No. Under the BVRLA fair wear and tear guide, cigarette burns and upholstery rips are classified as damage, not fair wear and tear. They typically result in end of contract charges. Repairing these issues before your lease return inspection is usually more cost-effective than paying the lease company’s damage assessment fees.
Is it cheaper to repair interior damage privately or pay lease company charges?
Private repair is often cheaper than lease company charges. Lease companies apply their own damage assessment rates, which tend to be higher than independent repair costs. Getting quotes for car lease interior damage repair cost before your vehicle appraisal gives you a clear comparison. Mobile repair services can fix burns, tears, and scuffs at your home or workplace, offering a cost-effective alternative to expensive replacement parts.
How can I dispute unfair interior damage charges at the end of a lease?
Start by collecting evidence. Photograph the interior before your pre-return inspection, keep maintenance records, and note the odometer reading. If charges seem excessive, request a detailed vehicle condition report and compare it against BVRLA standards. You can formally dispute charges through the lease company’s complaints process, and if unresolved, escalate to the BVRLA dispute resolution service.
What interior condition is expected when returning a leased vehicle?
Your vehicle should be clean, free from significant damage, and show only light wear consistent with its age and mileage. This means no burns, tears, or stains that cannot be removed. Upholstery should be intact, and all interior components should function correctly. Meeting these expectations prevents end of lease car interior charges and ensures a smooth vehicle handover.
How long does professional interior repair take before a lease return?
Most mobile interior repairs, including leather seat refinishing and cigarette burn fixes, are completed with fast turnaround times. This means you can often have repairs done at your home or workplace without being without your car for days. Booking a pre-return inspection a few weeks before your lease ends gives enough time for any minor repairs.
Interior damage rarely fixes itself, and funder charges rarely shrink once issued. TrimKings provides mobile car interior repair and restoration across the West Midlands, from leather seat refinishing and cigarette burn repairs to rips, scuffs, and dashboard damage, all handled at your home or workplace with fast turnaround and no costly replacement parts. Send us a photo of the damage for a no-obligation quote and get your vehicle handover-ready before the assessor arrives.