Table of Contents
- Can You Repair Car Leather? What’s Actually Possible
- How to Repair a Torn Leather Car Seat
- How to Fix Cracked Leather Car Seats
- Repairing Scuffs, Scratches, and Burn Damage
- Leather Car Seat Repair Cost and Timeline
- Choosing the Right Leather Seat Repair Kit
- Common Mistakes to Avoid When Repairing Car Leather
- Aftercare and Prevention
- Frequently Asked Questions
Last Updated: October 11, 2026
Can You Repair Car Leather? What’s Actually Possible
Yes, you can repair car leather. Success depends on damage type and your approach.
Tears, cracks, scuffs, burns, and worn areas can all be fixed. Success requires proper damage assessment, the right materials, and realistic expectations about durability.
Identifying leather versus vinyl and coated upholstery
Before attempting repair, confirm what you’re working with. Many car seats are vinyl or polyurethane-coated fabric, not genuine leather. The repair method differs by material.
Genuine leather has natural grain, feels warm, and absorbs moisture. Vinyl feels cooler, smoother, and repels liquids. Coated upholstery mimics leather but lacks natural grain.
Run a water test: drop water on an inconspicuous area. Genuine leather absorbs it slowly; vinyl and coated fabric repel it. This determines which repair materials work.
Assessing the type and extent of damage
Surface-level damage stays on top; deep damage cuts through to the backing layer. A small scuff requires a different approach than a 10cm tear.
Feel for ridges or separation (deep damage) or check for discolouration only (surface damage). For tears, clean edges are easier to repair than frayed ones.
Damage under 5cm that doesn’t cut through the full thickness responds well to DIY repair. Larger damage, full-thickness damage, or damage on high-stress areas like seat bolsters may need professional attention.
How to Repair a Torn Leather Car Seat
Torn leather seats are the most common damage. A single tear can spread if left untreated, so address it quickly. The repair process follows a straightforward sequence.
Cleaning and preparing the torn area
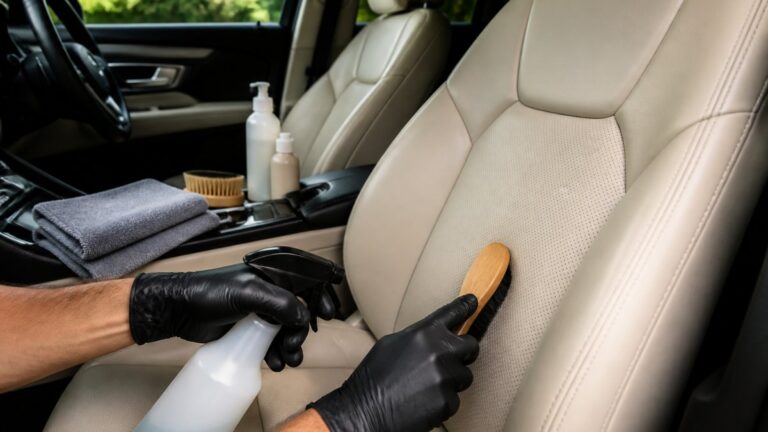
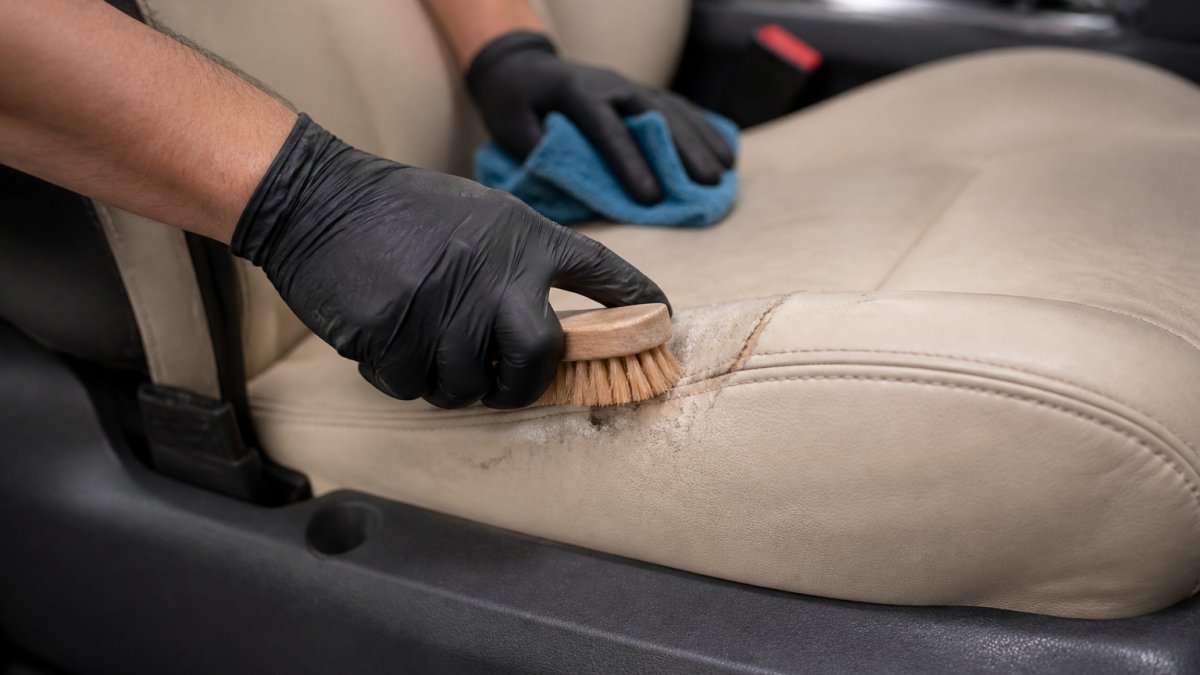
Start with a clean surface. Dirt under repair compound shows through and weakens the bond. Use a soft brush to remove dust and debris from the torn area and 5cm around it.
Mix mild cleaning solution: a few drops of dish soap in warm water. Dampen a cloth and wipe gently. For stubborn stains, use leather-specific cleaner. Rinse with plain water and let dry completely (2-4 hours).
Once dry, gently press frayed or separated edges together. This shows how the repair will sit. Let the leather settle naturally.
Applying filler and patching the tear
For tears under 3cm, filler alone may work. For larger tears, use a patch underneath for structural support.
For patches: Cut flexible fabric or thin leather slightly larger than the tear. Position underneath and press into place with leather-designed adhesive. Let set per product instructions (typically 30 minutes to 2 hours).
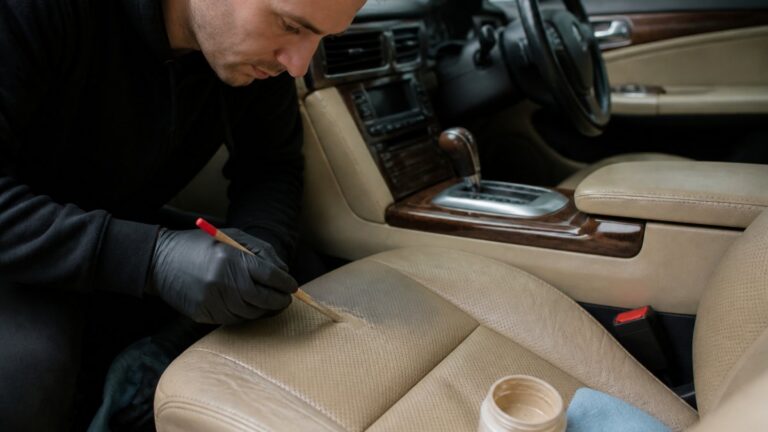
For filler: Apply leather repair compound into and over the tear using a spatula. Work it in to eliminate air pockets. Smooth level with surrounding leather. Slightly overfill as it will shrink when drying.
Allow the filler to cure fully before moving to the next step. This usually takes 4-8 hours depending on the product and temperature.
Colour matching and finishing
This is where most DIY repairs fail. A repair that’s structurally sound but obviously a different colour stands out immediately.
Get leather dye matching your seat colour. Test on a hidden area first. Apply thin coats and compare. You may need to blend dyes or apply multiple coats.
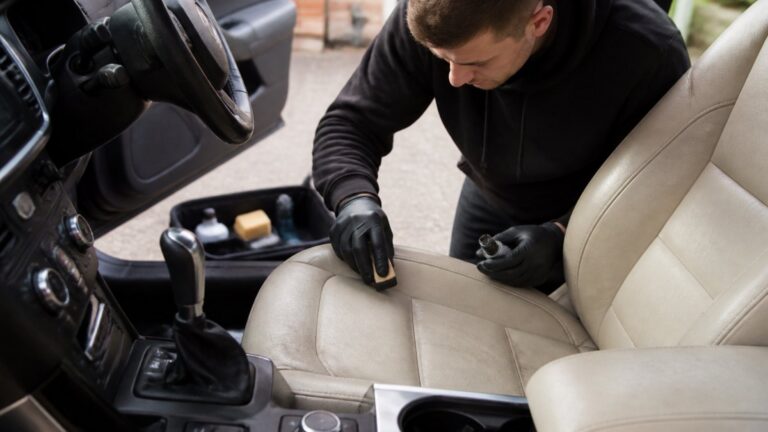
Apply dye over the repair and 2-3cm around it to blend into surrounding leather. Use thin layers with a soft brush or sponge. Allow each layer to dry before assessing.
Finish with a leather conditioner to restore suppleness and protect the repaired area. This also helps the repair blend visually with the rest of the seat.
How to Fix Cracked Leather Car Seats
Cracked leather develops from age, UV exposure, or moisture loss. Unlike a tear, a crack is a stress fracture. Repair requires filling and restoring flexibility.
Surface preparation and sanding
Cracks trap dirt and moisture. Use a soft brush to remove debris. For stubborn buildup, use a toothbrush gently along the crack line.
Light sanding helps filler bond better. Use fine-grit sandpaper (220-grit or higher) and sand lightly across the crack, not along it. Sand for 30 seconds maximum.
Wipe away all dust with a damp cloth and let dry completely.
Filling cracks and worn areas
For hairline cracks, conditioner alone may close them. For visible cracks wider than 1mm, use flexible leather filler.
Apply the filler into the crack using a thin applicator. Work it in slowly so it fills the entire depth without trapping air. Smooth the surface level with the surrounding leather. Slightly overfill, the filler will shrink as it dries.
For worn areas, apply filler across the entire patch to reinforce weakened areas and prevent new cracks.
Allow filler to cure fully. Once dry, use fine-grit sandpaper to feather edges so the repair blends. Finish with leather dye and conditioner.
Repairing Scuffs, Scratches, and Burn Damage
Not all damage requires structural repair. Scuffs, scratches, and burns often need cosmetic correction only.
Addressing scuffs and minor scratches
Scuffs expose lighter material where the top layer is rubbed away. Scratches are thin lines in the surface.
For light scuffs, try leather conditioner first to darken the area. If that doesn’t work, use dye slightly darker than your seat colour. Apply a thin coat to blend with surrounding leather.
For scratches, use matching or slightly darker dye to fill the line and make it less obvious.
Test any product on a hidden area first. Leather dyes can be difficult to remove if the colour isn’t right.
Fixing cigarette burns and heat damage
Cigarette burns create a hole or crater with discolouration. Heat damage shows as a burn mark without necessarily creating a hole.
For small burn holes (under 5mm), use leather filler. Clean, apply filler, smooth level, and dye to match. The repair will be visible up close but acceptable from normal seating distance.
For larger burn holes or deep damage, the repair becomes more noticeable. This is where professional repair becomes the better option.
Heat damage without a hole responds to careful conditioning and dyeing. The leather may be slightly stiffened by the heat. Apply leather conditioner to restore suppleness, then use dye to even out any discolouration.
Leather Car Seat Repair Cost and Timeline
The cost of repairing car leather depends on the damage severity, the repair method, and whether you do it yourself or hire a professional.
DIY versus professional repair
DIY repair costs materials only. A basic leather repair kit runs between £20 and £60, depending on what’s included. You’ll spend time, typically 2-4 hours for a single repair, including drying time between steps.
The trade-off: DIY repairs often look noticeably patched if you’re not experienced. Colour matching is difficult. The repair may be structurally sound but visually obvious. This matters if you’re trying to maintain vehicle value or avoid end-of-lease charges.
Professional repair costs more upfront but produces results that are difficult to distinguish from original leather. A professional technician has colour-matching equipment, premium materials, and years of experience. At TrimKings, we handle repairs on-site at your home or workplace, so there’s no disruption to your schedule.
Durability and realistic expectations
A properly executed DIY repair may last a few years before showing wear. The filler may crack again if the seat flexes significantly. The dye may fade if exposed to sunlight.
Professional repairs often use premium materials and proper sealing to extend durability. Professional repairs are also more likely to withstand the constant flexing and temperature changes a car seat endures.
Neither repair is permanent. Car leather ages. A repair will eventually show signs of wear. But a good repair buys you time and maintains the seat’s appearance and function.
Choosing the Right Leather Seat Repair Kit
If you’re attempting DIY repair, the kit you choose matters. A poor-quality kit produces poor results. A quality kit includes the right materials for your specific damage type.
Essential tools and materials
A basic repair kit should include:
- Leather cleaner (water-based, non-solvent formula)
- Flexible leather filler or repair compound
- Fine-grit sandpaper (220-grit or higher)
- Leather dye in multiple colours for matching
- Applicators (brushes, spatulas, or sponges)
- Leather conditioner
- Adhesive designed for leather (silicone-based or flexible)
Avoid kits that promise one-step repairs or include harsh solvents. Water-based solutions work better and are safer to use in an enclosed car interior. Non-solvent formulas won’t damage surrounding leather or upholstery.
Safety, ventilation, and product compatibility
Even water-based products should be used with ventilation. Crack the car windows and let fresh air circulate while you work. If you’re using any solvent-based products (which we don’t recommend for DIY), open all doors and windows.
Check product compatibility before mixing. Some dyes don’t work well over certain fillers. Some conditioners can make dyes run. Read the instructions carefully and test on a hidden area first.
Wear gloves to protect your hands. Leather dyes stain skin and are difficult to remove. Wash your hands thoroughly after finishing.
Store materials in a cool, dry place. Leather fillers and dyes can separate or thicken if exposed to temperature extremes.
Common Mistakes to Avoid When Repairing Car Leather
Most failed DIY repairs fail for the same reasons. Knowing what to avoid significantly improves your chances of success.
Skipping the cleaning step. Dirt under a repair shows through and weakens the bond. Always start with a clean surface.
Rushing the drying time. Fillers and dyes need time to set properly.
Over-applying filler or dye. Thick layers crack and peel. Multiple thin layers work better than one thick coat.
Colour matching without testing. Leather dyes look different on different leather shades. Always test on a hidden area first.
Using the wrong adhesive. Standard glues don’t flex with leather and fail quickly. Use adhesives specifically designed for leather.
Attempting repairs on high-stress areas. Seat bolsters and areas that flex constantly are difficult to repair successfully.
Not conditioning after repair. Leather needs moisture to stay supple.
Aftercare and Prevention
A successful repair is only the beginning. Proper aftercare extends its life and keeps your leather looking good.
Condition your leather seats every 3-6 months. This keeps the material supple and prevents new cracks from forming.
Protect seats from direct sunlight when parked. UV exposure fades leather and causes cracks.
Address spills immediately. Moisture left on leather can cause staining and weaken the material.
Avoid smoking in the car. Cigarette burns are among the most common damage we repair.
Keep the interior temperature stable. Extreme heat and cold cause leather to expand and contract, creating stress cracks.
Can you repair car leather successfully? Yes. Larger damage or damage that affects the seat’s structural integrity benefits from professional attention.
At TrimKings, we repair leather seats, tears, cracks, burns, and scuffs using professional-grade materials and colour-matching equipment.
Frequently Asked Questions
Can you repair cracks in leather car seats?
Yes, cracked leather car seats can be repaired effectively. Small cracks respond well to leather filler compounds applied after surface preparation and sanding. Deeper or widespread cracks may require professional assessment, but most cosmetic cracks can be filled, blended, and re-dyed to match the surrounding leather. The repair’s durability depends on the crack’s depth and the quality of materials used.
How much does it cost to repair a leather car seat in the UK?
Leather car seat repair cost varies depending on damage type, seat size, and whether you choose DIY or professional service. Minor scuffs or burns are typically less expensive than extensive tears or cracks. Professional mobile repair services often provide competitive quotes based on photographs and damage assessment. Contact TrimKings for a no-obligation quote tailored to your specific damage.
Is it better to repair or replace a damaged leather car seat?
Repair is usually more cost-effective and practical than replacement for cosmetic damage like tears, burns, cracks, and scuffs. Replacement involves removing and installing entire seat units, which is time-consuming and expensive. Repair restores the seat’s appearance and functionality while preserving your vehicle’s value. Professional repair is particularly worthwhile for lease vehicles where avoiding end-of-lease charges is important.
What’s included in a leather seat repair kit?
A quality leather seat repair kit typically includes leather filler or repair compound, adhesive or silicone glue, sandpaper or surface preparation tools, leather dye or colorant for colour matching, and application tools like brushes or applicators. Some kits also include cleaning solutions and finishing products. Ensure any kit you choose is compatible with automotive leather and includes non-solvent or water-based solutions for safe, well-ventilated application.