Last Updated: October 22, 2026
Quick Summary
Repair interior scuffs before lease return by grading the damage first, then matching the method to the material: clean transfer marks and light abrasions, fill and recolour scratches and gouges, and leave tears and burns to a professional. If your fingernail catches on a scuff, treat it as chargeable damage and plan a repair.
- The BVRLA fair wear and tear standard is the benchmark most lease firms work to.
- Clean a recently dressed panel twice, because silicone-based shine stops repairs bonding.
- Most fillers and colour coats need at least 24 hours to cure before you reassess.
- Ask your leasing company for its return standard and charge matrix in writing before inspection.
- Photograph every interior panel, seat and trim piece eight weeks before handback.
Table of Contents
- What Counts as Fair Wear and Tear on a Lease Return
- How to Fix Scuffs on Car Interior: A Step-by-Step Guide
- How to Repair Scratched Dashboard Plastic and Trim
- Understanding Lease Car Interior Damage Charges
- DIY Repair vs Professional Car Interior Repair Before Lease Return
- Safety and Risks of DIY Interior Repair
- Your Pre-Return Timeline and Checklist
- Conclusion
- Frequently Asked Questions
What Counts as Fair Wear and Tear on a Lease Return
Fair wear and tear is the normal deterioration of a vehicle from everyday use, including interior scuffs, and will not trigger a charge at the end of your lease.
The British Vehicle Rental and Leasing Association (BVRLA) fair wear and tear standard sets the benchmark most lease firms work to. Under that standard, the key test is simple:
- Fair wear and tear: light surface marks, minor scratches you can polish out, and normal fading.
- Chargeable damage: deep scratches through the paint, tears in upholstery, burns, and scuffs that change the shape of a panel.
So where does an interior scuff sit? It depends on depth, not size.
A scuff is an abrasion. It removes a thin layer from the surface. If your fingernail catches on it, it is likely chargeable.
The fingernail test is the fastest way to judge an interior scuff. If your nail catches, treat it as chargeable damage and plan a repair.
How to Fix Scuffs on Car Interior: A Step-by-Step Guide
Learning how to fix scuffs on car interior surfaces comes down to three things: material, severity, and method. Get the order right and most light damage is fixable in an afternoon.
Step 1: Identify the Material and Scuff Severity
Interior trim is rarely one material, and each reacts differently to cleaners, fillers, and heat.
- Hard plastic: dashboards, door handles, lower panels. Usually moulded in colour, so a scuff often shows as a lighter patch rather than a cut.
- Soft-touch plastic: coated dashboards and console lids. A thin rubberised layer over hard plastic. It scuffs easily and does not take filler well.
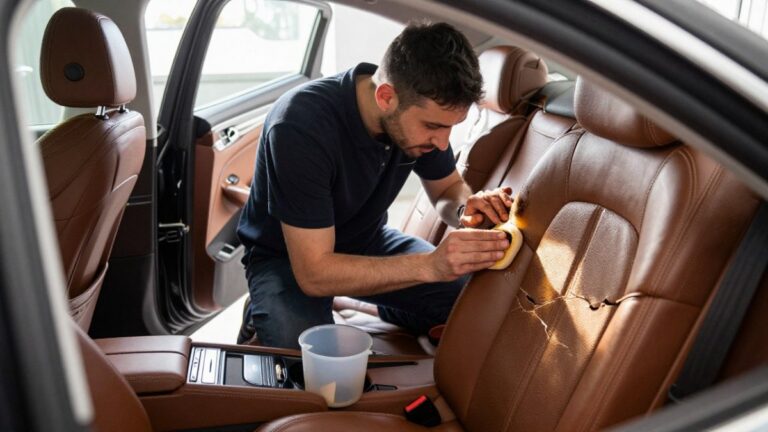
- Leather or vinyl: seats, armrests, steering wheel. Leather is a natural material with a pigmented finish; vinyl is synthetic. Both can be filled and recoloured, but they need flexible products.
Next, grade the scuff, the most useful decision you will make, because it tells you whether to clean, fill, or stop.
- Transfer mark: a colour deposit from a shoe, bag, or clothing. It sits on the surface. Your fingernail does not catch. Usually removable with a mild interior cleaner and a microfibre cloth.
- Light abrasion: a colour change where the top layer has been lightly rubbed. Your fingernail does not catch, but the mark does not wipe away. Often improved with a trim restorer or a fine abrasive polish.
- Tear or burn: a hole, split, or melted area in upholstery. Not a scuff. Needs professional repair or replacement.
Grade the scuff before you touch it. Transfer marks and light abrasions are cleaning and dressing jobs. Scratches and gouges are filling jobs. Tears and burns are professional jobs.
Step 2: Clean and Prepare the Surface
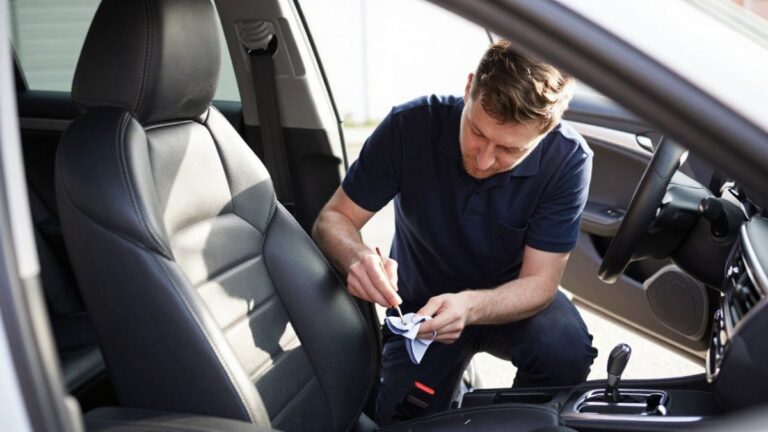
Dirt hides damage and ruins repairs. Wipe the area with a mild interior cleaner and a microfibre cloth, then let it dry fully. A repair applied over silicone-based dashboard shine will not bond, so clean a recently dressed panel twice and allow more drying time.
For fabric, vacuum first, then blot with a mild upholstery cleaner. Do not soak it, because water can wick into the foam and leave a tide mark.
Step 3: Apply the Repair Method by Material
Match the method to the material and severity, as most mobile repair technicians do.
| Material | Transfer mark | Light abrasion | Scratch | Gouge |
|---|---|---|---|---|
| Hard plastic | Mild cleaner and microfibre | Trim restorer or fine polish | Plastic repair compound, texture, recolour | Fill, texture, recolour; consider professional |
| Soft-touch plastic | Mild cleaner, light touch | Trim restorer only; do not sand | Professional repair | Professional repair |
| Leather | Leather cleaner | Leather cleaner and conditioner | Flexible filler and colour-matched finish | Professional repair |
| Vinyl | Mild cleaner | Vinyl cleaner and dressing | Flexible filler and colour-matched finish | Professional repair |
| Fabric | Upholstery cleaner and blot | Brush out the nap | Trim loose fibres, brush out the nap | Professional repair or replacement |
A few practical notes on each method:
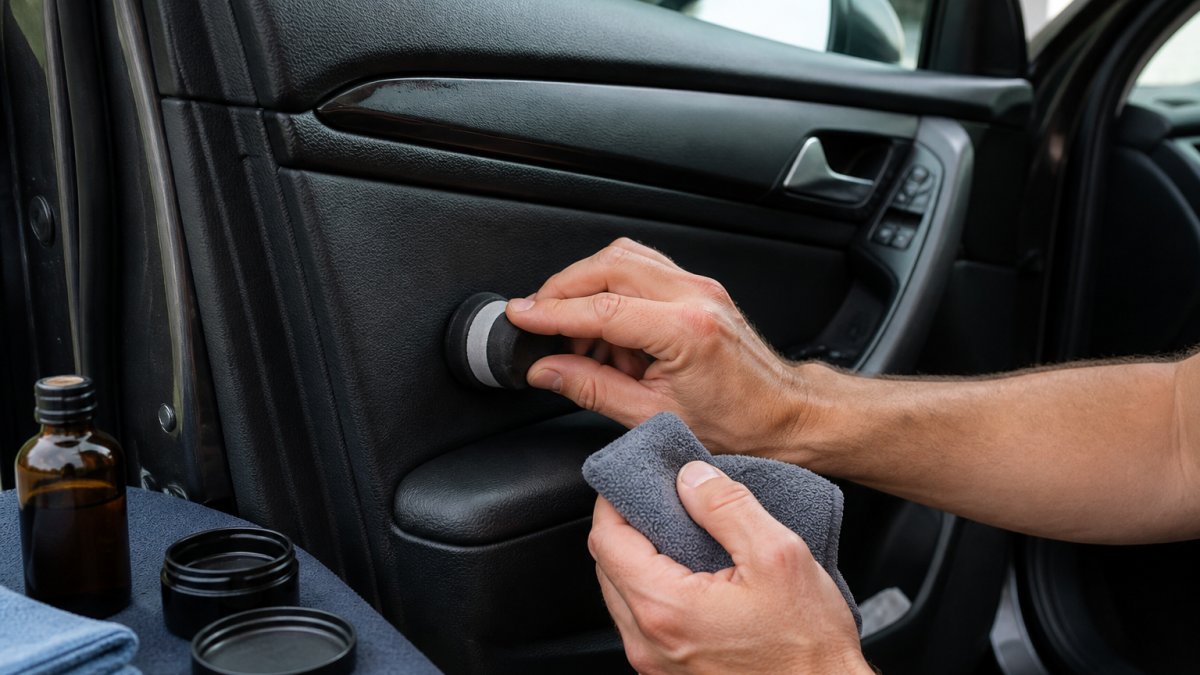
- Hard plastic: work by hand with a fine grade of abrasive only on the damaged spot. A texture stamp pressed into the filler while it is still soft restores the grain. Without that step, a smooth patch on a grained surface catches the light and looks wrong.
- Soft-touch plastic: this is the least forgiving surface in the cabin. Solvents strip the coating, sanding exposes the hard plastic underneath, and heat warps it. Clean gently and stop there unless you are confident.
- Leather and vinyl: use flexible fillers, not rigid ones. A rigid filler on a flexible surface will crack. Apply colour in thin coats and build up rather than trying to cover in one pass.
Colour match is where most DIY jobs fail: a patch slightly too dark reads as obvious damage to an inspector.
Always test your colour on a hidden area first, such as under the seat or inside the glovebox. Interior plastics fade at different rates across a cabin, so a factory colour code is only a starting point.
Step 4: Finish, Cure, and Check
Let the repair cure fully before you reassess it: most fillers and colour coats need at least 24 hours, longer in cold weather. Then view it in daylight from several angles, because a repair that looks invisible under artificial light can stand out in the inspection bay.
If the finish is still visible after curing, do not keep adding layers, more product usually makes the patch more obvious. Either accept it as fair wear and tear or hand it to a professional.
How to Repair Scratched Dashboard Plastic and Trim
Repairing scratched dashboard plastic and trim means filling the damage, restoring the texture, and matching the colour. Skip any of those three and the repair will stand out.
Hard plastic is the most forgiving surface in the cabin; soft-touch coatings are not.
For textured trim, a texture stamp pressed into the filler while it is still soft restores the grain; without it, a smooth patch on a grained surface catches the light and looks wrong.
Understanding Lease Car Interior Damage Charges
Lease car interior damage charges are set by the leasing company and assessed at the end-of-lease inspection. There is no fixed national rate, so two firms can quote very different figures for the same scuff.
The inspection report is the document that matters. An assessor grades each item against the fair wear and tear standard, then prices it from a standard repair matrix rather than a live quote, so it can exceed what an independent repairer would charge.
What typically gets charged:
- Tears and burns in upholstery
- Deep scratches and gouges in trim
- Permanent stains
What usually does not:
- Light surface scuffing
- Minor marks that clean off
- Normal creasing in leather
How Charges Are Calculated
Most leasing companies publish a condition guide or damage matrix with charge bands by damage type and size: a small trim scuff might sit in the lowest band, a torn seat cover priced as a replacement.
Ask your leasing company for its return standard and charge matrix in writing before the inspection. If a charge appears on the report, request the breakdown and challenge anything that falls within fair wear and tear.
Repair Cost Versus Charge: A Break-Even View
The figures below are typical ranges, not quotes, and vary by region, vehicle, and provider.
| Route | Typical cost | What you get |
|---|---|---|
| DIY materials | Low tens of pounds for cleaner, filler, and colour | Variable finish; risk of making damage worse |
| Mobile SMART repair | Usually quoted per job after photos; often a fraction of a replacement part | Seamless colour match, documented before inspection |
| Lease-return charge | Set by the provider’s matrix; can exceed the cost of a professional repair | No repair; charge deducted from your deposit or billed |
The break-even logic is simple: if the likely charge exceeds the cost of a professional repair, repair it; if it is lower, or the damage is likely to be classed as fair wear and tear, leave it. You rarely know the charge in advance, which is why asking for the matrix early matters.
Never sign the inspection report on the spot if you disagree with a charge. Once signed, your grounds for appeal shrink sharply. Ask for time to review it and photograph every disputed item.
How to Challenge a Charge
If a charge looks unfair, work through these steps:
- Request the breakdown. Ask which damage item, which band, and which part of the condition guide it relates to.
- Compare it with the fair wear and tear standard. If the mark falls within the standard, say so and cite the relevant clause.
- Use your photographs. Pre-repair and post-repair photos are your evidence. This is why the pre-return timeline asks you to photograph every panel early.
- Escalate in writing. Keep the exchange in email so there is a record. Most providers have a formal dispute process.
Charges are often reduced or withdrawn when the driver can show the damage was within fair wear and tear or repaired to a professional standard before handback.
DIY Repair vs Professional Car Interior Repair Before Lease Return
Choosing between DIY and professional car interior repair before lease return comes down to severity, material, and risk. Light plastic scuffs suit DIY.
Here is how the two routes compare:
| Factor | DIY Repair | Professional Repair |
|---|---|---|
| Best for | Light plastic scuffs | Leather, soft-touch, deep damage |
| Cost | Low material cost | Priced per job, quoted after photos |
| Colour match | Hard to get right | Seamless matching |
| Time | An afternoon | Usually a single visit |
| Risk | Can make damage worse | Covered by the provider |
| Lease outcome | Uncertain | Documented before inspection |
For a lease car, the stakes are higher than for a car you own. A DIY repair that looks slightly off can still be flagged.
A technician comes to your home or workplace, so you are not without the car for days.
Safety and Risks of DIY Interior Repair
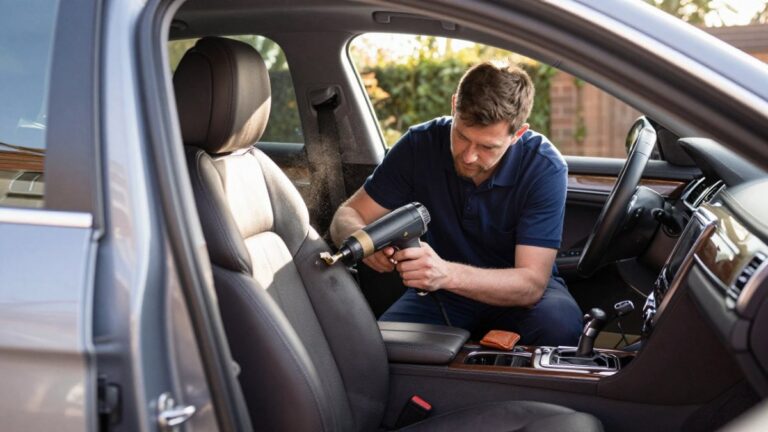
DIY interior repair carries real risks, and the biggest is making the damage worse. Heat guns, solvents, and strong fillers can cause permanent harm in untrained hands.
Watch for these:
- Heat gun burns: too much heat warps plastic and melts soft-touch coatings.
- Solvent damage: aggressive cleaners strip colour and leave a patchy finish.
- Over-sanding: you cut through the texture and expose bare plastic.
Work in a well-ventilated space, keep heat moving, and test everything on a hidden area first. If a scuff is deep or the material is leather, stop. The cost of a failed DIY repair is usually a bigger professional bill.
Your Pre-Return Timeline and Checklist
A pre-return timeline turns a stressful handback into a controlled process. Start early and you leave room to fix anything the inspection flags.
- Eight weeks out: photograph every interior panel, seat, and trim piece.
- Six weeks out: book any professional repairs, especially leather and soft-touch.
- Four weeks out: complete DIY fixes on light plastic scuffs.
Keep your photos. They are your evidence if a charge appears that you believe is unfair.
Conclusion
End-of-lease charges for interior damage are avoidable, but only if you act before the inspection, not after. The drivers who pay least grade their interior scuffs early, match the repair to the material, and document everything.
If a scuff is beyond a light abrasion, or the material is leather or soft-touch, a professional finish is the safer route. TrimKings brings mobile interior repair to your home or workplace, with seamless colour matching for leather and upholstery, fast turnaround, and a cost-effective alternative to replacement parts.
Frequently Asked Questions
Are interior scuffs considered damage when returning a leased car?
It depends on severity. Fair wear and tear is generally accepted, but deep gouges, tears, and burns typically count as chargeable damage. The British Vehicle Rental and Leasing Association (BVRLA) publishes fair wear and tear guidance that most lease companies follow. Light surface scuffs on plastic trim or upholstery may be judged acceptable, while anything that has broken through the surface or changed the material’s texture is more likely to attract a charge. Check your lease agreement for the specific standard your funder uses before your end-of-lease inspection.
How do I fix scuffs on a car interior without making it worse?
Start by identifying the material: plastic trim, soft-touch coating, leather, vinyl, or fabric each needs a different approach. Clean the area first, then test any product on a hidden spot. For light plastic scuffs, a gentle heat treatment or a dedicated trim restorer can help. For leather and vinyl, a colour-matched repair kit works better than generic cleaners. Avoid abrasive polishes on soft-touch surfaces and never use harsh solvents, as these can strip the finish and turn a minor scuff into a visible patch.
Can scratched dashboard plastic be repaired before lease return?
Yes, most scratched dashboard plastic can be repaired. Light abrasions often respond to cleaning and a trim restorer, while deeper scratches may need filler and a texture-matched coating. The key is matching both colour and texture, because a smooth patch on a textured dashboard stands out more than the original scratch. Professional mobile repair services can often complete this at your home or workplace, which is useful if your return date is close and you cannot be without the car for days.
Is it cheaper to repair interior scuffs or pay the lease damage charge?
It varies by funder and damage type, but repair is often the more cost-effective route, especially for multiple small scuffs. Lease companies typically charge per item or per panel, and those charges can add up quickly. A single professional repair visit covering several scuffs is usually cheaper than several separate end-of-lease charges. Get a no-obligation quote based on photos of the damage, and compare it with the charge schedule in your lease agreement before deciding which route to take.