Last Updated: November 14, 2026
Quick Summary
Most dashboard scuffs sit in the top layer of the finish, so dashboard scratch repair often starts with a clean microfibre cloth, a mild pH-neutral interior cleaner and a little heat to settle shallow marks. Deep scratches and gouges need a plastic repair compound, then 220-grit sanding and trim restorer to blend the colour.
- Run a fingernail across the mark: if it glides over, it is a light scuff; if it catches, it is deeper.
- Use a heat gun on its lowest setting or a hairdryer, keep it moving and stop the moment the colour evens out.
- Skip heat and sandpaper on leather and leatherette; use a leather-specific filler and colour-matched dye instead.
- Slightly overfill deep scratches with plastic repair compound because the filler shrinks as it sets.
- Never drill, fill or heavily sand near an airbag panel; leave that area to a professional.
Table of Contents
- How to Remove Scratches from a Plastic Car Dashboard
- What Belongs in a Car Dashboard Scratch Repair Kit
- How to Fix a Deep Scratch on a Car Dashboard
- Dashboard Scratch Repair Cost: DIY Versus Professional
- Matching Colour and Texture on Vinyl and Textured Trim
- Safety, Durability and Preventing New Dashboard Damage
- Send TrimKings a Photo of Your Dashboard Damage
- Frequently Asked Questions
How to Remove Scratches from a Plastic Car Dashboard
Most dashboard scuffs look worse than they are. A light scratch in plastic trim usually sits in the top layer of the finish, not in the structure underneath. That means you can often improve it at home with a clean cloth, a little heat, and a trim restorer. This guide covers repairing car dashboard scuffs and scratches, from a quick tidy-up to knowing when to hand the job to a professional.
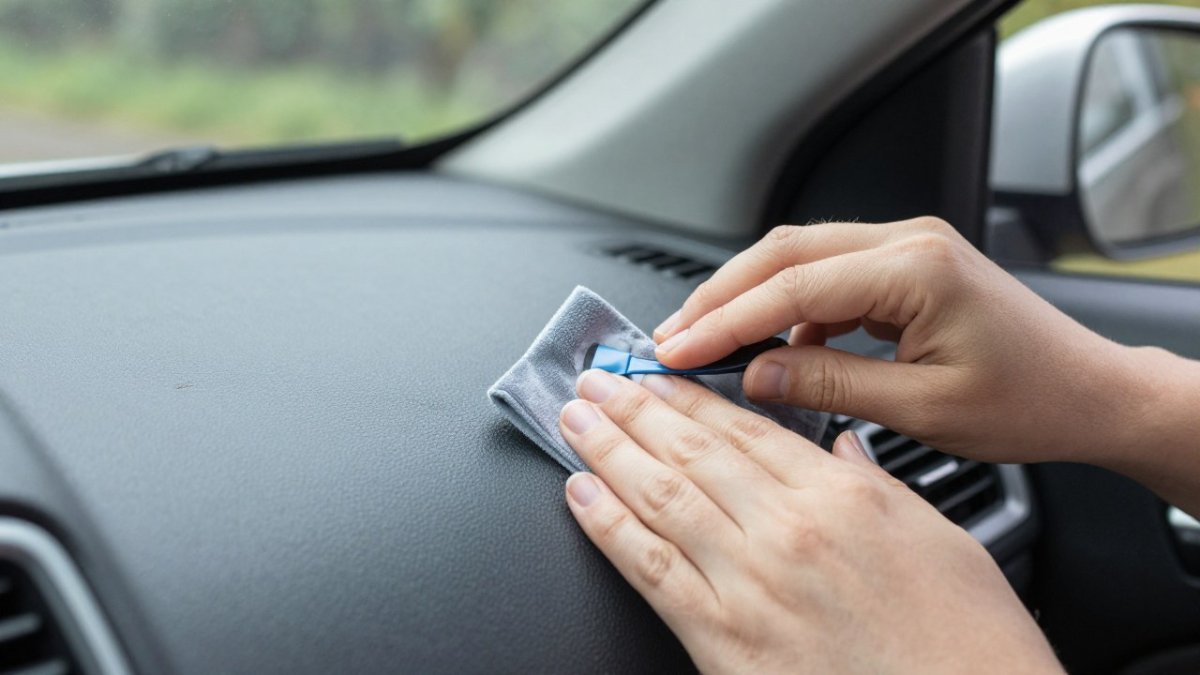
First, work out what you are dealing with. Run a fingernail gently across the mark. If it glides over the top, it is a light scuff. If your nail catches, it is a deeper scratch. If you can see a groove with a rough edge, it is a gouge. That quick test tells you which method to use, and it stops you making a small mark bigger.
Clean and Prepare the Surface First
Never repair over dirt. Grit acts like sandpaper and turns one scratch into a cluster.
- Dust the dashboard with a soft microfibre cloth
- Wipe with a mild interior cleaner, not a household multi-surface spray
- Dry fully before you touch it
- Work in shade, out of direct sun
Household cleaners can dull or stain dashboard plastic. The guidance on vehicle interior care from the AA is worth a read before you reach for a kitchen spray.
Use Heat to Lift Shallow Scuffs
Heat softens the top layer of plastic so light scuffs settle back down. It works on shallow marks in textured trim, and it does nothing for deep cuts.
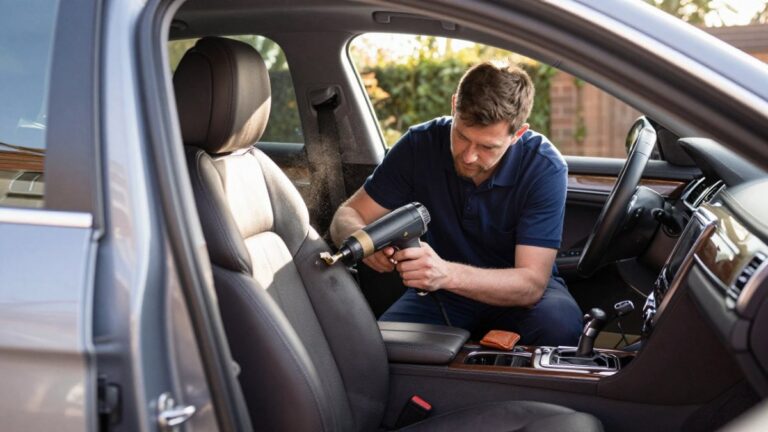
- Use a heat gun on its lowest setting or a hairdryer
- Keep it moving, never hold it still
- Hold it well back from the surface
- Stop the moment the colour evens out
Watch out: too much heat melts the grain and leaves a shiny patch that never matches the rest of the trim. Practise on a hidden area first. If the plastic starts to gloss, you have gone too far.
What Belongs in a Car Dashboard Scratch Repair Kit
A good car dashboard scratch repair kit costs little and covers most light damage. You do not need a workshop full of tools. You need a few items that suit the specific finish on your dashboard, because a product that is safe on hard plastic can stain soft-touch coating or lift the colour from leather.
Start by identifying the finish. Textured vinyl has a visible grain and a slight give under a thumbnail. Soft-touch coating feels rubbery and matte, and it scuffs white far more easily than hard plastic. Hard plastic is rigid and often unpainted. Leather and leatherette have a grain and a stitched seam.
| Item | What It Does | When You Need It | Safe On |
|---|---|---|---|
| Microfibre cloths | Clean and dry the surface | Every job | All finishes |
| Mild interior cleaner (pH-neutral) | Lifts dirt without dulling trim | Every job | All finishes |
| Heat gun or hairdryer | Settles light scuffs | Shallow marks only | Textured vinyl, hard plastic, not leather or soft-touch |
| Trim restorer | Brings back colour and sheen | After cleaning or heat | Textured vinyl, hard plastic |
| Plastic repair compound | Fills gouges and deep cuts | Deep damage | Hard plastic, textured vinyl, not leather |
| 220-grit sandpaper | Smooths a filled area | After filler dries | Hard plastic only, and never near an airbag seam |
| Palette knife or plastic knife | Applies filler neatly | Deep damage | All filled repairs |
| Superglue, gel type | Holds lifted edges down | Small splits | Hard plastic, vinyl edges |
| Leather filler and dye | Repairs leather scuffs | Leather and leatherette | Leather only |
| Textured applicator pad | Copies grain into a repair | Colour and texture matching | Textured vinyl, soft-touch |
Buy a trim restorer made for automotive trim, not a general-purpose dressing. A dedicated product soaks into the plastic and restores an even finish, while a silicone-heavy dressing can leave a greasy sheen that attracts dust and looks wrong in sunlight.
Watch out: heat guns reach 300°C and above within seconds. Most practitioners find that holding the nozzle 100-150 mm from the surface and keeping it moving is enough to settle a shallow scuff; the moment the plastic turns glossy, the grain has melted and cannot be recovered.
For leather and leatherette, skip the heat and the sandpaper entirely. Use a leather-specific filler and a colour-matched dye, and test the dye on a hidden seam first. Abrasives cut through the protective topcoat on leather and leave a permanent dull patch.
For soft-touch coating, the safest first step is a pH-neutral interior cleaner and a trim restorer. Heat and solvents can break down the rubberised layer and turn it tacky, which then collects dust and looks worse than the original scuff.
How to Fix a Deep Scratch on a Car Dashboard
Deep scratches and gouges need filler, not heat. Heat will not close a cut that has removed material. You have to build the surface back up, then blend it in.
Start by cleaning the area and letting it dry. Pick a plastic repair compound that suits the trim. Apply it with a palette knife, pressing it into the groove. Slightly overfill, because the filler shrinks as it sets. A fuller walkthrough of deeper repairs sits in our guide to repairing vinyl and plastic car dashboards.
Fill, Sand and Smooth the Damaged Area
- Let the filler cure fully, following the packet
- Wrap 220-grit sandpaper around a small flat block
- Sand lightly in one direction until the filler sits level
- Wipe away dust with a damp cloth
- Finish with trim restorer to blend the colour
Go slow with the sandpaper. Too much pressure takes off the surrounding texture and leaves a smooth patch that stands out. For a full assessment and repair walkthrough, see our step-by-step dashboard scratch repair guide.
Dashboard Scratch Repair Cost: DIY Versus Professional
DIY repair is the cheaper route for light damage, but the gap between DIY and professional is wider than most people expect once you account for materials, time and the risk of making a mark worse. The figures below are typical UK ranges for materials and labour, not fixed quotes, because cost depends on the damage, the finish and the access.
Costs depend on the products you choose and how much damage you are dealing with. For current prices and a quote for your specific job, visit the TrimKings website.
Professional repair pricing depends on the size, depth and finish of the damage. For a clear, no-obligation quote, visit the TrimKings website.
When DIY is the right call: light scuffs, small marks, hard plastic or textured vinyl you can practise on, and damage in a hidden area such as the lower console.
When professional repair is the right call: gouges, soft-touch or leather finishes, colour-matched trim, lease cars due back soon, and any damage near an airbag seam.
Cost depends on the damage and the trim. Send us a photo for a clear, no-obligation quote. If you are weighing repair against selling, our tips for selling a car with interior damage may help you decide.
Matching Colour and Texture on Vinyl and Textured Trim
Colour and texture are what make a repair invisible, or not. A patch that is the right shade but the wrong grain still catches the eye. Vinyl and textured trim need a finish that copies both.
- Match the sheen, not just the colour
- Copy the grain with a textured applicator pad
- Build colour in thin layers, not one thick coat
- Let each layer dry before the next
For faded trim, restoring the colour first makes matching far easier. Our guide to restoring faded car interior vinyl covers the prep that makes a blend disappear.
Safety, Durability and Preventing New Dashboard Damage
A good repair should last, if you protect it. Most new dashboard damage comes from cleaning and sunlight, not from wear.
- Use a sunshade to cut UV damage
- Skip household cleaners that strip the finish
- Wipe dust with a dry microfibre cloth
- Keep sharp keys and rings away from the trim
Watch out: some household cleaners crack and fade dashboard plastic over time. Our page on the risks of household cleaners on car interiors lists what to avoid.
One more safety point. Never drill, fill or heavily sand near an airbag panel. Airbag covers are designed to split open in a crash, and altering them can stop them working. Leave that area alone and let a professional handle it.
Send TrimKings a Photo of Your Dashboard Damage
Not sure whether your scratch is a DIY job or one for an expert? Send us a photo and we will tell you honestly.
TrimKings is a mobile car interior repair and restoration service. We come to your home or workplace, so there is no need to leave the car at a garage. We repair dashboard damage, leather seats, rips, scuffs and cigarette burns, and we offer seamless colour matching for leather and upholstery. It is a cost-effective alternative to replacing parts, and it can help you avoid end-of-lease charges.
Send us a photo of the damage for a competitive, no-obligation quote.
A scratched dashboard rarely needs a new part. It needs the right method for the damage and a careful hand. If you would rather not risk making it worse, we can take it from here. Get started with TrimKings and restore your interior to a standard you will be glad to show.
Frequently Asked Questions
Can you remove scratches from a plastic car dashboard?
Most light scratches and scuffs can be reduced or removed, but results depend on depth. Surface marks on textured plastic often respond to cleaning followed by gentle heat or a trim restorer. Deep scratches that have cut through the grain need filling and colour matching, and the repaired patch will rarely be invisible. If the scratch sits on a soft-touch or painted finish, test any method on a hidden area first. A professional dashboard scratch repair assessment is worth getting when the damage is deep or covers a large panel.
Can heat remove scratches from a car dashboard?
Heat can lift shallow scuffs on unpainted, textured plastic by relaxing the raised edges of the grain. Use a heat gun on its lowest setting, keep it moving, and hold it well back from the surface. Stop the moment the plastic darkens or turns glossy, because overheating causes permanent shine marks that look worse than the original scratch. Never use heat near airbag covers, on leather, or on vinyl that has already been repaired. If you are unsure, a trim restorer is the safer first step.
How much does dashboard scratch repair cost?
DIY costs are limited to materials: a repair kit, filler, sandpaper and a trim restorer typically add up to a modest one-off outlay, and the kit often covers several marks. Professional dashboard scratch repair cost depends on the size, depth and location of the damage, the material involved, and whether colour matching is needed. Because pricing varies by job, send a photo of the damage for an accurate no-obligation quote rather than relying on a generic figure.
When should a dashboard scratch be repaired professionally?
Call in a professional when the scratch is deep enough to catch a fingernail, when it sits on a soft-touch, leather or high-end finish, or when it is close to an airbag cover or a sensor. These areas need care to avoid weakening safety components or spoiling the finish further. Lease vehicles nearing handback are another good case, since a neat professional repair may help you avoid an end-of-lease damage charge. A photo quote takes minutes and carries no obligation.