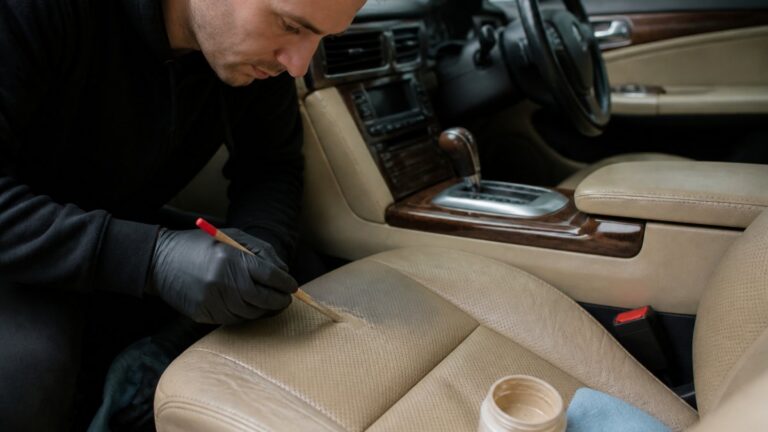
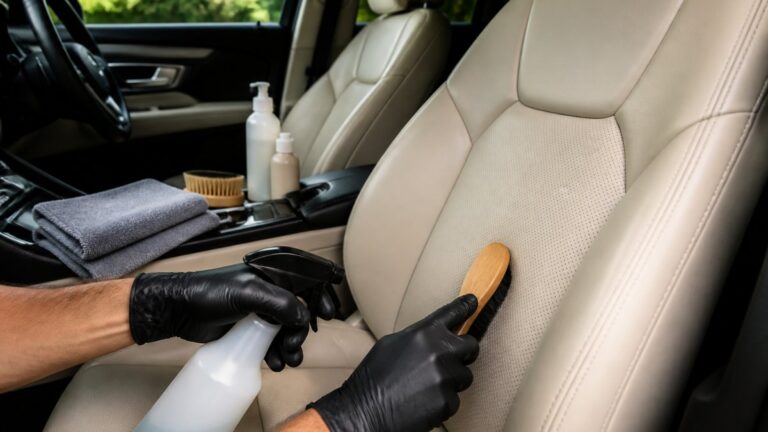
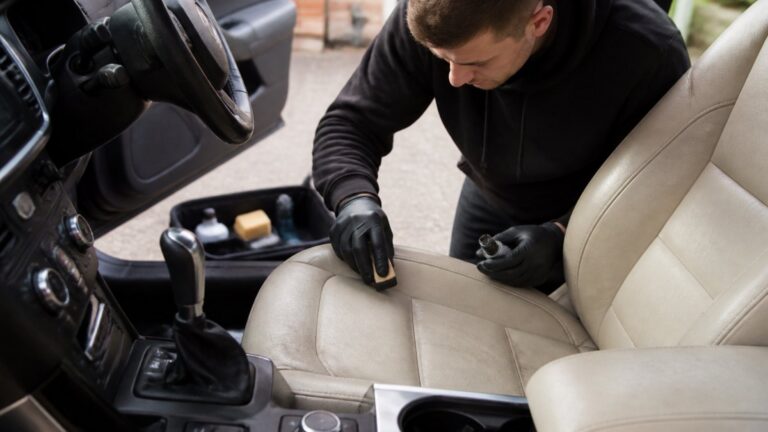
Table of Contents
- Assessing Upholstery Damage: What You’re Working With
- Repairing a Tear in Vintage Car Upholstery
- Cigarette Burn Repair in Car Upholstery
- Restoring Leather Seats: Cleaning and Repair
- Classic Car Vinyl Upholstery Repair
- Matching Original Materials, Colours, and Textures
- Classic Car Seat Upholstery Replacement: When and How
- DIY versus Professional Restoration: Tools, Time, and Costs
- Frequently Asked Questions
Last Updated: October 12, 2026
Assessing Upholstery Damage: What You’re Working With
Before deciding whether fixing upholstery damage in classic cars is worth your time or money, you need to understand what you’re dealing with.
The type of damage matters enormously. A small cigarette burn is fixable with a patch, but a deep tear that’s split the foam beneath it is a different beast, and leather cracked across an entire seat may need professional restoration.
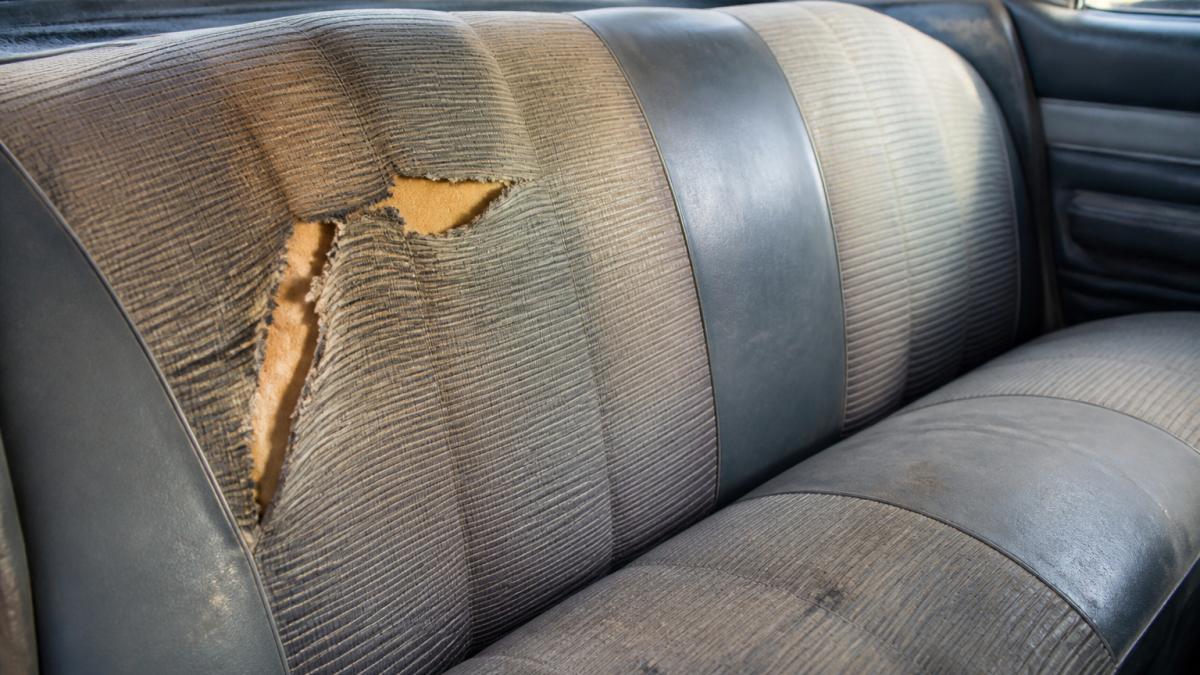
Types of damage and repair-versus-replacement criteria
Not all damage is created equal. Some repairs take an afternoon; others require stripping the seat down to the frame.
Minor damage includes small tears (under 5cm), isolated cigarette burns, light scuffs, and surface stains.
Moderate damage covers larger tears (5-15cm), multiple burns, deep creases, and worn areas affecting less than 30% of a seat.
If the damage is severe and your upholstery is original or period-correct, professional restoration usually beats DIY, you risk making it worse.
Inspecting seat frames and hidden structural issues
Remove the seat cover if you can (or peel back a corner) and check the frame for rust, the springs for sagging, and the foam for compression or crumbling.
Rust compromises structural integrity, compressed foam won’t support properly even after patching, and broken springs will make the upholstery sag again within months.
A solid frame, intact springs, and resilient foam make a good candidate for surface repair; a rusted frame or shot foam means replacement.
Repairing a Tear in Vintage Car Upholstery
A tear is one of the most common problems owners face. If caught early and the underlying structure is sound, repairing a tear in vintage car upholstery is straightforward.
Wait too long, though, and the tear spreads: stress rips the edges further, moisture gets in, and the foam deteriorates.
Tools, materials, and surface preparation
Before you start, gather your kit. You’ll need:
- Needle and thread (upholstery thread, matching colour if possible)
- Upholstery patch material (self-adhesive fabric patch or iron-on patch)
- Fabric glue or contact adhesive
- Small scissors
- Lint roller or soft brush
- Rubbing alcohol or upholstery cleaner
- Tweezers (for pulling loose threads)
Clean the damaged area thoroughly with a lint roller and damp cloth, then let it dry completely, trapped dirt creates a weak bond and visible debris.
For cloth, align your patch with the fabric grain. For leather, clean with leather cleaner and let it cure 24 hours before patching.
Step-by-step patching and stitching technique
Step 1: Trim loose threads. Use tweezers to pull away frayed edges, don’t cut the fabric, just remove what’s loose, giving you clean edges to work with.
Step 3: Apply adhesive. If using fabric glue, apply a thin, even layer around the patch edges. Don’t soak it, that weakens the material. Press firmly for 30 seconds.
Step 5: Let it cure. Wait 24 hours before putting weight on the seat. The adhesive needs time to fully set.
Cigarette Burn Repair in Car Upholstery
Cigarette burns are frustrating but often preventable, and they’re among the easiest upholstery problems to fix if you act quickly.
Assessing burn depth and removal options
Run your finger gently over the burn. If it’s just discolouration, try a soft brush and upholstery cleaner first, some surface burns fade significantly.
If there’s a visible hole or the fabric is crispy and brittle, you’re patching. The size matters: burns under 1cm can use a small adhesive patch. Burns 1-3cm need stitched patches.
Patching small burns versus full section replacement
For small burns, use the same patching technique as tears: cut a patch slightly larger than the burn, apply fabric glue or an adhesive patch, and stitch the edges, matching colour and texture so the repair blends in.
For cigarette burn repair in car upholstery that’s larger or in a highly visible area, consider whether a full section replacement makes sense.
The cost difference between a DIY patch and professional section replacement is significant, but so is the visual difference if the patch doesn’t blend well.
Restoring Leather Seats: Cleaning and Repair
Leather is beautiful but demanding. It’s also more valuable than cloth, so restoration is usually worth the effort.
Deep cleaning and surface preparation for leather
Start with a proper clean. Dust and grime trap moisture and accelerate cracking.
Vacuum with an upholstery attachment and wipe with a soft, damp microfibre cloth. For stubborn dirt, use an automotive leather cleaner, never household cleaners, which damage the finish.
Let the leather dry completely (24 hours minimum). Damp leather is fragile and won’t accept repair products properly.
Once dry, inspect for cracks, worn patches, and discolouration, separate problems needing different approaches.
Repairing worn or cracked leather areas
Small cracks respond well to a quality automotive leather conditioner worked in with a soft cloth, which plumps the fibres and can close hairline cracks.
For deeper cracks, a colour-matched leather repair cream fills small cracks and restores flexibility; for larger damage, a leather patch kit works like fabric patches but uses leather-specific adhesive.
Most guides miss this: leather damage often signals dry, brittle leather. Fix the crack without addressing the cause and it’ll crack again in six months, so condition regularly after repair.
Classic Car Vinyl Upholstery Repair
Vinyl is forgiving, durable, easy to clean, and repairs well, but it deteriorates without maintenance.
Identifying vinyl damage and material compatibility
Vinyl damage typically shows as cracks, tears, or peeling. Unlike leather, vinyl doesn’t absorb moisture, so water sits on the surface and eventually works underneath, causing adhesive failure.
Confirm you’re dealing with vinyl before repairing: it’s plastic-based and feels smooth and slightly rubbery, whereas leather is porous and warm to the touch. Repair products are material-specific.
Cleaning, patching, and adhesive techniques for vinyl
Clean vinyl thoroughly with a vinyl cleaner and soft brush. Dry completely.
For tears and cracks, vinyl repair kits include a flexible adhesive and colour-matched patches.
The key is a flexible adhesive: standard fabric glue cracks as vinyl flexes, while vinyl-specific adhesive stays flexible and won’t peel.
For peeling edges, lift the vinyl carefully, apply adhesive underneath, press down, and weight it (books work fine) for 24 hours while it cures.
Matching Original Materials, Colours, and Textures
This is where restoration gets tricky: a patch that’s structurally sound but obviously different in colour ruins the aesthetic.
Period-correct material sourcing for authenticity
If your upholstery is original or period-correct, matching material is essential for resale value and authenticity.
Start with the car’s original documentation. Many manufacturers kept records of upholstery specifications.
Specialist suppliers stock reproduction fabrics and leathers that match classic cars, pricier than generic patches, but worth it if originality matters.
For vinyl, match the grain pattern and finish, smooth, grained, or perforated. A smooth patch on a grained seat looks wrong.
Colour matching and texture blending techniques
Colour matching is an art. Sunlight fades upholstery unevenly. The centre of a seat is often lighter than the edges.
One solution: age your patch artificially. Expose it to sunlight for a few weeks before installation. This reduces the contrast.
Another approach: blend the patch into worn areas rather than pristine fabric, so it weathers in naturally over time.
For leather, colour-matched repair creams come in multiple shades. Test on a hidden area first.
Classic Car Seat Upholstery Replacement: When and How
Sometimes repair isn’t enough. The seat needs new upholstery entirely.
Removing and reinstalling seat covers
This is labour-intensive but doable with patience.
First, remove the seat from the car, usually four floor bolts, and disconnect any electrical connectors (heated seats, etc.).
Once it’s out, work on it in a clean space and carefully peel away the old upholstery, which often requires cutting off since original covers are usually glued and stapled.
Clean the frame and padding, replacing compressed or deteriorated padding, new foam is inexpensive and makes a huge difference in comfort and appearance.
Once the new cover is fitted and stapled, reinstall the seat in the car.
Replacing foam padding and springs
If the frame is sound but the padding is shot, replacement is straightforward.
Remove the old foam carefully. It often crumbles as you pull it away. Scrape away any remaining adhesive.
Measure the seat surface and cut new automotive foam to fit, 25-50mm is typical for car seats. Thicker foam is more comfortable but slightly changes seat height.
Glue the new foam to the frame using contact adhesive. Let it cure fully before installing the new cover.
DIY versus Professional Restoration: Tools, Time, and Costs
The practical reality: some repairs are worth doing yourself, others aren’t.
Essential tools and materials for DIY work
A basic upholstery repair kit includes:
- Needle and upholstery thread
- Fabric glue and contact adhesive
- Patch material (fabric, vinyl, or leather depending on your seats)
- Scissors and tweezers
- Cleaning supplies (brush, cloth, upholstery cleaner)
- Sandpaper (220-grit and 400-grit for leather prep)
- Leather conditioner (if you have leather seats)
Total cost for a basic kit: reasonable, but quality matters. Cheap adhesive fails. Poor-quality patches peel. Invest in decent materials.
Realistic time estimates and difficulty assessment
A small tear patch takes 1-2 hours including cleaning and drying.
A cigarette burn repair takes 30 minutes to an hour.
Restoring leather seats (cleaning, conditioning, minor crack repair) takes 2-3 hours.
Full seat reupholstery takes 8-12 hours if you’re experienced, much longer if you’re not.
The difficulty scales with complexity. Patching is straightforward. Reupholstering requires patience and precision.
When professional restoration is the better choice
Call a professional if:
- The damage is extensive (more than 30% of the seat surface)
- The seat frame is rusted or structurally compromised
- The upholstery is original and period-correct (professionals have better sourcing)
- You need perfect colour matching (professionals have access to better materials)
- You’re short on time
At TrimKings, fixing upholstery damage in classic cars is a core service. Our team colour-matches leather and upholstery, and restores seats to a high standard.
For straightforward repairs, small tears, minor burns, basic cleaning, DIY makes sense. For complex restoration on valuable classic cars, professional work pays for itself in quality and longevity.
A damaged interior doesn’t have to mean expensive replacement.
Frequently Asked Questions
Can you repair original upholstery in a classic car without replacing it?
Yes, most damage can be repaired if caught early. Tears, burns, and worn areas in classic car upholstery can be patched, stitched, or refinished depending on the material and damage extent. However, if the damage is extensive, large rips, widespread deterioration, or compromised seat frames, replacement may be more practical. Professional assessment helps determine whether repair or replacement preserves value better. For lease vehicles or classic car restorations, repair often maintains authenticity and costs less than full replacement.
How do you match the colour and texture of original upholstery when repairing?
Colour matching requires identifying the original material. Texture matching involves examining the weave, pile, or grain pattern under magnification and selecting materials that replicate it. Professional restorers use side-by-side comparison and test patches before committing to a full repair to ensure the patch is invisible once complete.
Is it better to repair or replace classic car seat upholstery?
Repair is usually preferable if the damage is localised and the underlying seat frame is sound. Replacement is necessary when foam is compressed, springs are broken, or damage is widespread across multiple panels. For classic car value retention, repair maintains originality better than replacement. For lease vehicles, repair avoids end-of-lease charges more cost-effectively than replacement. Professional evaluation of the seat frame, padding condition, and damage severity determines the most practical option for your situation.
What’s the typical time and cost involved in repairing upholstery damage?
Time and cost depend on damage type, material, and whether work is DIY or professional. Small cigarette burns or scuffs may take hours; larger tears or full-section repairs take days. Professional mobile services often complete repairs on-site without removing seats, minimising disruption. Repair costs vary significantly based on material (leather costs more than vinyl), damage extent, and colour matching requirements. For accurate pricing, send photos of the damage to TrimKings for a competitive, no-obligation quote tailored to your vehicle and repair needs.