Table of Contents
- Why Small Interior Damage Gets Worse (And What It Costs You)
- DIY vs Professional Car Interior Repair: What Actually Works
- Car Seat Repair for Tears, Rips, and Worn Bolsters
- Cigarette Burn Repair on a Car Seat: Step-by-Step
- Cracked Car Interior Plastic Repair and Dashboard Damage
- Car Interior Repair Cost: What Affects the Price
- Repair or Replace? How to Decide
- Frequently Asked Questions
Last Updated: October 13, 2026
Why Small Interior Damage Gets Worse (And What It Costs You)
A scuff on a door card or a small tear in a seat bolster rarely stays small. Every time you slide in and out, the damaged edge catches on clothing and spreads.
That is why quick car interior repair matters more than most drivers think. Fixing damage early is simpler, cheaper, and far less disruptive than waiting for a full retrim.
The stakes are higher than cosmetic pride. Lease companies and dealerships charge for interior damage at hand-back, and private buyers discount heavily for torn seats and cracked trim.
Interior damage compounds. The longer a tear, burn, or crack is left, the more surrounding material fails with it, and the more a repair costs.
DIY vs Professional Car Interior Repair: What Actually Works
Most interior damage falls into one of three buckets: fix it yourself in under an hour, book a professional, or leave it alone because a DIY attempt will make it worse. Know which bucket you are in before you buy anything.
A useful rule of thumb: if the damage is a surface mark that does not break the material, DIY is usually viable. If the material is broken, missing, or colour-critical, professional work pays for itself.
Damage-specific quick fixes you can do at home
Faint trim scratches. Clean the panel with a mild interior cleaner, then work a plastic polish into the scratch with a microfibre pad using light circular pressure.
Scuffed plastic trim. A melamine sponge (the white block type) used lightly with water lifts transfer marks and shoe scuffs from door cards and sills.
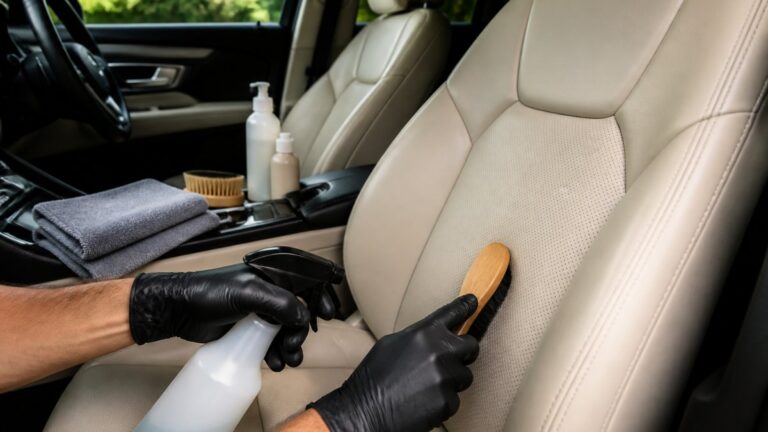
Surface marks on vinyl. Warm water, mild soap, and a soft brush remove most vinyl scuffs.
Small cigarette burns in fabric (not leather). A burn that has only singed the surface fibres can sometimes be trimmed with small curved scissors and brushed to blend.
When to stop and call a professional
- Cigarette burns in leather or vinyl. These melt a crater into the material. Filling and retexturing it invisibly is a skilled job.
- Seat tears that expose foam. Once foam is exposed it crumbles, and the repair has to rebuild both the foam and the cover.
- Cracked dashboards. Plastic expands and contracts with heat, so a rigid filler cracks again within a season.
- Worn bolsters. By the time the material has split, the surrounding surface is usually thin and needs refinishing, not just patching.
- Anything needing colour matching. Faded leather and multi-tone trim cannot be matched with a shelf product.
Never DIY these
Airbag covers, seat side panels containing occupancy sensors, and heated seat elements should never be touched by an untrained hand. Adhesives, fillers, and heat can compromise the airbag’s deployment path or damage sensor wiring. If damage is near these components, it is a professional job by default.
Do not use superglue, epoxy, or standard household adhesives on seat foam, leather, or vinyl. They set hard, crack with movement, and can make the area unrepairable without replacing the panel.
A quick decision test
Ask three questions before you start:
- Is the material broken, or just marked?
- Would a slightly imperfect result bother you every journey?
- Is the damage near an airbag, sensor, or heating element?
If the material is broken, the result matters, or safety components are involved, book a professional. Otherwise, a careful DIY attempt on a surface mark is low-risk and often good enough.
Photograph the damage in daylight before you touch it. It gives a technician an accurate picture for a quote, and it protects you if a DIY attempt goes wrong.
Car Seat Repair for Tears, Rips, and Worn Bolsters
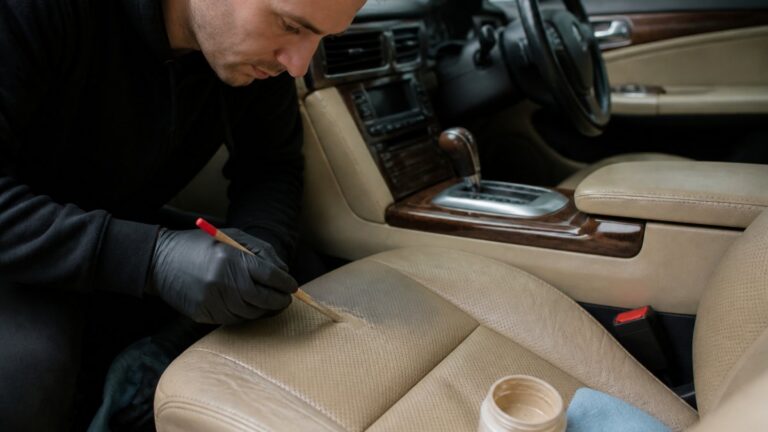
Car seat repair depends entirely on the material. Leather, vinyl, fabric, and velour each fail differently and need different fillers, adhesives, and finishing. A repair that works on vinyl will look wrong on velour.
Worn bolsters, the side sections you slide across getting in and out, are the most common seat fault we see. The material thins, then splits. Catching it at the thinning stage is a quick refinish; after it splits, the surface must be rebuilt.
Leather Seat Repair and Colour Matching
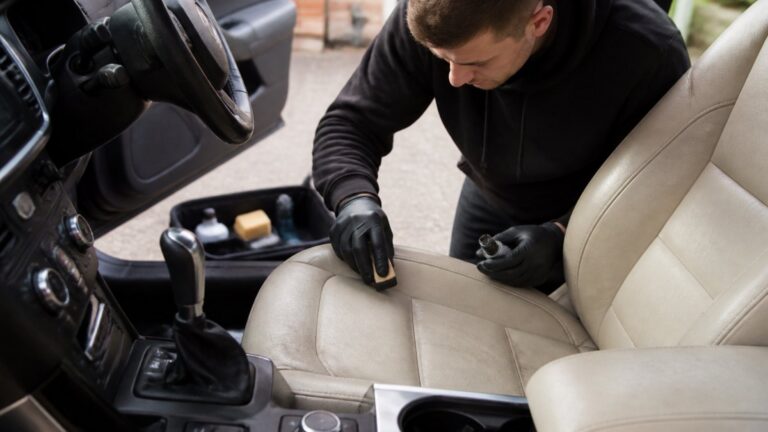
Leather seat repair is the most requested service, and colour matching is where most attempts fail. Leather fades with sun exposure, so the “original” colour on your build sheet is rarely what is on the seat today.
Professional colour matching tints pigment to the seat as it currently looks, then seals it with a flexible topcoat that moves with the leather.
UK government guidance on vehicle maintenance and roadworthiness is worth checking for the safety side, but cosmetic interior work is a craft, not a regulated task.
Fabric and Velour Upholstery Repair
Fabric and velour repair is often overlooked because owners assume a tear means a new seat cover. Usually it does not. Technicians can reweave or patch fabric, and velour can be reflocked to restore its texture.
The key is matching both colour and pile direction. Get the pile wrong and the patch catches the light differently, which is why a professional finish is hard to replicate at home.
Cigarette Burn Repair on a Car Seat: Step-by-Step
Cigarette burn repair on a car seat is one of the most satisfying fixes because the result is usually invisible. Burns melt a small crater into the material, so the repair rebuilds the surface rather than covering it.
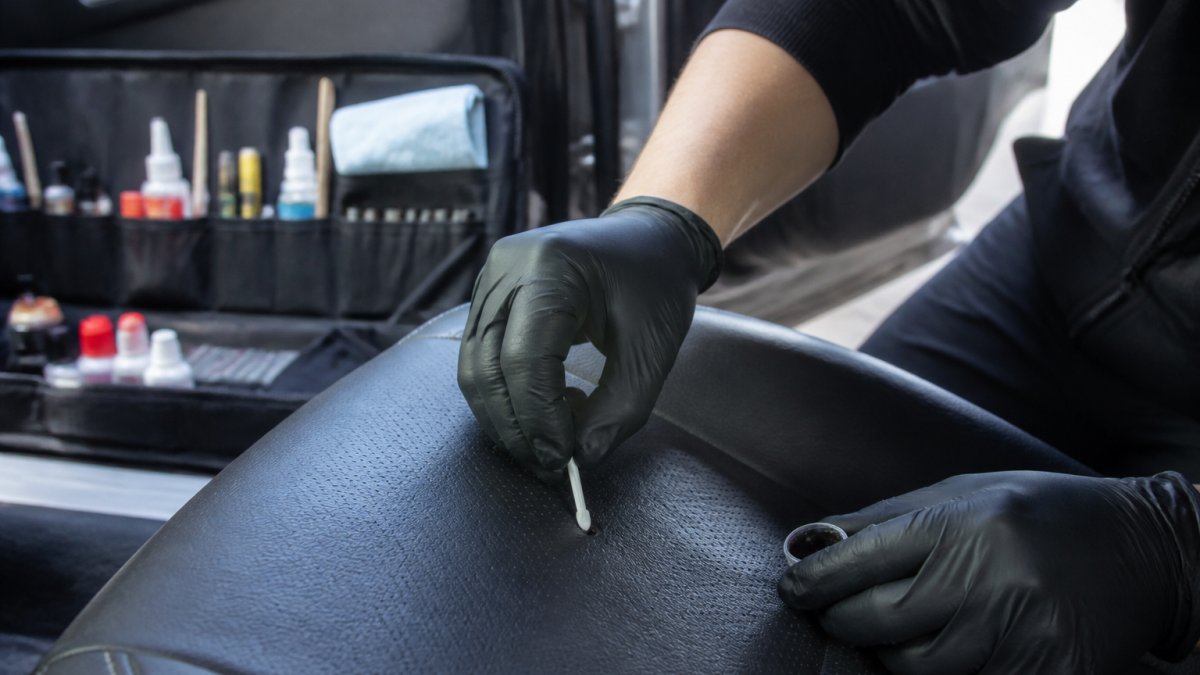
Here is how the process typically runs:
- Assess the burn. Check whether it is surface-only or has reached the foam.
- Clean and trim. Loose charred fibres are removed so the filler can bond.
- Rebuild the crater. Flexible filler is applied in thin layers, not one thick blob.
- Texture the surface. Grain is stamped or matched to the surrounding material.
- Match and seal the colour. Pigment is tinted to the seat, then sealed with a flexible topcoat.
- Cure and check. The repair is left to set, then inspected under natural light.
For a single burn, this is usually a mobile job done at your home or workplace. For a fleet with multiple vehicles, batching the work makes far more sense than sending each van away.
Cracked Car Interior Plastic Repair and Dashboard Damage
Cracked car interior plastic repair is trickier than it looks because plastic expands, contracts, and flexes. A rigid repair cracks again the first time the dashboard heats up in summer.
Dashboard holes and damage need a repair that moves with the panel: stabilise the crack, fill with a flexible compound, then refinish the texture so it blends with the surrounding grain. Colour matching matters too, since dashboards fade unevenly.
Fixing Trim Scuffs and Scratches
Trim scuffs and scratches are the easiest interior faults to fix and the easiest to make worse. Sanding too aggressively burns through the surface texture, leaving a smooth patch on a grained panel that stands out immediately.
The right method is to clean the area, lightly abrade only the damaged zone, fill if needed, then retexture and recolour. For light scuffs, retexturing and refinishing alone is often enough.
Car Interior Repair Cost: What Affects the Price
Interior repair pricing is variable, but you can still budget. Most specialists price by the job rather than the hour, and the figure is driven by a handful of predictable factors. Understanding them lets you compare quotes sensibly.
Typical repair timeframes
Timeframes matter as much as price, especially if the car is needed daily. As a general guide:
- Single scuff or trim scratch: 20 to 45 minutes.
- Single cigarette burn: 45 minutes to 1.5 hours, including cure time.
- Small seat tear (under 2 cm): 1 to 2 hours.
- Larger seat tear or worn bolster: 2 to 4 hours, sometimes longer if the foam needs rebuilding.
- Cracked dashboard section: half a day to a full day, depending on access and whether the panel has to come out.
- Multiple panels or a full interior refresh: one to two days.
Mobile work adds travel time but removes the need to leave the car. Most single-item repairs are completed in a single visit.
What drives the price up or down
| Factor | Lower cost | Higher cost |
|---|---|---|
| Damage size | Small scuff | Large tear or hole |
| Depth | Surface mark | Damage into foam or substrate |
| Material | Plastic trim | Leather, velour, or Alcantara-style fabric |
| Colour matching | Single solid shade | Faded, multi-tone, or metallic trim |
| Number of panels | One area | Multiple panels |
| Access | Easy to reach | Tight, complex, or requires panel removal |
| Vehicle type | Standard family car | Performance or specialist trim |
DIY versus professional: the real cost comparison
DIY looks cheaper on paper, but the maths changes once you account for failed attempts. A generic colour pen or filler kit costs little, but if the shade is wrong or the filler cracks, you have spent the money and still need a professional.
Owners often spend on two or three DIY products before booking a repair, at which point the total exceeds a single professional visit. For surface marks on plastic, DIY is genuinely economical. For colour matching, leather, or structural damage, professional work is usually cheaper overall.
Repair versus replacement economics
Replacement is almost always the more expensive option, and the gap widens with vehicle age. A replacement seat or dashboard panel is costly to source, often unavailable in the correct trim for older models, and rarely matches the rest of a worn interior. For lease vehicles, a clean repair before hand-back can avoid penalty charges deducted from the deposit.
Replacement only makes economic sense when the structure is compromised: a bent seat frame, a failed airbag component, or damage so widespread that repair would cost more than a used part.
How to get an accurate quote
Because every job differs, most specialists quote from photographs rather than a fixed price list. To get a useful figure first time, send:
- A clear daylight photo of the damage, taken straight on.
- A second photo showing the surrounding panel for colour context.
- The vehicle make, model, and year.
- Whether the damage is on leather, vinyl, fabric, or plastic.
That is usually enough for a firm quote. If a specialist cannot quote from photos, ask why, because it often signals an upsell on inspection.
Budget by damage type, not by a single headline figure. Surface marks are cheap and quick; anything involving colour matching, foam, or panel removal is a different tier of job.
Repair or Replace? How to Decide
For everyone else, the decision comes down to three questions:
- Is the damage cosmetic rather than structural?
- Is the material still sound around the damage?
- Do you want to keep the original, matching interior?
If you answer yes, repair is almost always the smarter, faster, and more cost-effective route, especially for lease vehicles, where a clean repair before hand-back can avoid penalty charges entirely.
Interior damage never improves on its own, and the longer you wait, the more it costs to put right. TrimKings provides expert mobile car interior repair across the West Midlands, coming to your home or workplace so your day is not disrupted.
Frequently Asked Questions
Can a torn car seat be repaired without replacing it?
Yes, in most cases a torn car seat can be repaired without a full replacement. A specialist technician can stitch, fill, and recolour the damaged area so it blends with the surrounding material. This is usually faster and cheaper than sourcing a replacement seat, especially for leather and vinyl. The repair is most effective when the tear is smaller than a few centimetres and the surrounding material is still in good condition.
How long does a car interior repair take?
The duration of a car interior repair depends on the extent and type of damage. A mobile service comes to your home or workplace, which helps you avoid the days of waiting that a garage visit often involves.
Is it better to repair or replace damaged car upholstery?
Repair is usually the better choice when the damage is localised, such as a tear, burn, or scuff, and the rest of the upholstery is in good shape. Replacement makes more sense when the material is extensively worn across multiple panels or the seat structure is compromised. A repair typically costs less, preserves the original factory finish, and avoids colour mismatches that can happen with replacement parts.
Can a mobile car interior repair service fix damage at my home or workplace?
Yes, a mobile service brings the tools and materials directly to you. The technician works on your vehicle where it is parked, whether that is your driveway, office car park, or fleet yard. This means no drop-off, no collection, and no days without your car. For fleet operators, multiple vehicles can often be booked in a single visit to minimise downtime.