Table of Contents
- Identifying Vinyl, Plastic and Coated Surfaces Before You Start
- Assessing How Badly the Vinyl Has Faded
- Cleaning Your Car Interior Vinyl Cleaner Routine Before Restoration
- Masking, Drying and Preparing the Surface
- Step-by-Step: Applying a Restorer or Recolouring Faded Car Vinyl
- Restoring Scuffed Interior Plastic Trim Without Overheating It
- Booking Vinyl Seat Restoration If the DIY Route Isn’t Right for You
- Frequently Asked Questions
Last Updated: October 27, 2026
Identifying Vinyl, Plastic and Coated Surfaces Before You Start
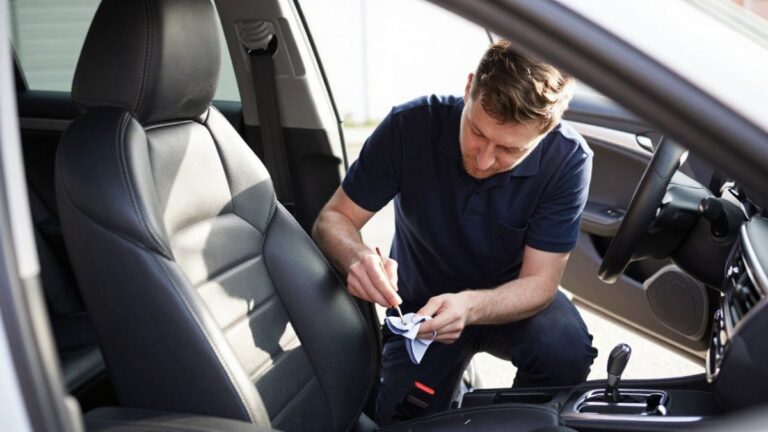
Learning how to restore faded car interior vinyl is one of the most useful skills for cars over five years old, since fading is one of the most common cosmetic problems. Before you buy any product, you need to know exactly what you are treating.
UK government guidance on vehicle interior maintenance is a useful starting point, but the practical check takes under a minute. Press a thumbnail gently into the surface. Vinyl feels soft and gives slightly. Hard plastic feels rigid and does not give at all.
Look for these signs:
- Vinyl: Soft, slight grain, flexes under pressure, common on seat bolsters and door panels
- Hard plastic: Rigid, glossy or matte, common on dashboards and centre consoles
- Coated or painted surfaces: Smooth finish, may show a different sheen from the surrounding trim
Once you know the material, your product choice becomes much simpler. A restorer designed for vinyl will not always suit hard plastic, and heat-based methods can damage coatings.
Watch out: Testing a product on a hidden patch first can save a costly mistake. Check the underside of a seat flap or the inside of a door pocket.
Assessing How Badly the Vinyl Has Faded
Not every faded surface needs the same treatment. A light dulling from dust and UV exposure calls for a gentle clean and a dressing. Deep colour loss, chalky texture or grey patches usually need a proper restorer or recolouring product.
Use this simple guide to judge severity:
| Fading level | What you see | Typical approach |
|---|---|---|
| Light | Dull sheen, dust in the grain | Clean, then apply a light dressing |
| Moderate | Lighter patches, slight chalkiness | Deep clean, then a wipe-on restorer |
| Severe | Grey or whitish areas, rough texture | Recolouring coating, possibly multiple coats |
Many owners find that the seat bolsters and steering-wheel rim fade first because they take the most sun and hand contact. Start your assessment there.
Check the surface in natural daylight, not under a harsh garage bulb. Colour can look very different under different lighting, and a poor judgement at this stage leads to a patchy finish later.
Cleaning Your Car Interior Vinyl Cleaner Routine Before Restoration
Cleaning is the step most people rush, and it is the one that decides whether your restorer bonds properly. Dust, body oils, old conditioners and dressings all stop new product from sticking evenly. Any of these left behind can cause streaking, blotching or patchy colour.
Follow this routine:
- Vacuum the surface thoroughly, using a brush attachment to lift dust from the grain
- Apply a dedicated car interior vinyl cleaner and work it in with a soft brush
- Wipe away residue with a clean microfibre cloth
- Repeat on heavily soiled areas until the cloth stays clean
A good car interior vinyl cleaner removes oils without stripping the material. Avoid household all-purpose cleaners, which can dry out vinyl and leave a residue that prevents adhesion. Do not use strong solvents on any surface unless the product maker specifies it.
Watch out: Old dressings can build up in the grain and look like fading. Clean thoroughly before deciding the colour is gone.
Masking, Drying and Preparing the Surface
Once the surface is clean, protect the areas you do not want to treat before you start learning how to restore faded car interior vinyl in earnest. Use masking tape along the edges of glass, adjacent trim and stitching. Cover seat belts and buckles with paper or plastic sheeting so they do not pick up product.
Then let the surface dry completely. Wait at least 30 minutes after cleaning, and longer in a humid garage. Moisture trapped under the product causes poor adhesion and tackiness later.
A simple preparation checklist:
- Vacuumed and brushed
- Cleaned with a suitable vinyl cleaner
- Wiped with a clean, dry cloth
- Adjacent trim, glass and stitching masked
- Surface fully dry to the touch
Step-by-Step: Applying a Restorer or Recolouring Faded Car Vinyl
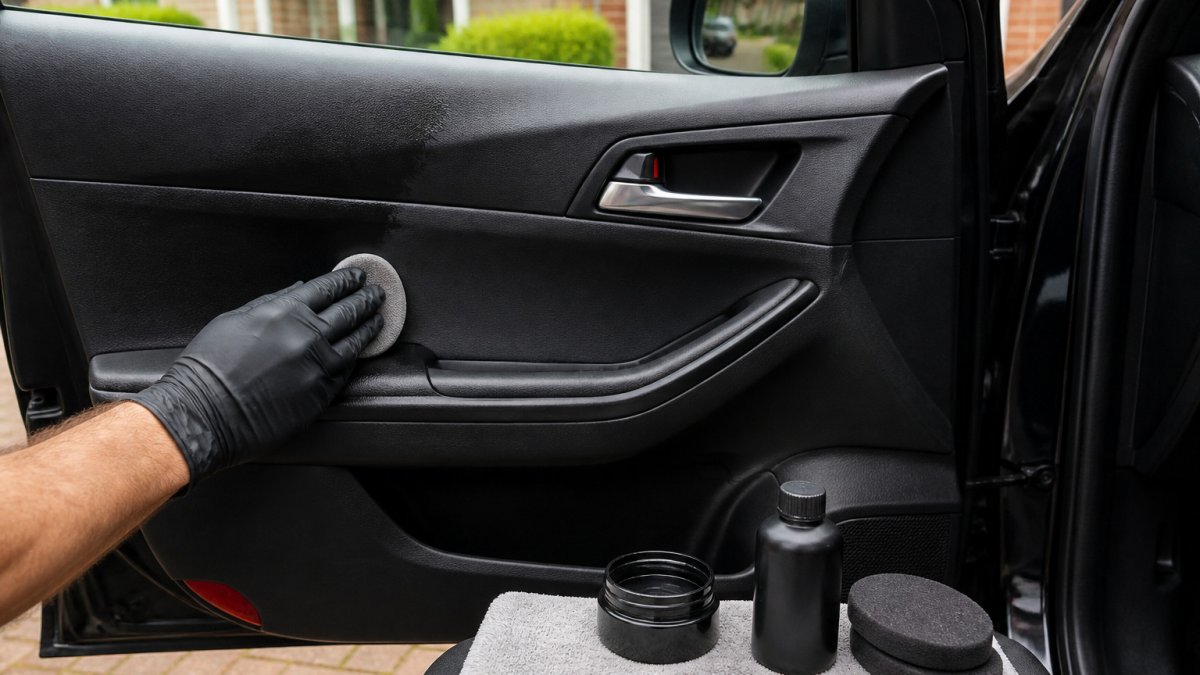
This is the stage where most DIY results go wrong. Work in a shaded area at a comfortable temperature. Direct sun dries product too quickly and leaves streaks.
- Shake the product well if it is a liquid or spray formula.
- Apply a thin, even layer using a foam applicator or lint-free cloth. Work in small sections.
- Rub gently in one direction so the product settles into the grain.
- Wipe off any excess with a clean cloth before it dries.
- Allow the recommended drying time. Rushing this causes tackiness.
- Apply a second coat only if the first leaves colour patchy.
For severe fading, a recolouring coating may be needed. Build it up in several thin coats rather than one thick layer. Thick coats crack and peel over time.
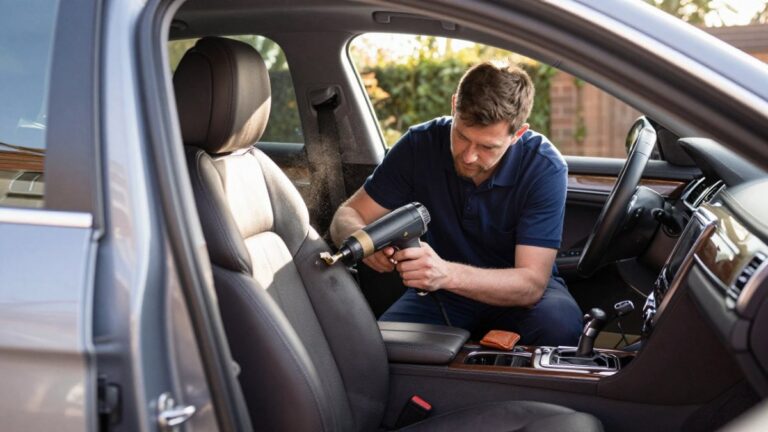
Never use a heat gun or torch to speed up drying on vinyl. Heat can warp the material, melt coatings and create fumes. Let the product dry at room temperature.
Troubleshooting common application failures
Most restorer problems fall into four patterns. Recognising them early saves a full strip-and-redo.
| Problem | Likely cause | Fix |
|---|---|---|
| Streaks or blotches | Product applied too thickly, surface too warm, or overlapping passes drying at different rates | Wipe back with a clean cloth dampened with the same product, then reapply a thinner coat in one direction |
| Tackiness that will not cure | Moisture trapped under the product, too much product, or a dressing underneath | Remove with a vinyl cleaner, dry fully, reapply a thin coat |
| Colour transfer onto clothing | Excess product not buffed off, or a dressing rather than a coating | Buff thoroughly with a dry microfibre; if transfer persists, the product is not a true restorer |
| Poor adhesion or patchy colour | Oils, silicones or old dressings left on the surface | Deep clean with a dedicated vinyl cleaner, dry, and test again on a hidden area |
A common pattern is that tackiness and transfer come from the same root cause: too much product left on the surface. The fix is almost always less product and more buffing, not more product.
Durability and realistic expectations
How long a result lasts depends on the product type, sun exposure and how the surface is maintained. As a rough guide:
- Wipe-on dressings and restorers: weeks to a few months, and they need reapplying regularly.
- Recolouring coatings and dyes: months to a few years if applied correctly and protected from UV.
- Professional recolouring: typically the longest-lasting option, but still subject to wear on high-contact areas such as seat bolsters and steering-wheel rims.
Fading returns fastest on surfaces that get direct sun and hand contact. To slow it down, keep the interior out of direct sun where possible, clean with a pH-neutral vinyl cleaner rather than household products, and reapply a UV-protective dressing at the interval the product maker recommends. Do not layer dressings on top of each other without cleaning first, build-up looks like fading and prevents new product from bonding.
When to stop and reassess
If two thin coats leave the colour uneven, or if the surface feels rough or chalky after curing, the vinyl may be beyond what a restorer can fix. At that point, a recolouring coating, a professional repair or replacement of the panel is the more honest route than adding more product.
Restoring Scuffed Interior Plastic Trim Without Overheating It
Scuffed plastic trim needs a different approach from vinyl. Hard plastic does not absorb product the same way, so a light touch matters more. But ‘avoid heat’ is only half the story, controlled, low-level heat is a legitimate professional technique when used correctly, and understanding the difference between safe and unsafe heat is what separates a good result from a melted dashboard.
Why heat is used at all
Gentle warming softens the top layer of plastic so a restorer or dye can bite into the grain rather than sitting on the surface. For a step-by-step walkthrough of scratch assessment, cleaning and repair, see how to fix car dashboard scratches. It also lifts shallow scuffs by relaxing the material. The risk is that plastic has a narrow working window: too little heat does nothing, too much blisters the surface, distorts trim clips and releases fumes from any coating already present.
Safe heat versus unsafe heat
| Method | Typical use | Risk level | Key precaution |
|---|---|---|---|
| Hot air gun on low setting, kept moving | Relaxing shallow scuffs on hard plastic | Moderate | Keep the nozzle moving, never hold still, test on a hidden area |
| Hairdryer on warm setting | Warming trim before applying restorer | Low | Hold at least 15 cm away and keep moving |
| Open flame torch | Not recommended for interior trim | High | Can ignite foam, melt clips and release toxic fumes |
| Boiling water or steam | Not suitable for most interior plastics | Moderate | Can warp thin panels and lift adhesives |
A common pattern among professional trimmers is to use a hot air gun only on rigid, uncoated plastic, never on vinyl, never on coated or painted surfaces, and never near airbag covers, sensors or wiring. If you are unsure what is behind a panel, do not apply heat.
A safer sequence for scuffed plastic
- Clean the trim thoroughly and let it dry.
- Test any heat method on a hidden area, such as the inside of a glovebox or the underside of a sill trim.
- If using gentle heat, warm the surface evenly with a hairdryer or a hot air gun on its lowest setting, keeping the tool moving at all times.
- Apply a plastic trim restorer with a cloth, working in small circles.
- Buff with a dry microfibre cloth to remove excess.
- For deeper scuffs, a fine abrasive pad can help, but test on a hidden area first and follow with restorer.
Many owners find that scuffs on black trim look worse than they are because the surface has simply dulled. A proper clean and light restorer often brings the original colour back without any risky steps. Reserve heat for the specific case of rigid, uncoated plastic with shallow scuffs, and stop immediately if you see gloss change, smell fumes or notice the surface softening.
Booking Vinyl Seat Restoration If the DIY Route Isn’t Right for You
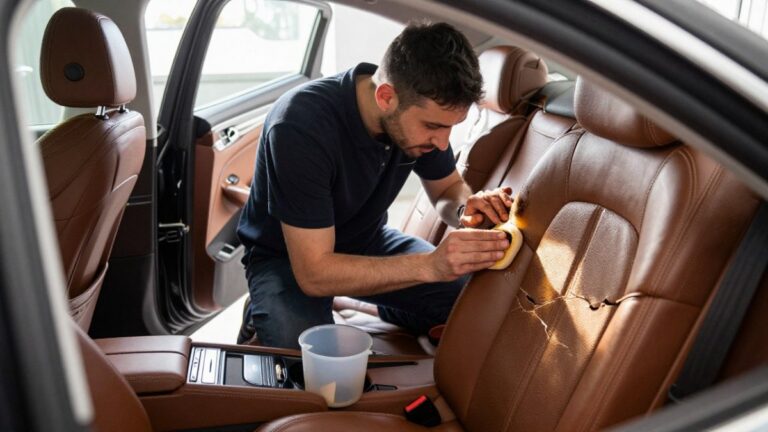
Some jobs are better left to a professional. Large seat areas, leather-look upholstery, stitched seams and damage that goes beyond fading all need skill and the right materials to look good.
If your car is a lease vehicle, a professional repair can also help you avoid end-of-lease charges. Ask for an itemised quote before committing.
TrimKings offers mobile repair at your home or workplace across the West Midlands. You can book a vinyl seat restoration or compare mobile leather seat repair costs to see how it works.
For a broader view of interior services, you can also explore car interior repair services.
Frequently Asked Questions
How do you restore faded car interior vinyl?
Start by identifying whether the surface is vinyl or hard plastic, then clean it thoroughly to remove dust, body oils and old dressings. Mask adjacent trim, glass and upholstery, and let the surface dry completely. Apply a vinyl restorer or colour-restoring coating with a cloth in thin, even passes, working in small sections to avoid streaks. Allow the product to cure as the manufacturer directs before using the seat or panel. Pricing for professional work depends on the extent of the damage, so check TrimKings’s website for a current quote.
Does WD-40 restore faded plastic?
WD-40 is a penetrating lubricant and cleaner, not a colour restorer. It may temporarily darken faded plastic or vinyl by leaving an oily film, but this wears off quickly, can attract dust and can leave a tacky residue that makes the surface harder to treat properly. For lasting colour, use a product designed for automotive trim and vinyl, applied after a thorough cleaning. Test any product on a hidden area first.
How can you tell whether car trim is vinyl or plastic?
Vinyl often feels slightly soft or flexible and may have a fine grain or stitched texture on seats and door cards. Hard plastic usually feels more rigid and has a uniform, moulded finish, and it often shows fine scratches as lighter lines. Many trim pieces have a coated surface, which can look like either material. If you are unsure, test a small hidden area with a mild cleaner and check how the surface responds before applying any restorer.
Can faded car vinyl be recoloured?
Yes, faded car vinyl can usually be recoloured with a colour-restoring coating or dye, provided the surface is sound and free of cracks or heavy wear. Results depend on how far the colour has faded and how evenly the product is applied. Severely faded or cracked vinyl may need professional repair, and colour matching on leather and upholstery is best left to specialists who can compare shades in person.